Tidewave is the coding agent for full-stack web app development. Integrate Claude Code, OpenAI Codex, and other agents with your web app and web framework at every layer, from UI to database. See our website for more information.
Installing the app
To get started with Tidewave, download our desktop app:
- For macOS: Apple Silicon, Intel
- For Linux: AppImage (x86_64), AppImage (ARM64)
- For Windows: Windows (the desktop app is also recommended when using WSL)
After installation, an icon should appear in your menu bar (top-right on macOS and Linux, bottom-right on Windows).
We also offer a CLI if you are running your application remotely, inside containers, or other cases where the desktop application is not an option. If you are using Docker, read our containers guide.
Running Tidewave
After installation, you can run the Tidewave application. By default, it will run a service on http://localhost:9832, which you can acess from your favorite browser. Once you do, you will be greeted with this screen:
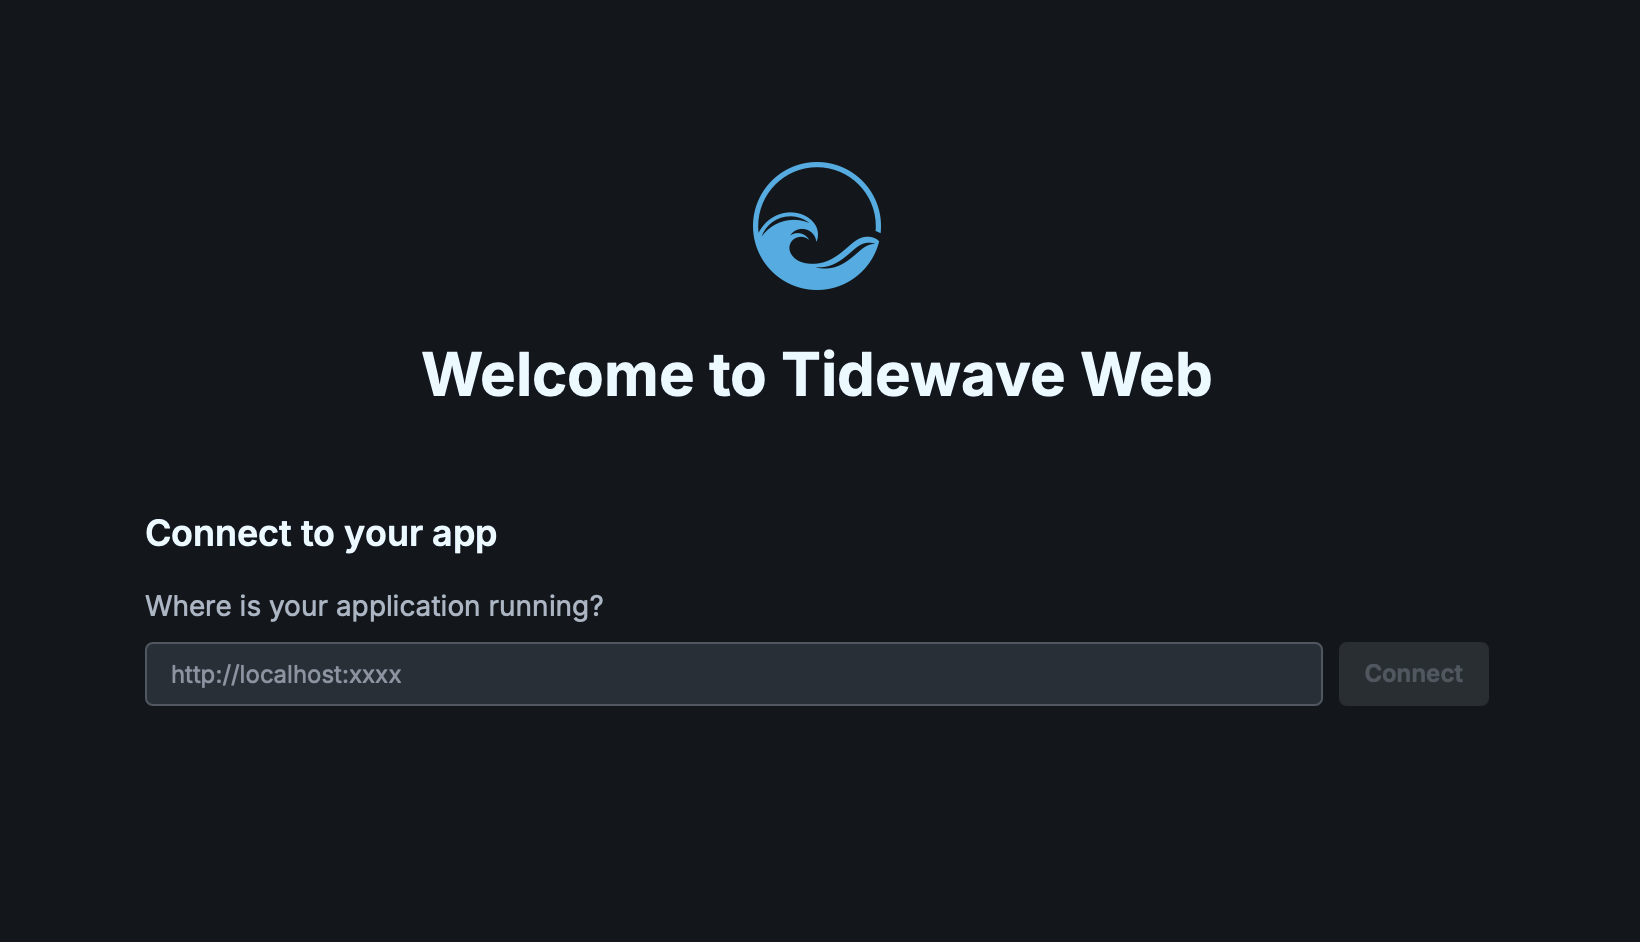
Then you can put the address of your web application and Tidewave will connect to it. If your web application was not yet configured with Tidewave, you will be prompted to do so, using the links below:
- Tidewave for Django
- Tidewave for FastAPI
- Tidewave for Flask
- Tidewave for Next.js
- Tidewave for Phoenix
- Tidewave for Ruby on Rails
- Tidewave for TanStack Start
- Tidewave for Vite
The Tidewave app will remain running on your menu bar (top right on macOS/Linux, bottom right on Windows), you can click it to open up, configure, and update Tidewave.
Remember Tidewave must always run on the same machine as your web server is running. If your web server is running on a separate machine, you will want to use our CLI.
CLI
For running Tidewave inside containers and other advanced uses, a CLI is also available:
- For macOS: Apple Silicon, Intel
- For Windows: Windows
- For Linux: aarch64-gnu, aarch64-musl, x86_64-gnu, x86_64-musl
Once the CLI is installed, run it with ./tidewave. Run ./tidewave --help for a list of all options.
For security reasons, the CLI only allows access from the same machine it is running on by default. Furthermore, it enforces that the CLI is being accessed from localhost or 127.0.0.1. If you want to run the CLI on a custom server, you must pass --allow-remote-access and --allowed-origins=https://HOSTNAME:PORT respectively to change our defaults. You can also enable HTTPS certificates both for the App and the CLI.