View Source Up and Running
There are two mechanisms to start a new Phoenix application: the express option, supported on some OSes, and via mix phx.new. Let's check it out.
Phoenix Express
A single command will get you up and running in seconds:
For macOS/Ubuntu:
$ curl https://new.phoenixframework.org/myapp | sh
For Windows PowerShell:
> curl.exe -fsSO https://new.phoenixframework.org/myapp.bat; .\myapp.batThe above will install Erlang, Elixir, and Phoenix, and generate a fresh Phoenix application. It will also automatically pick one of PostgreSQL or MySQL as the database, and fallback to SQLite if none of them are available. Once the command above, it will open up a Phoenix application, with the steps necessary to complete your installation.
Your Phoenix application name is taken from the path.
If your operating system is not supported, or the command above fails, don't fret! You can still start your Phoenix application using mix phx.new.
Via mix phx.new
In order to create a new Phoenix application, you will need to install Erlang, Elixir, and Phoenix. See the Installation Guide for more information. If you share your application with someone, they will also need to follow the Installation Guide steps to set it all up.
Once you are ready, you can run mix phx.new from any directory in order to bootstrap our Phoenix application. Phoenix will accept either an absolute or relative path for the directory of our new project. Assuming that the name of our application is hello, let's run the following command:
$ mix phx.new hello
By default,
mix phx.newincludes a number of optional dependencies, for example:
Ecto for communicating with a data store, such as PostgreSQL, MySQL, and others. You can skip this with
--no-ecto.Phoenix.HTML, TailwindCSS, and Esbuild for HTML applications. You can skip them with the
--no-htmland--no-assetsflags.Phoenix.LiveView for building realtime and interactive web applications. You can skip this with
--no-live.Read the Mix Tasks Guide for the full list of things that can be excluded, among other options.
mix phx.new hello
* creating hello/config/config.exs
* creating hello/config/dev.exs
* creating hello/config/prod.exs
...

Fetch and install dependencies? [Yn]
Phoenix generates the directory structure and all the files we will need for our application.
Phoenix promotes the usage of git as version control software: among the generated files we find a
.gitignore. We cangit initour repository, and immediately add and commit all that hasn't been marked ignored.
When it's done, it will ask us if we want it to install our dependencies for us. Let's say yes to that.
Fetch and install dependencies? [Yn] Y
* running mix deps.get
* running mix assets.setup
* running mix deps.compile

We are almost there! The following steps are missing:

    $ cd hello

Then configure your database in config/dev.exs and run:

    $ mix ecto.create

Start your Phoenix app with:

    $ mix phx.server

You can also run your app inside IEx (Interactive Elixir) as:

    $ iex -S mix phx.server
Once our dependencies are installed, the task will prompt us to change into our project directory and start our application.
Phoenix assumes that our PostgreSQL database will have a postgres user account with the correct permissions and a password of "postgres". If that isn't the case, please see the Mix Tasks Guide to learn more about the mix ecto.create task.
Ok, let's give it a try. First, we'll cd into the hello/ directory we've just created:
$ cd hello
Now we'll create our database:
$ mix ecto.create
Compiling 13 files (.ex)
Generated hello app
The database for Hello.Repo has been created
In case the database could not be created, see the guides for the mix ecto.create for general troubleshooting.
Note: if this is the first time you are running this command, Phoenix may also ask to install Rebar. Go ahead with the installation as Rebar is used to build Erlang packages.
And finally, we'll start the Phoenix server:
$ mix phx.server
[info] Running HelloWeb.Endpoint with cowboy 2.9.0 at 127.0.0.1:4000 (http)
[info] Access HelloWeb.Endpoint at http://localhost:4000
[watch] build finished, watching for changes...
...
If we choose not to have Phoenix install our dependencies when we generate a new application, the mix phx.new task will prompt us to take the necessary steps when we do want to install them.
Fetch and install dependencies? [Yn] n

We are almost there! The following steps are missing:

    $ cd hello
    $ mix deps.get

Then configure your database in config/dev.exs and run:

    $ mix ecto.create

Start your Phoenix app with:

    $ mix phx.server

You can also run your app inside IEx (Interactive Elixir) as:

    $ iex -S mix phx.server
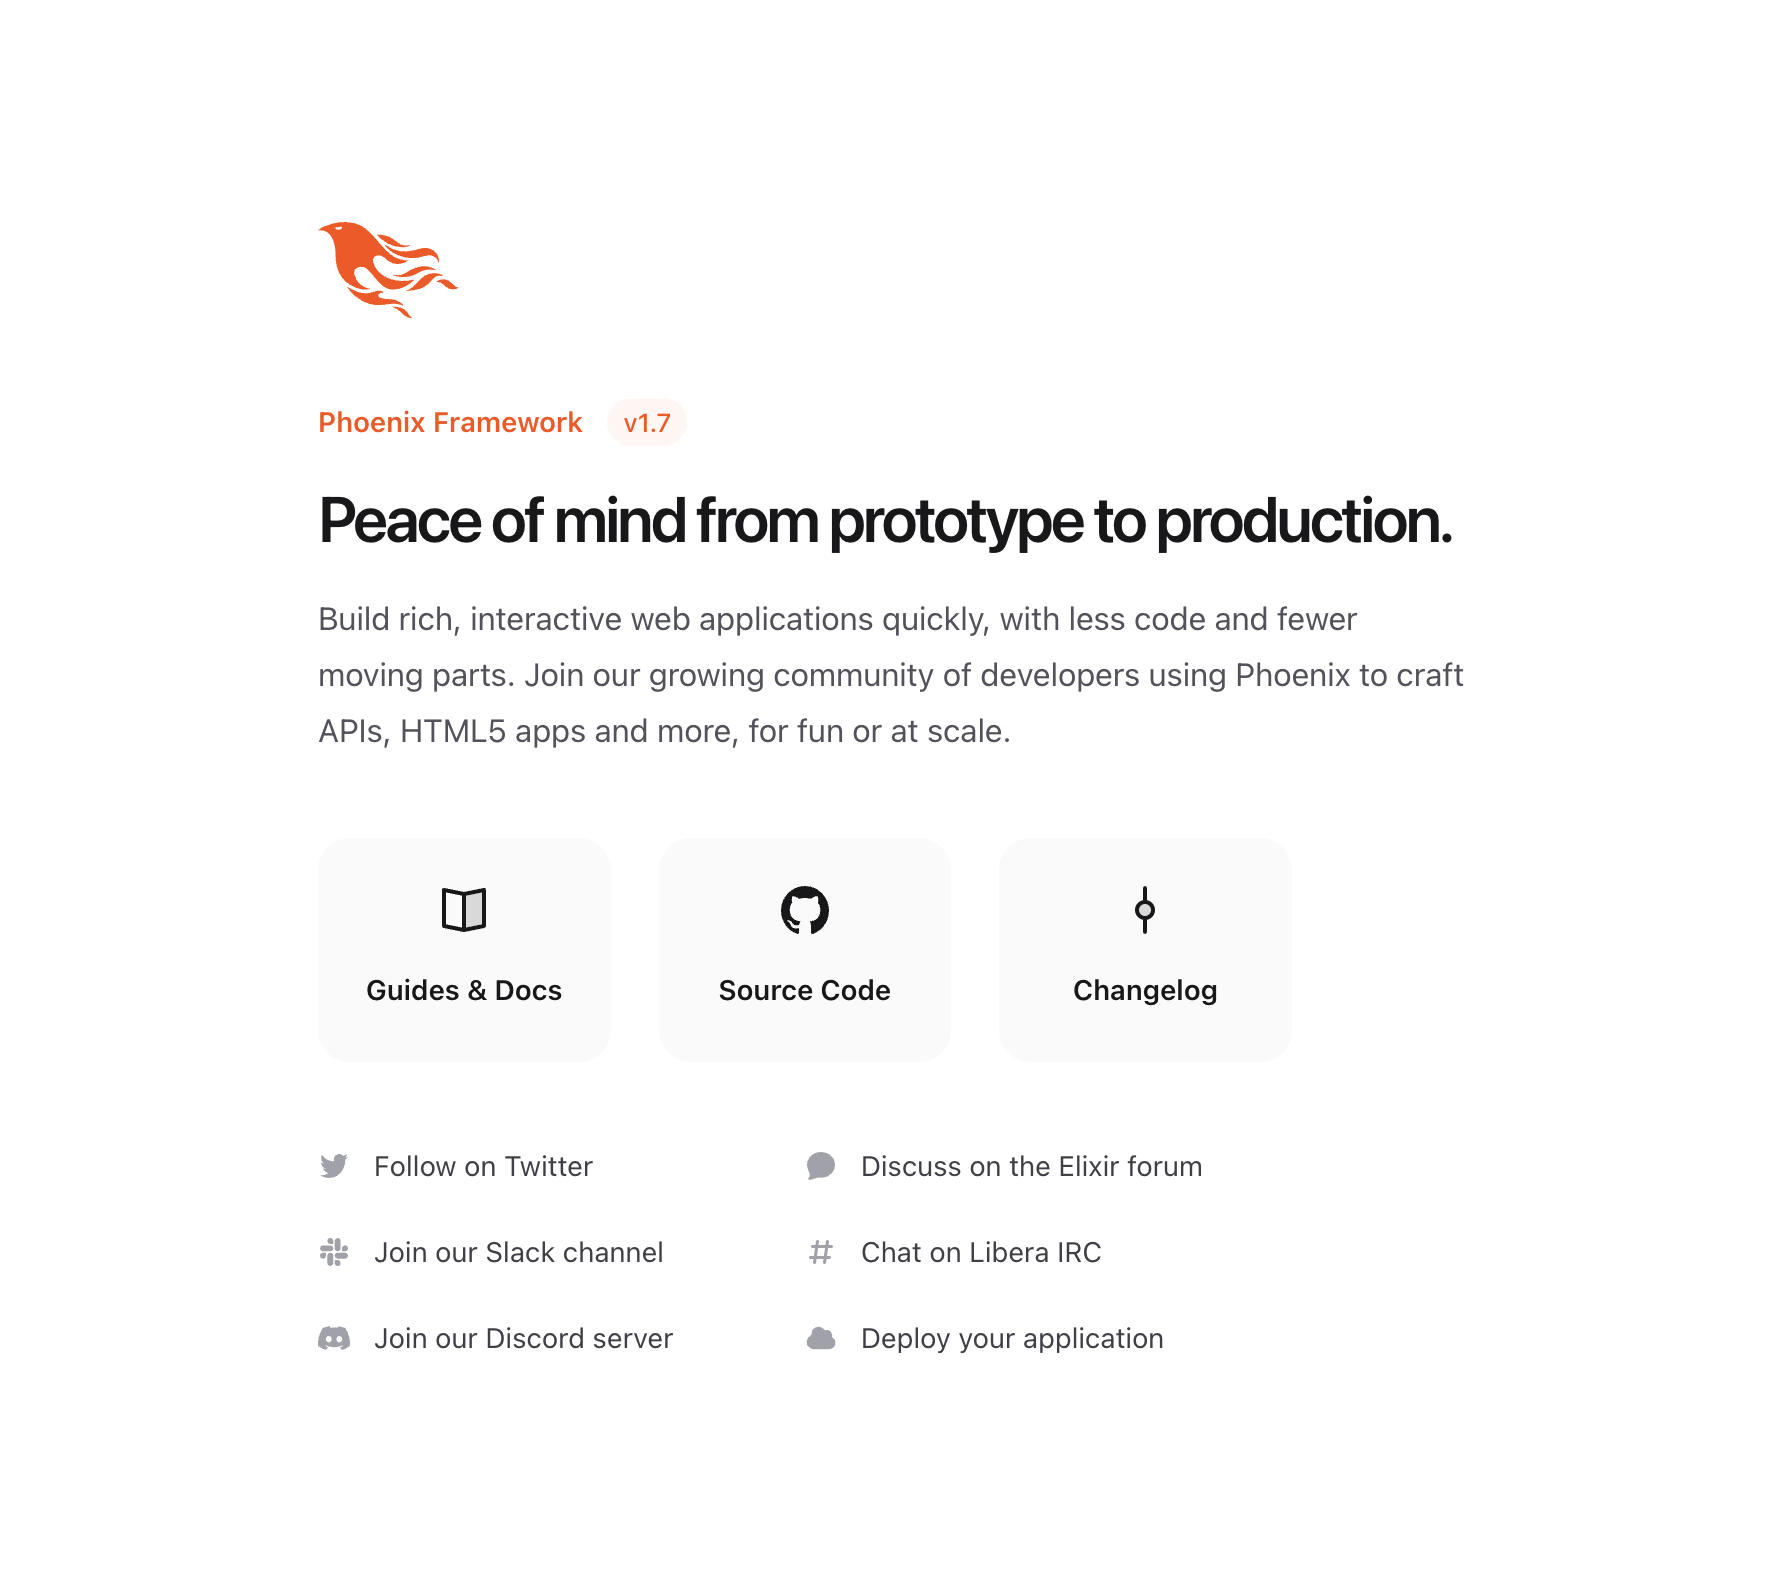
By default, Phoenix accepts requests on port 4000. If we point our favorite web browser at http://localhost:4000, we should see the Phoenix Framework welcome page.

If your screen looks like the image above, congratulations! You now have a working Phoenix application. In case you can't see the page above, try accessing it via http://127.0.0.1:4000 and later make sure your OS has defined "localhost" as "127.0.0.1".
To stop it, we hit ctrl-c twice.
Now you are ready to explore the world provided by Phoenix! See our community page for books, screencasts, courses, and more.
Alternatively, you can continue reading these guides to have a quick introduction into all the parts that make your Phoenix application. If that's the case, you can read the guides in any order or start with our guide that explains the Phoenix directory structure.