View Source Create a SwiftUI Application
![]()
Overview
This guide will teach you how to set up a SwiftUI Application for LiveView Native.
Typically, we recommend using the mix lvn.install task as described in Getting Started to add LiveView Native to a Phoenix project. However, we will walk through the steps of manually setting up an Xcode iOS project to learn how the iOS side of a LiveView Native application works.
In future lessons, you'll use this iOS application to view iOS examples in the Xcode simulator (or a physical device if you prefer.)
Prerequisites
First, make sure you have followed the Getting Started guide. Then, evaluate the smart cell below. Visit http://localhost:4000 to ensure the Phoenix server runs properly. You should see the text Hello from LiveView!
defmodule ServerWeb.ExampleLive.SwiftUI do
  use ServerNative, [:render_component, format: :swiftui]

  def render(assigns) do
    ~LVN"""
    <Text>Hello, from LiveView Native!</Text>
    """
  end
end

defmodule ServerWeb.ExampleLive do
  use ServerWeb, :live_view
  use ServerNative, :live_view

  @impl true
  def render(assigns), do: ~H"Hello from LiveView!"
end
Next, we're going to setup an Xcode application so that you can run these Livebooks on a native simulator.
Create the iOS Application
Open Xcode and select Create New Project.

To create an iOS application, select the iOS and App options and click Next.

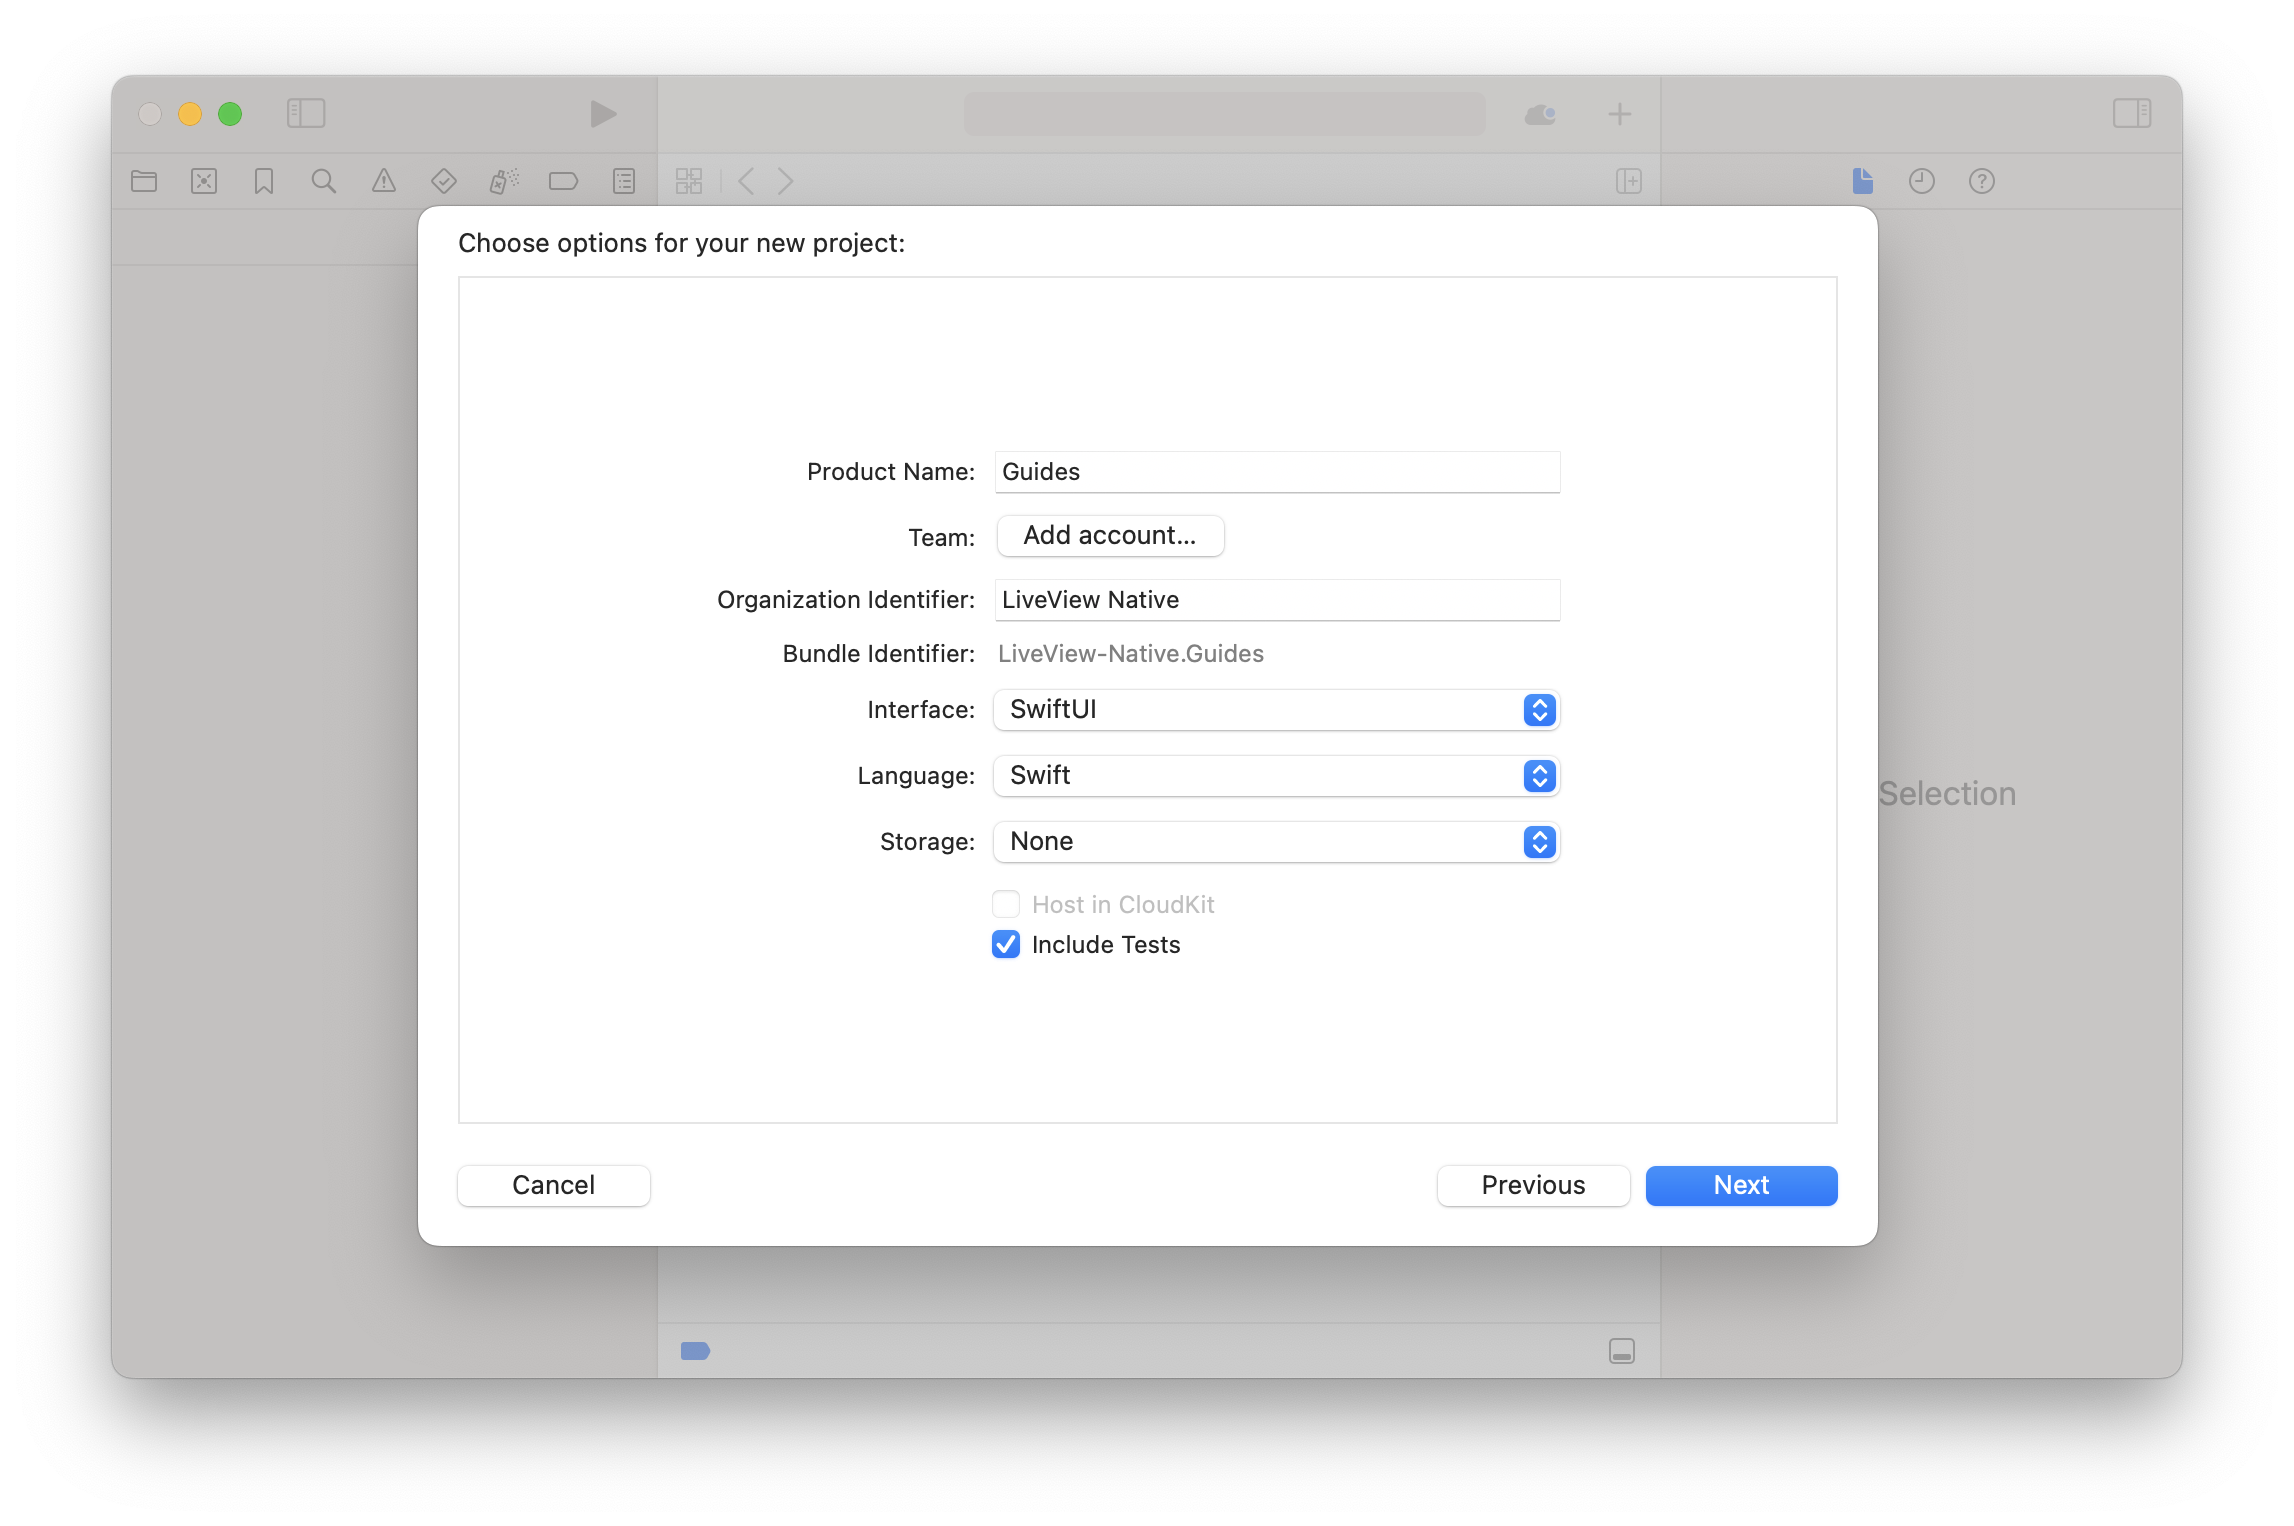
Choose options for your new project that match the following image, then click Next.
What do these options mean?
- Product Name: The name of the application. This can be any valid name. We've chosen Guides.
- Organization Identifier: A reverse DNS string that uniquely identifies your organization. If you don't have a company identifier, Apple recommends using com.example.your_name where your_name is your organization or personal name.
- Interface: The Xcode user interface to use. Select SwiftUI to create an app that uses the SwiftUI app lifecycle.
- Language: Determines which language Xcode should use for the project. Select Swift.
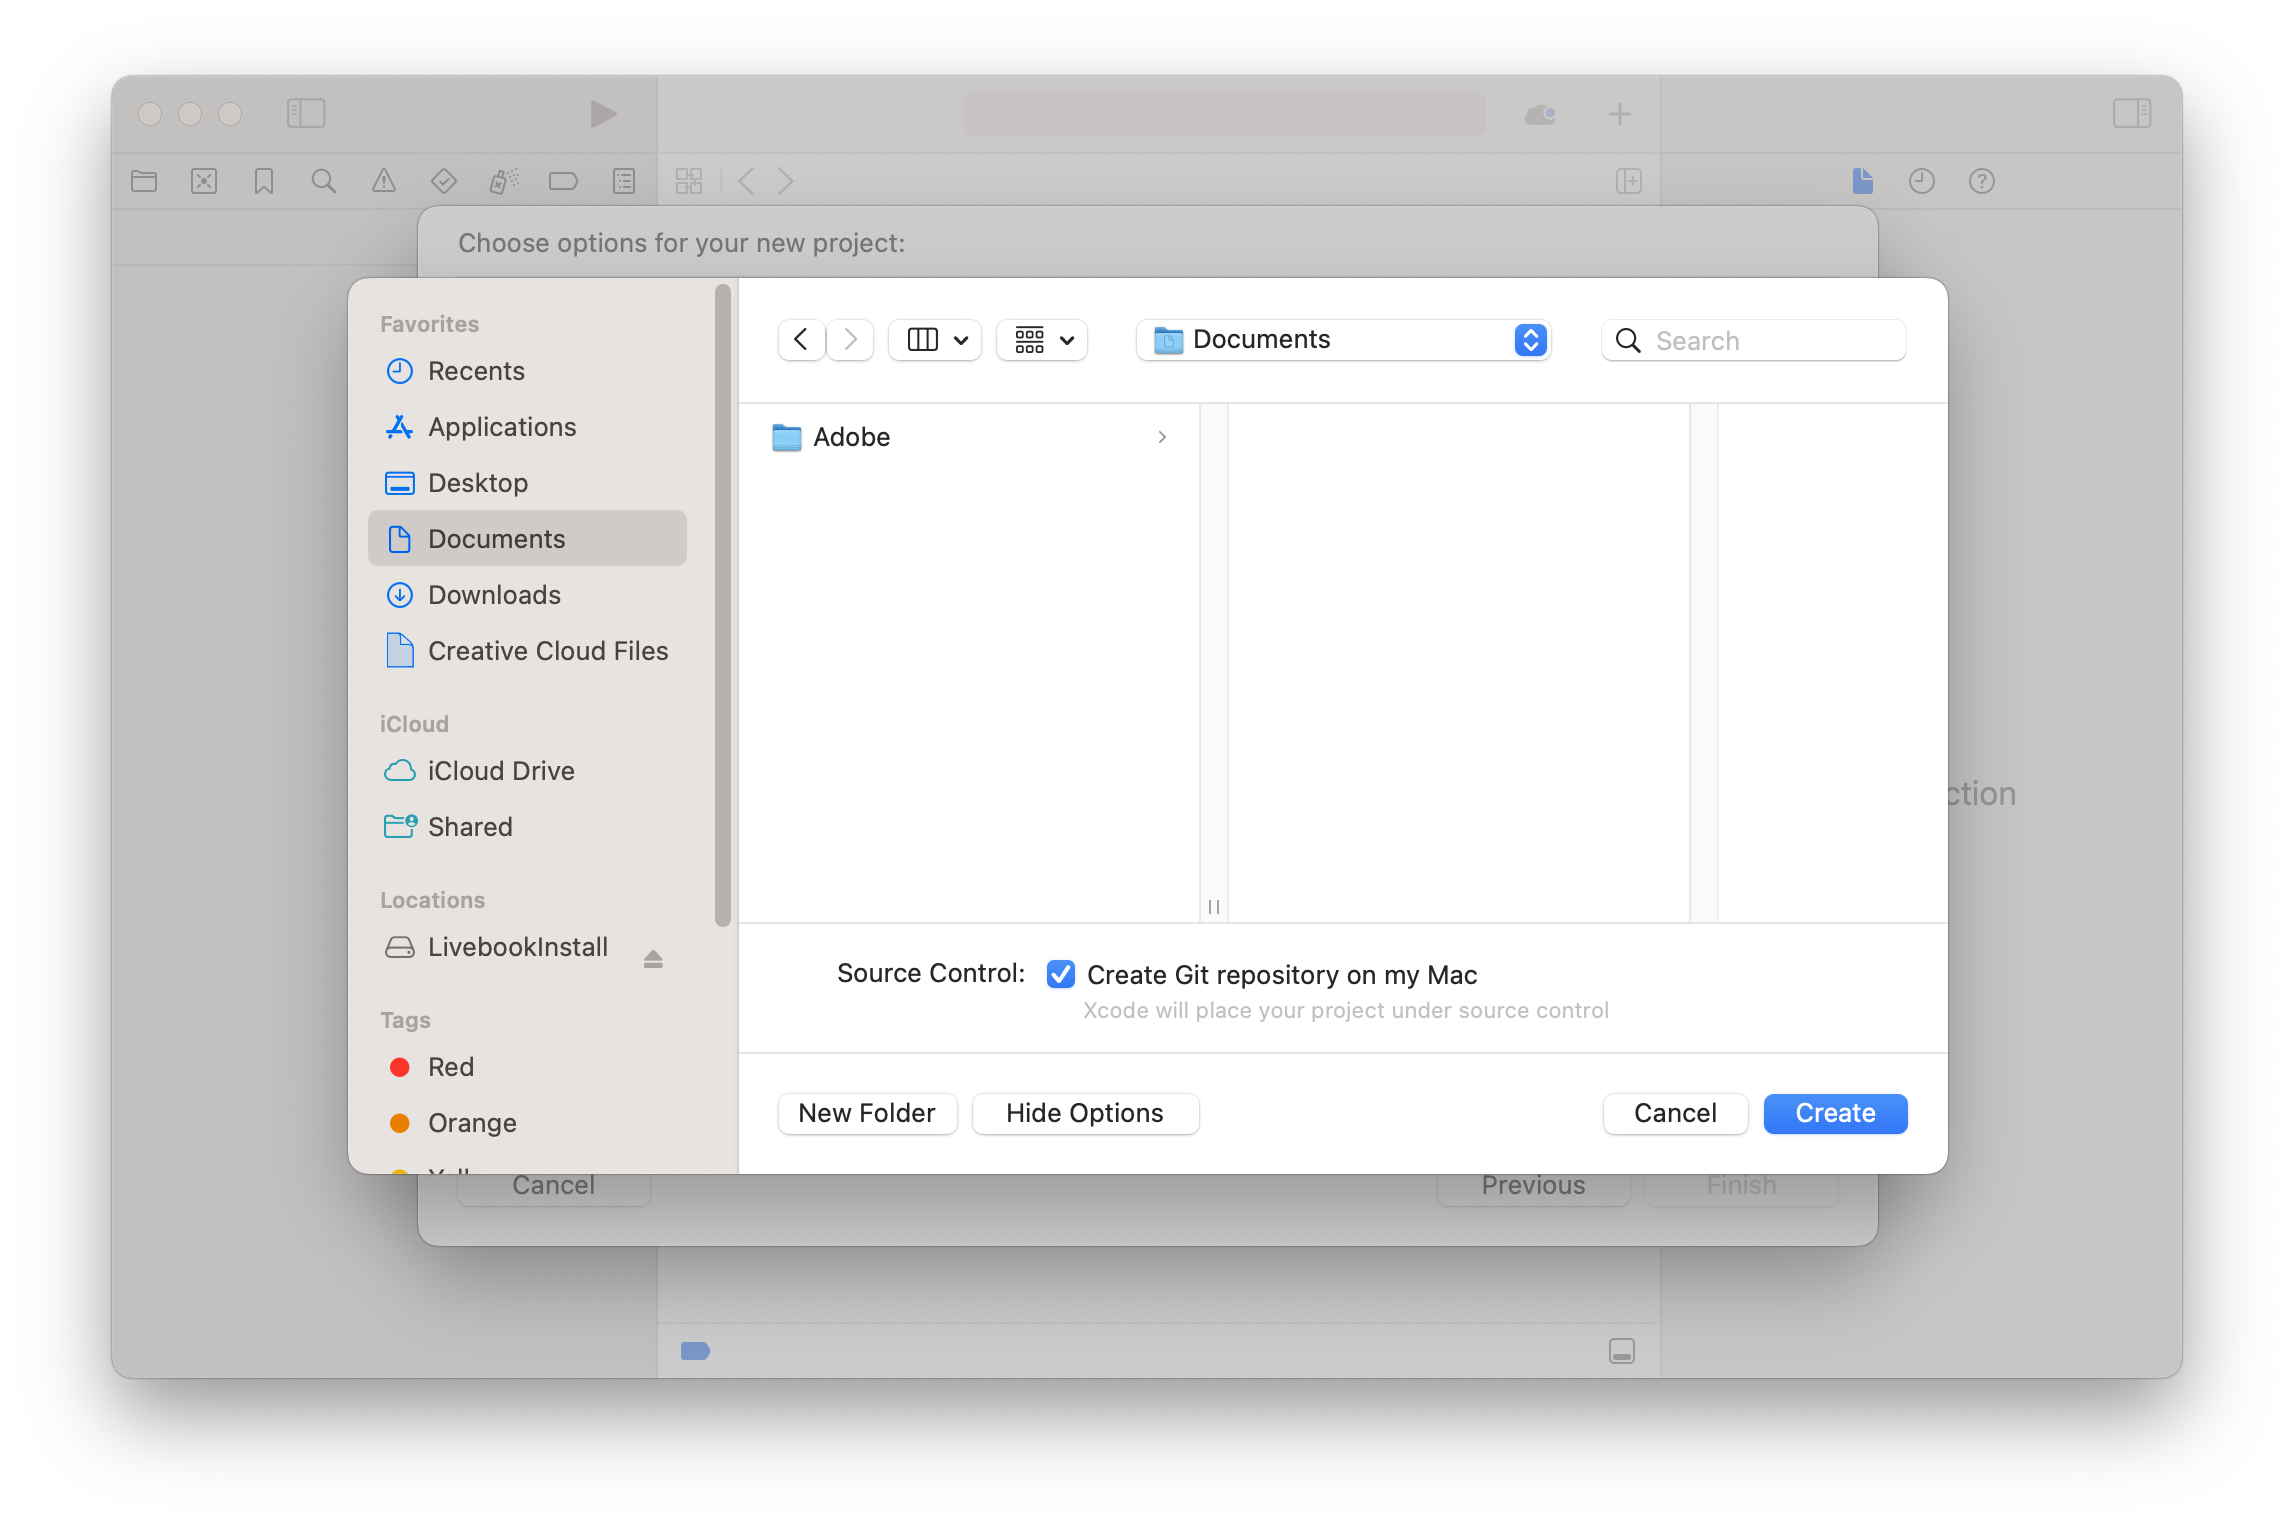
Select an appropriate folder location to store the iOS project, then click Create.
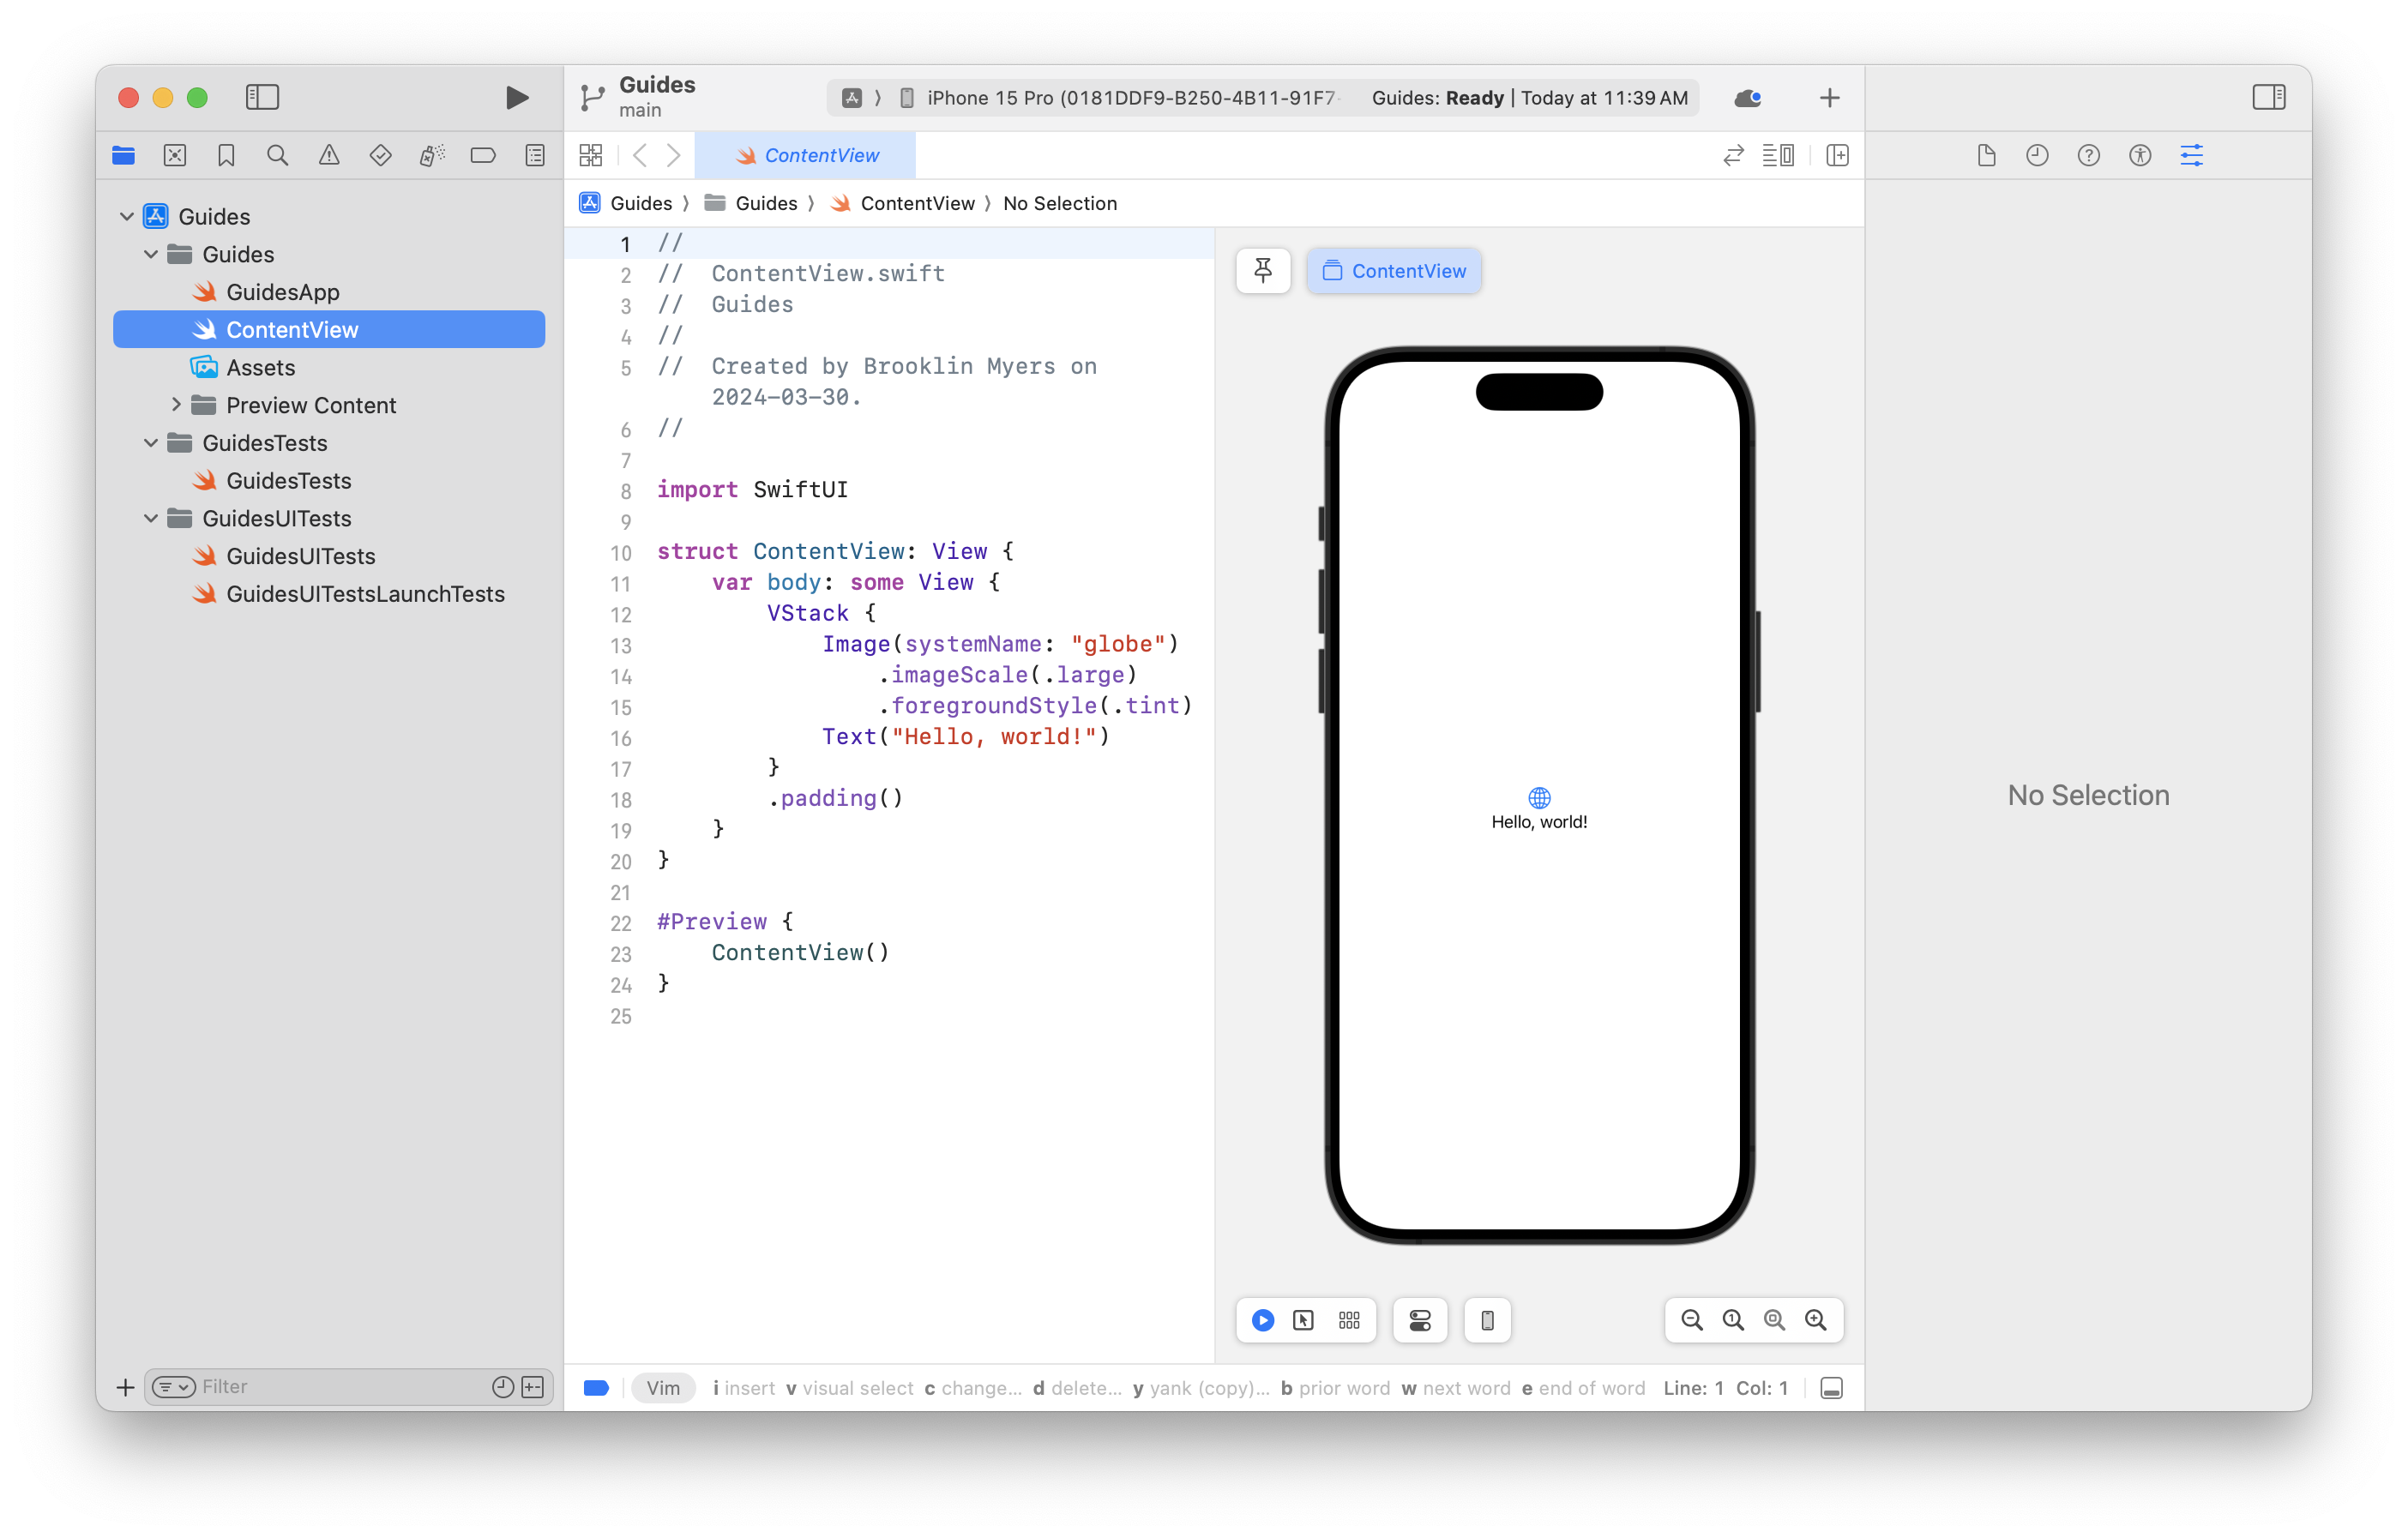
You should see the default iOS application generated by Xcode.
Add the LiveView Client SwiftUI Package
The LiveView Client SwiftUI Package allows your SwiftUI client application to connect to a Phoenix LiveView server.
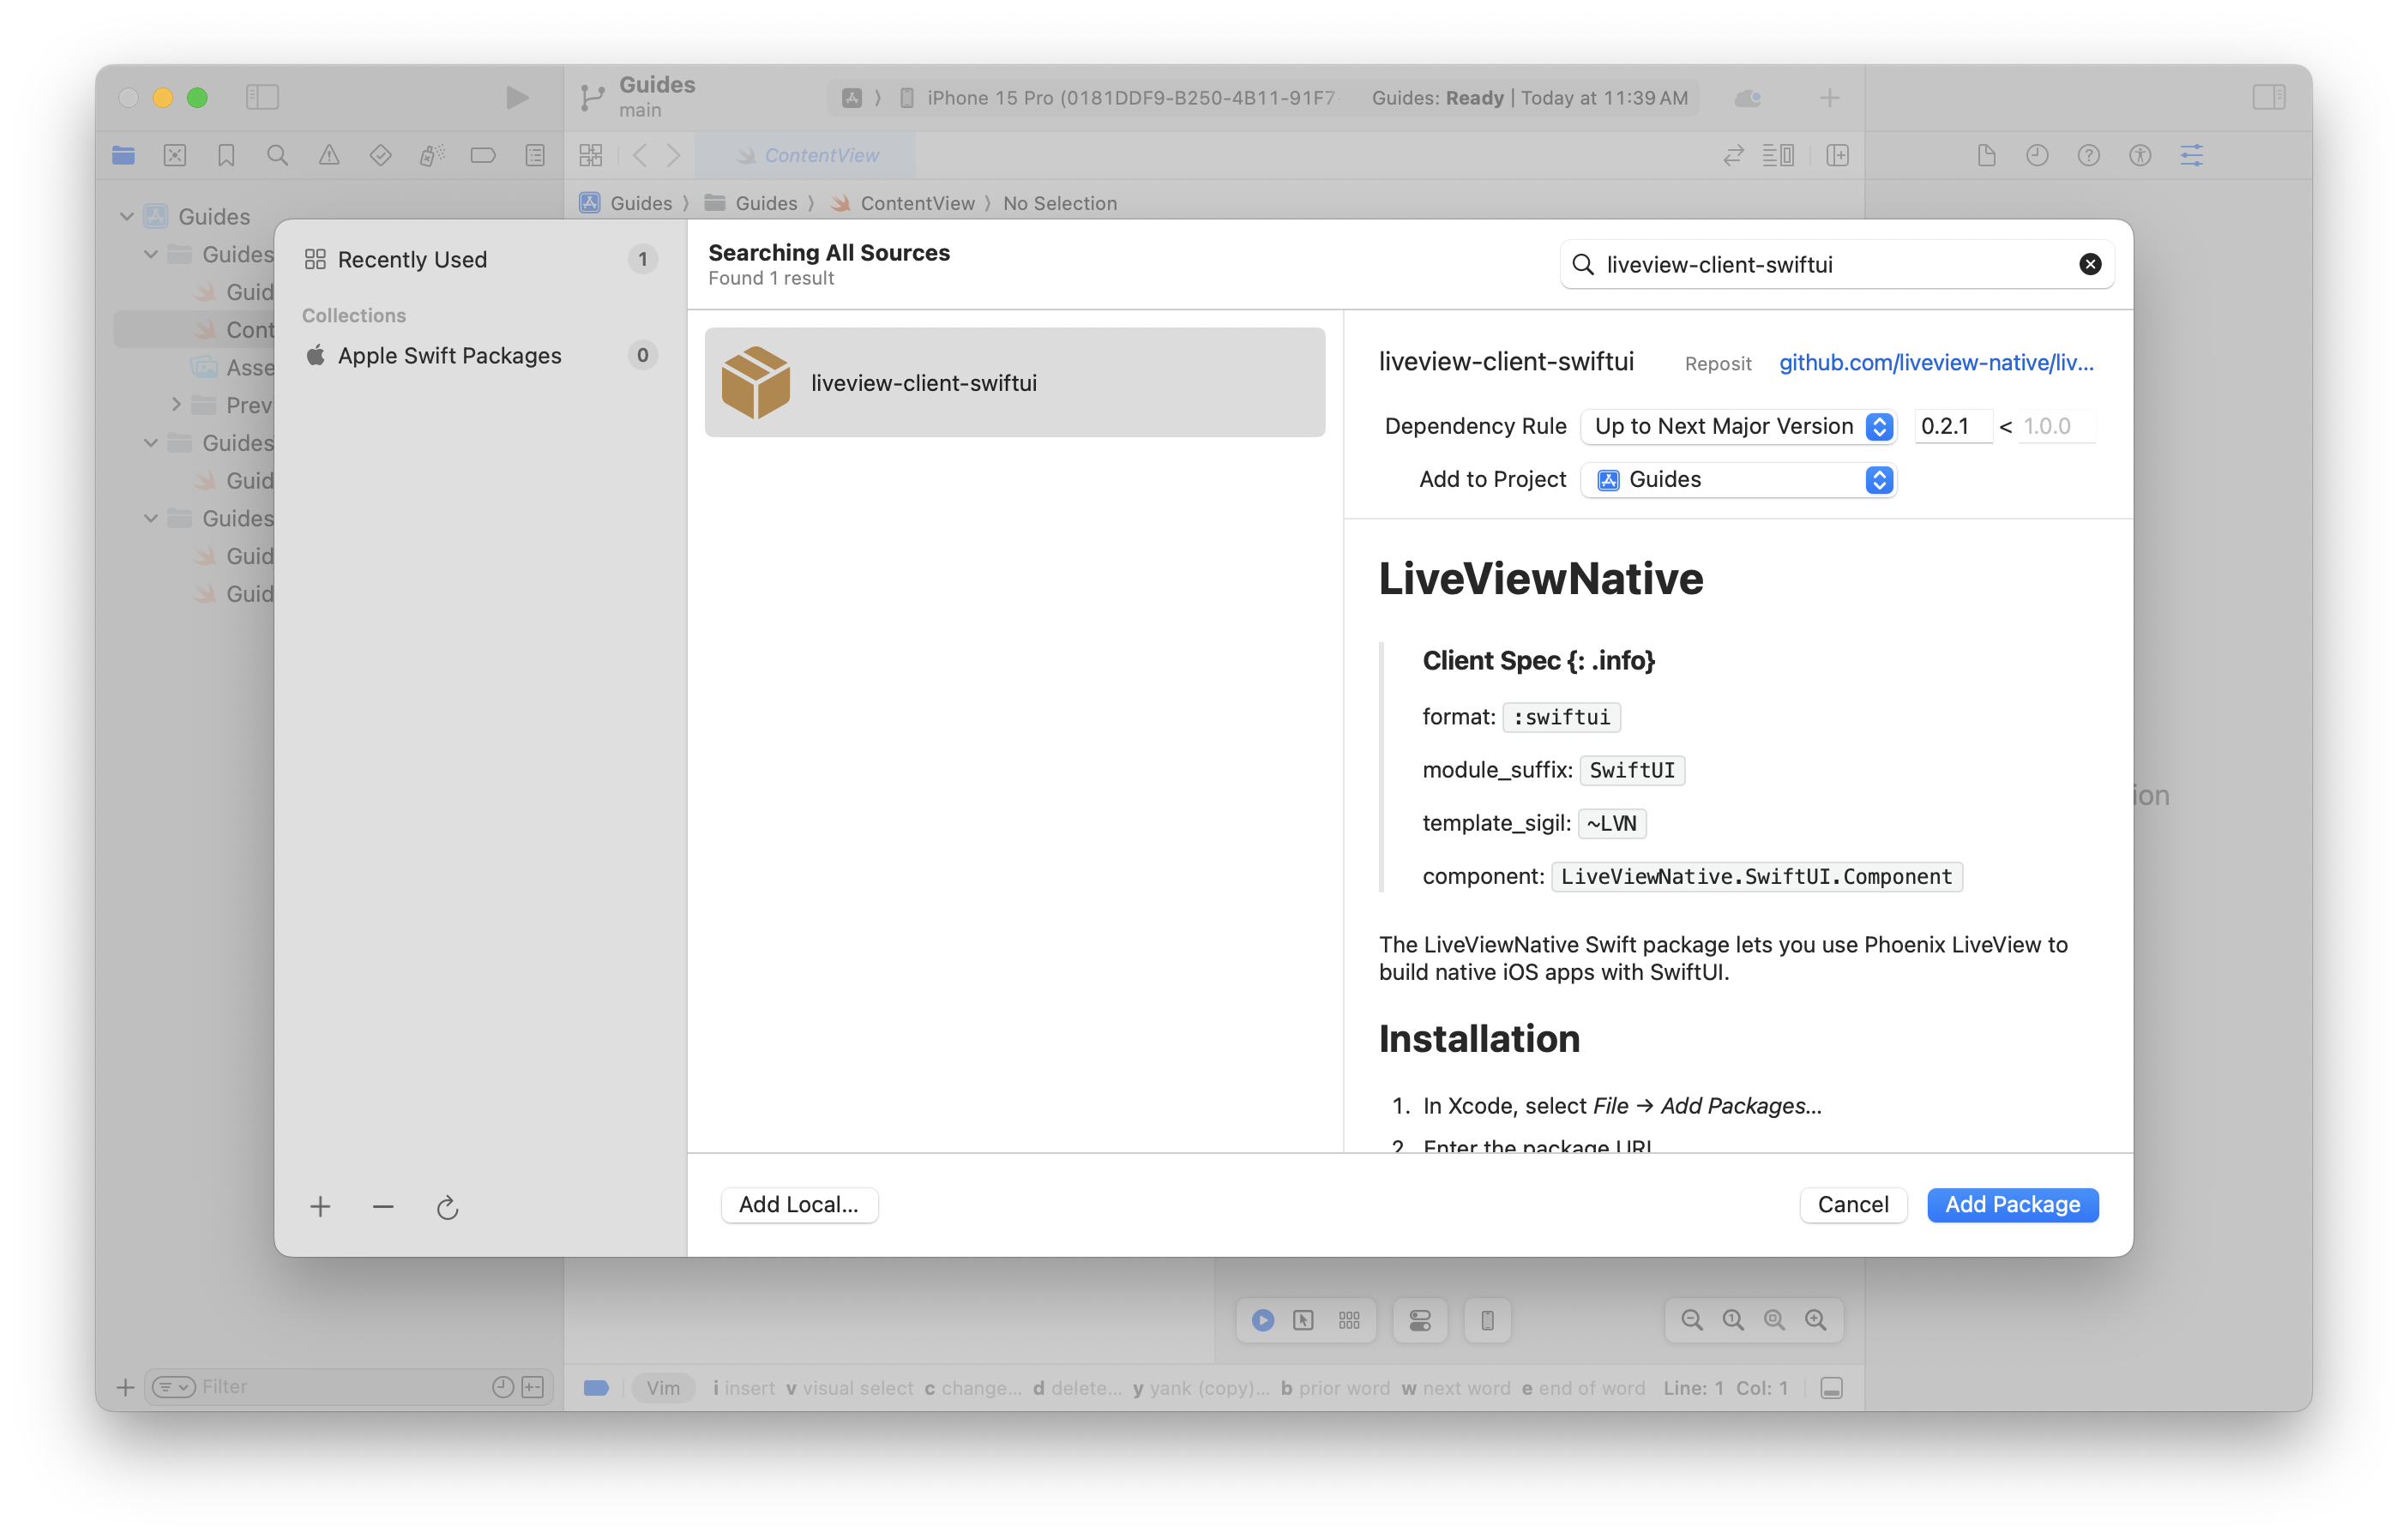
To install the package, from Xcode from the project you just created, select File -> Add Package Dependencies. Then, search for liveview-client-swiftui. Once you have chosen the package, click Add Package.
The image below displays 0.2.0. You should select the latest version of LiveView Native.
Choose the Package Products for liveview-client-swiftui. Select Guides as the target for LiveViewNative and LiveViewNativeStylesheet to add these dependencies to your iOS project.

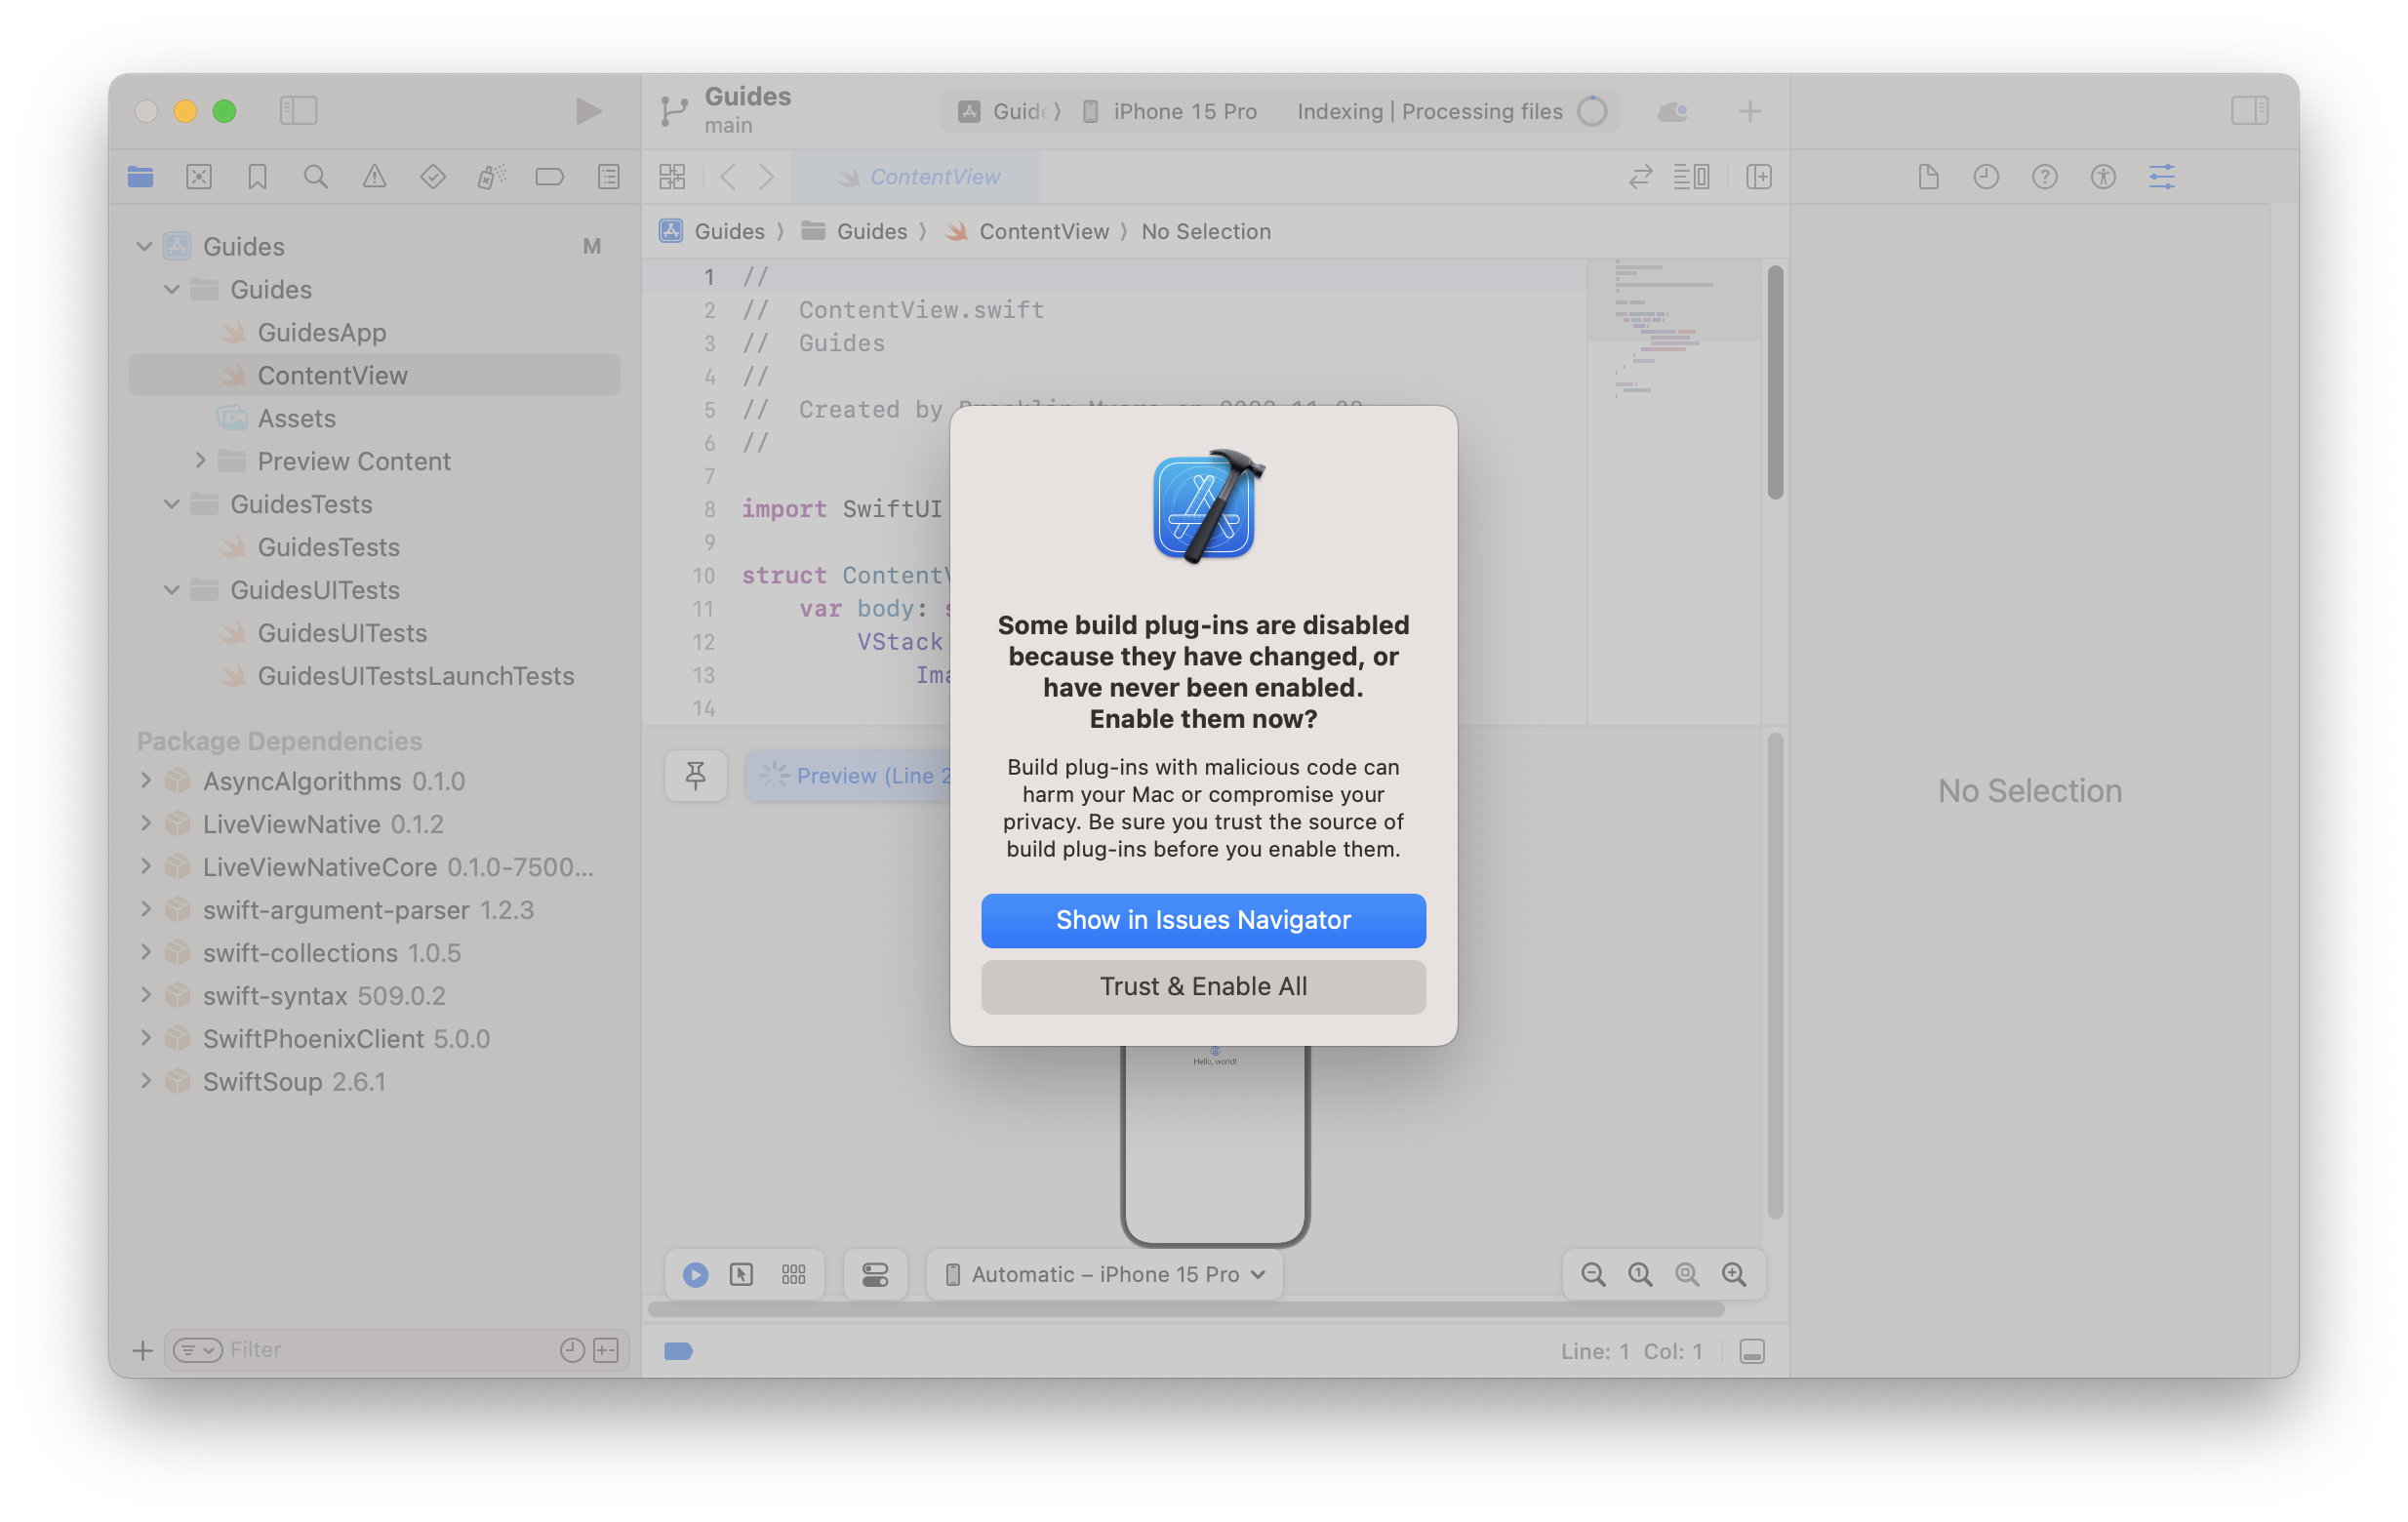
At this point, you'll need to enable permissions for plugins used by LiveView Native. You should see the following prompt. Click Trust & Enable All.
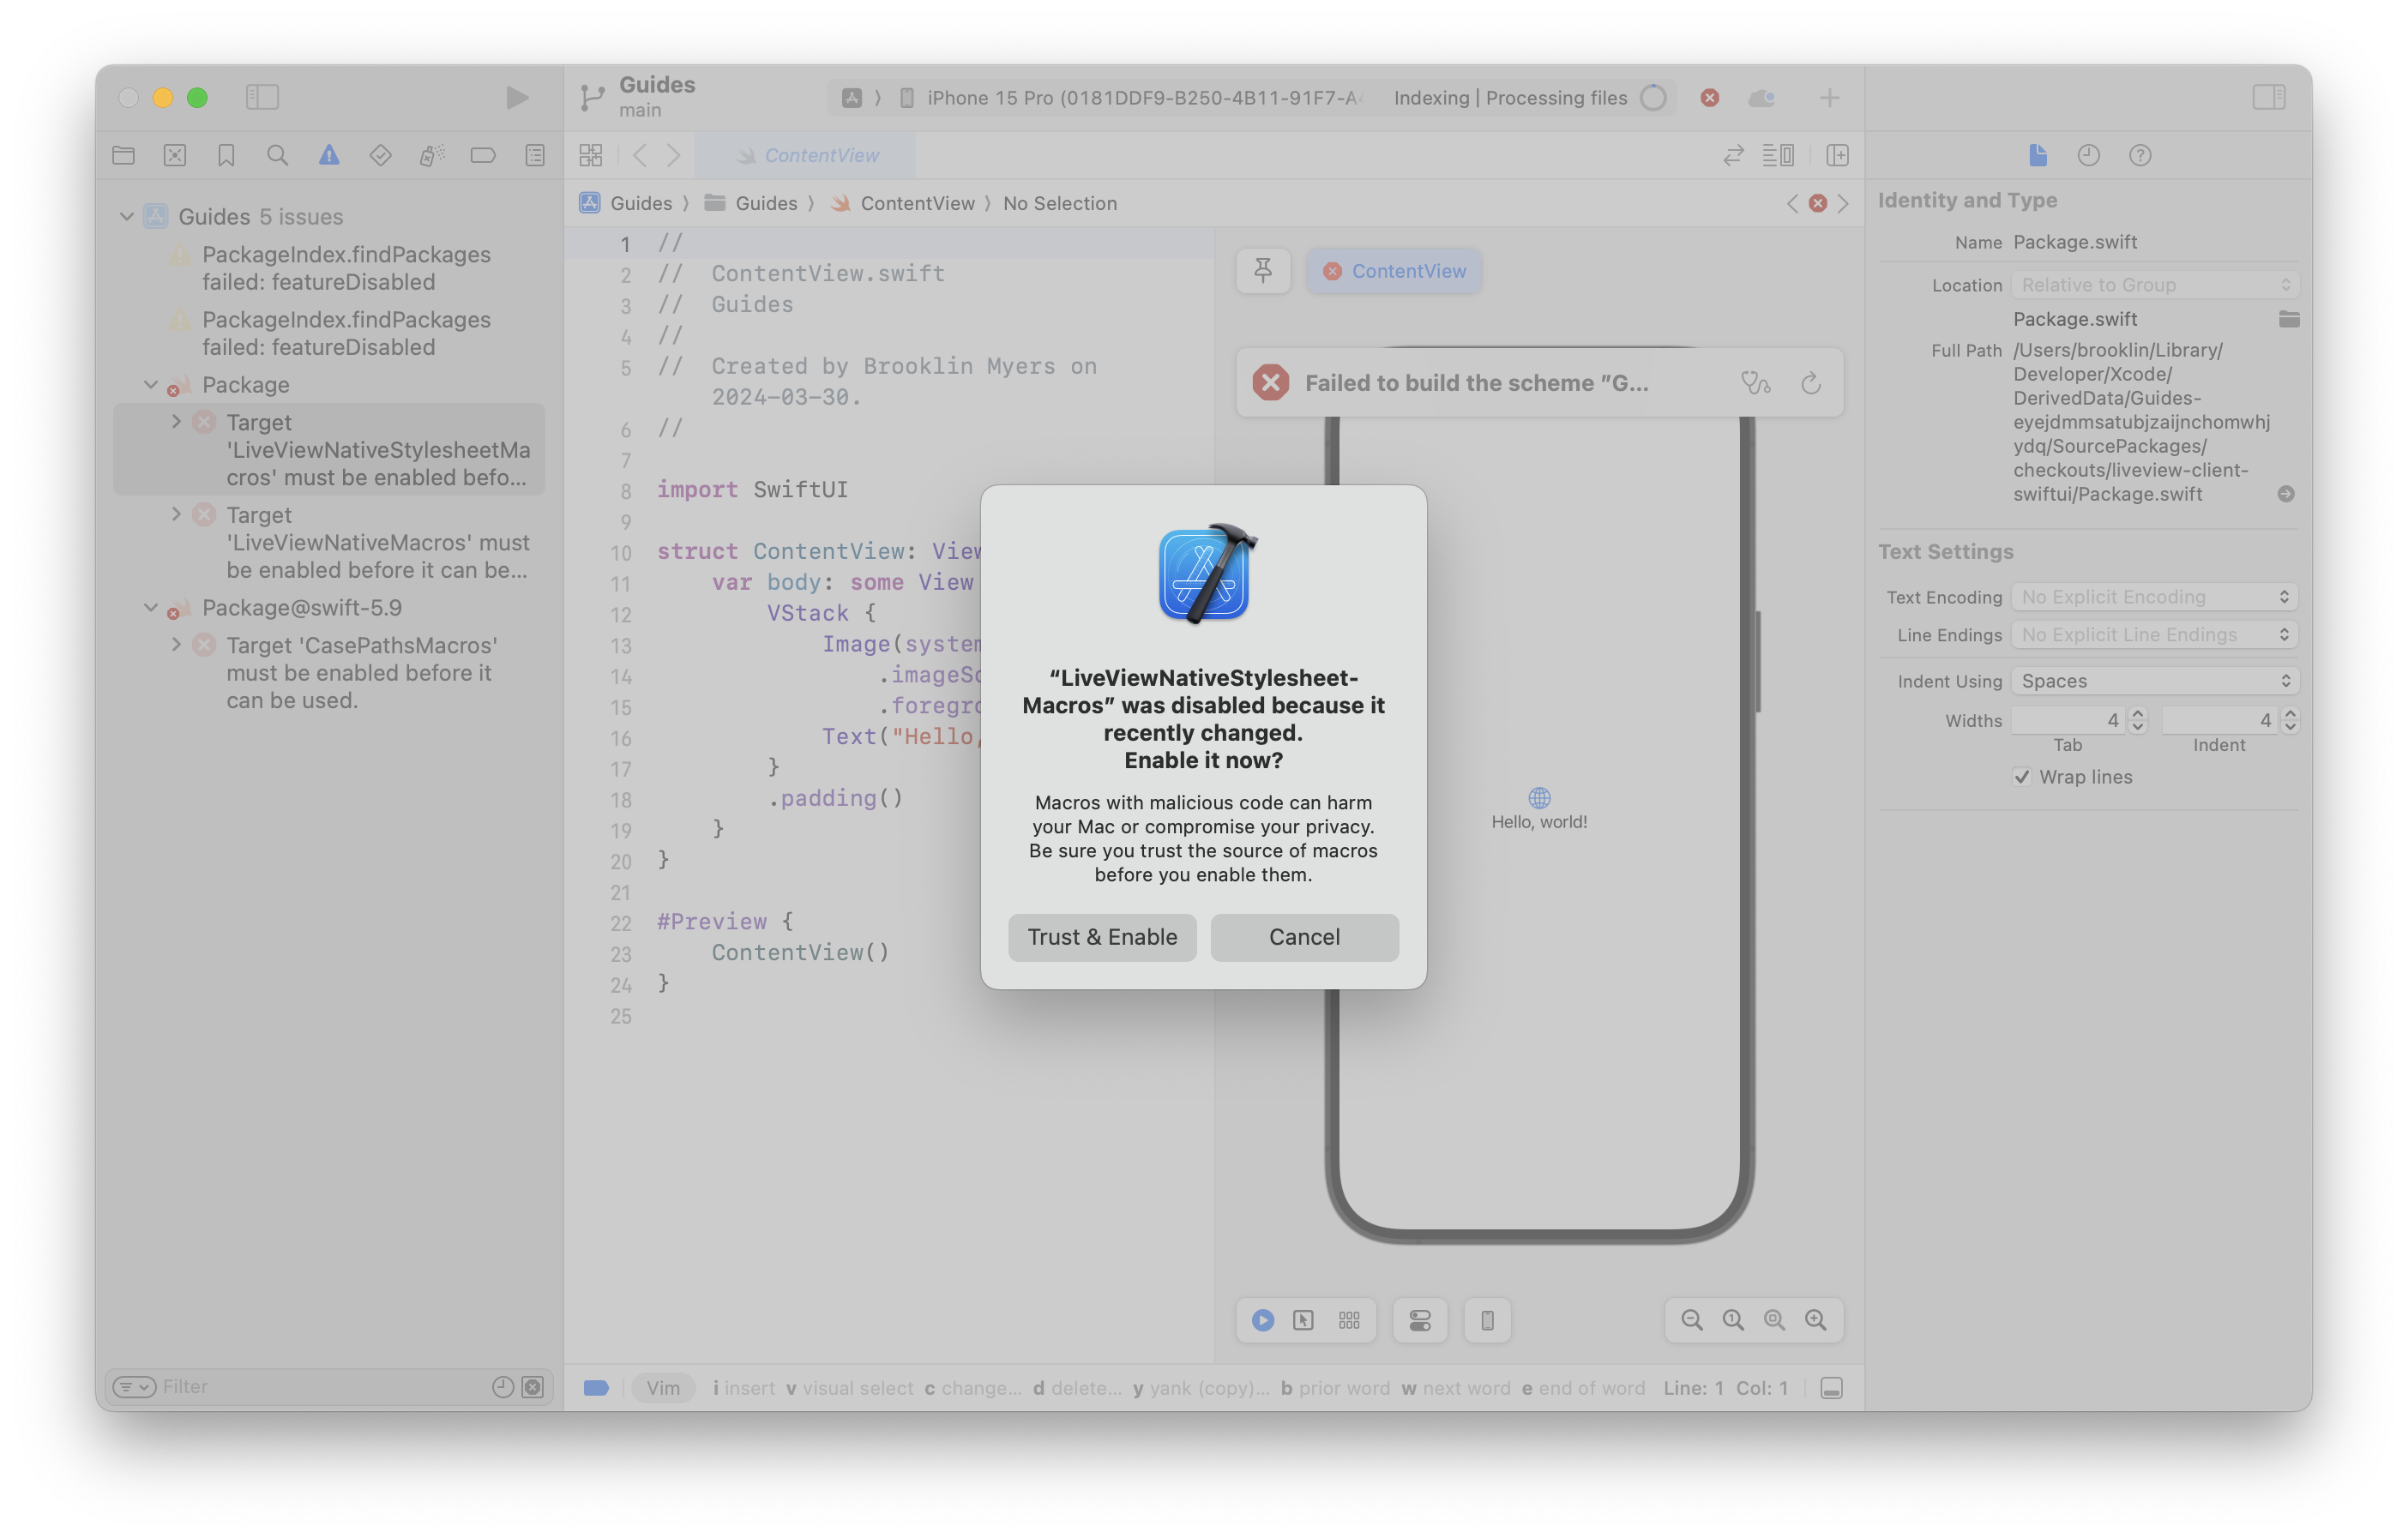
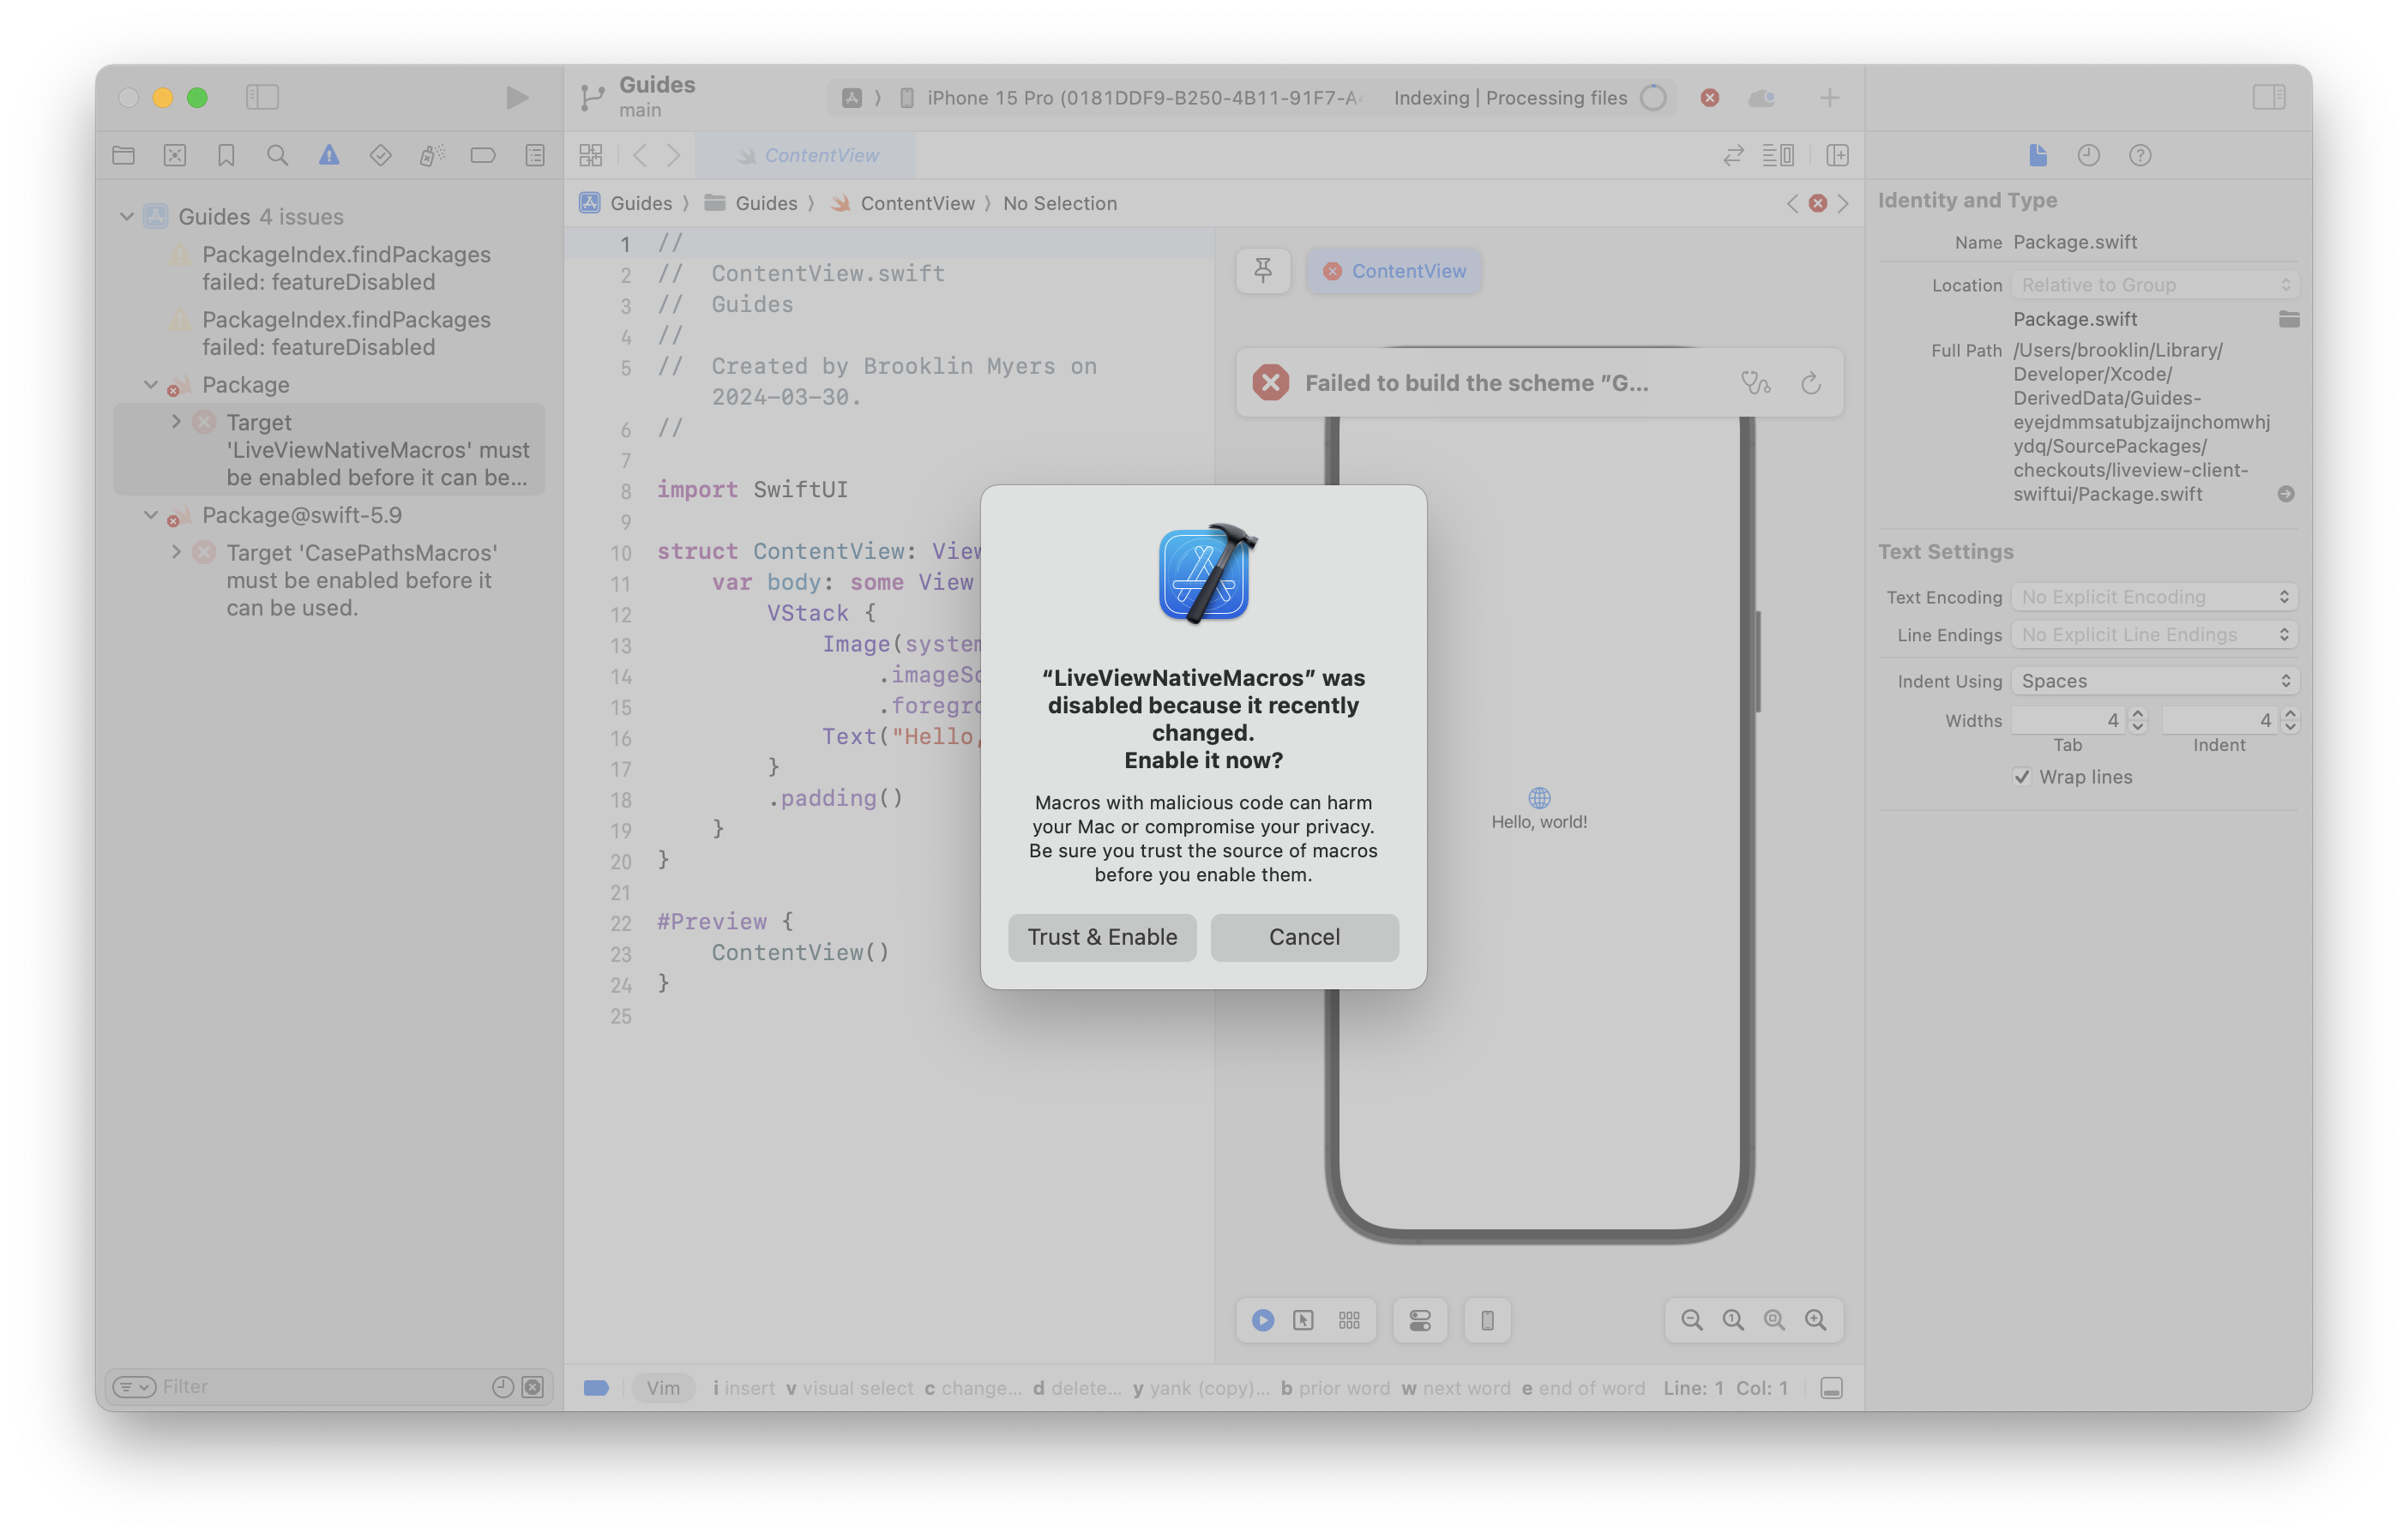
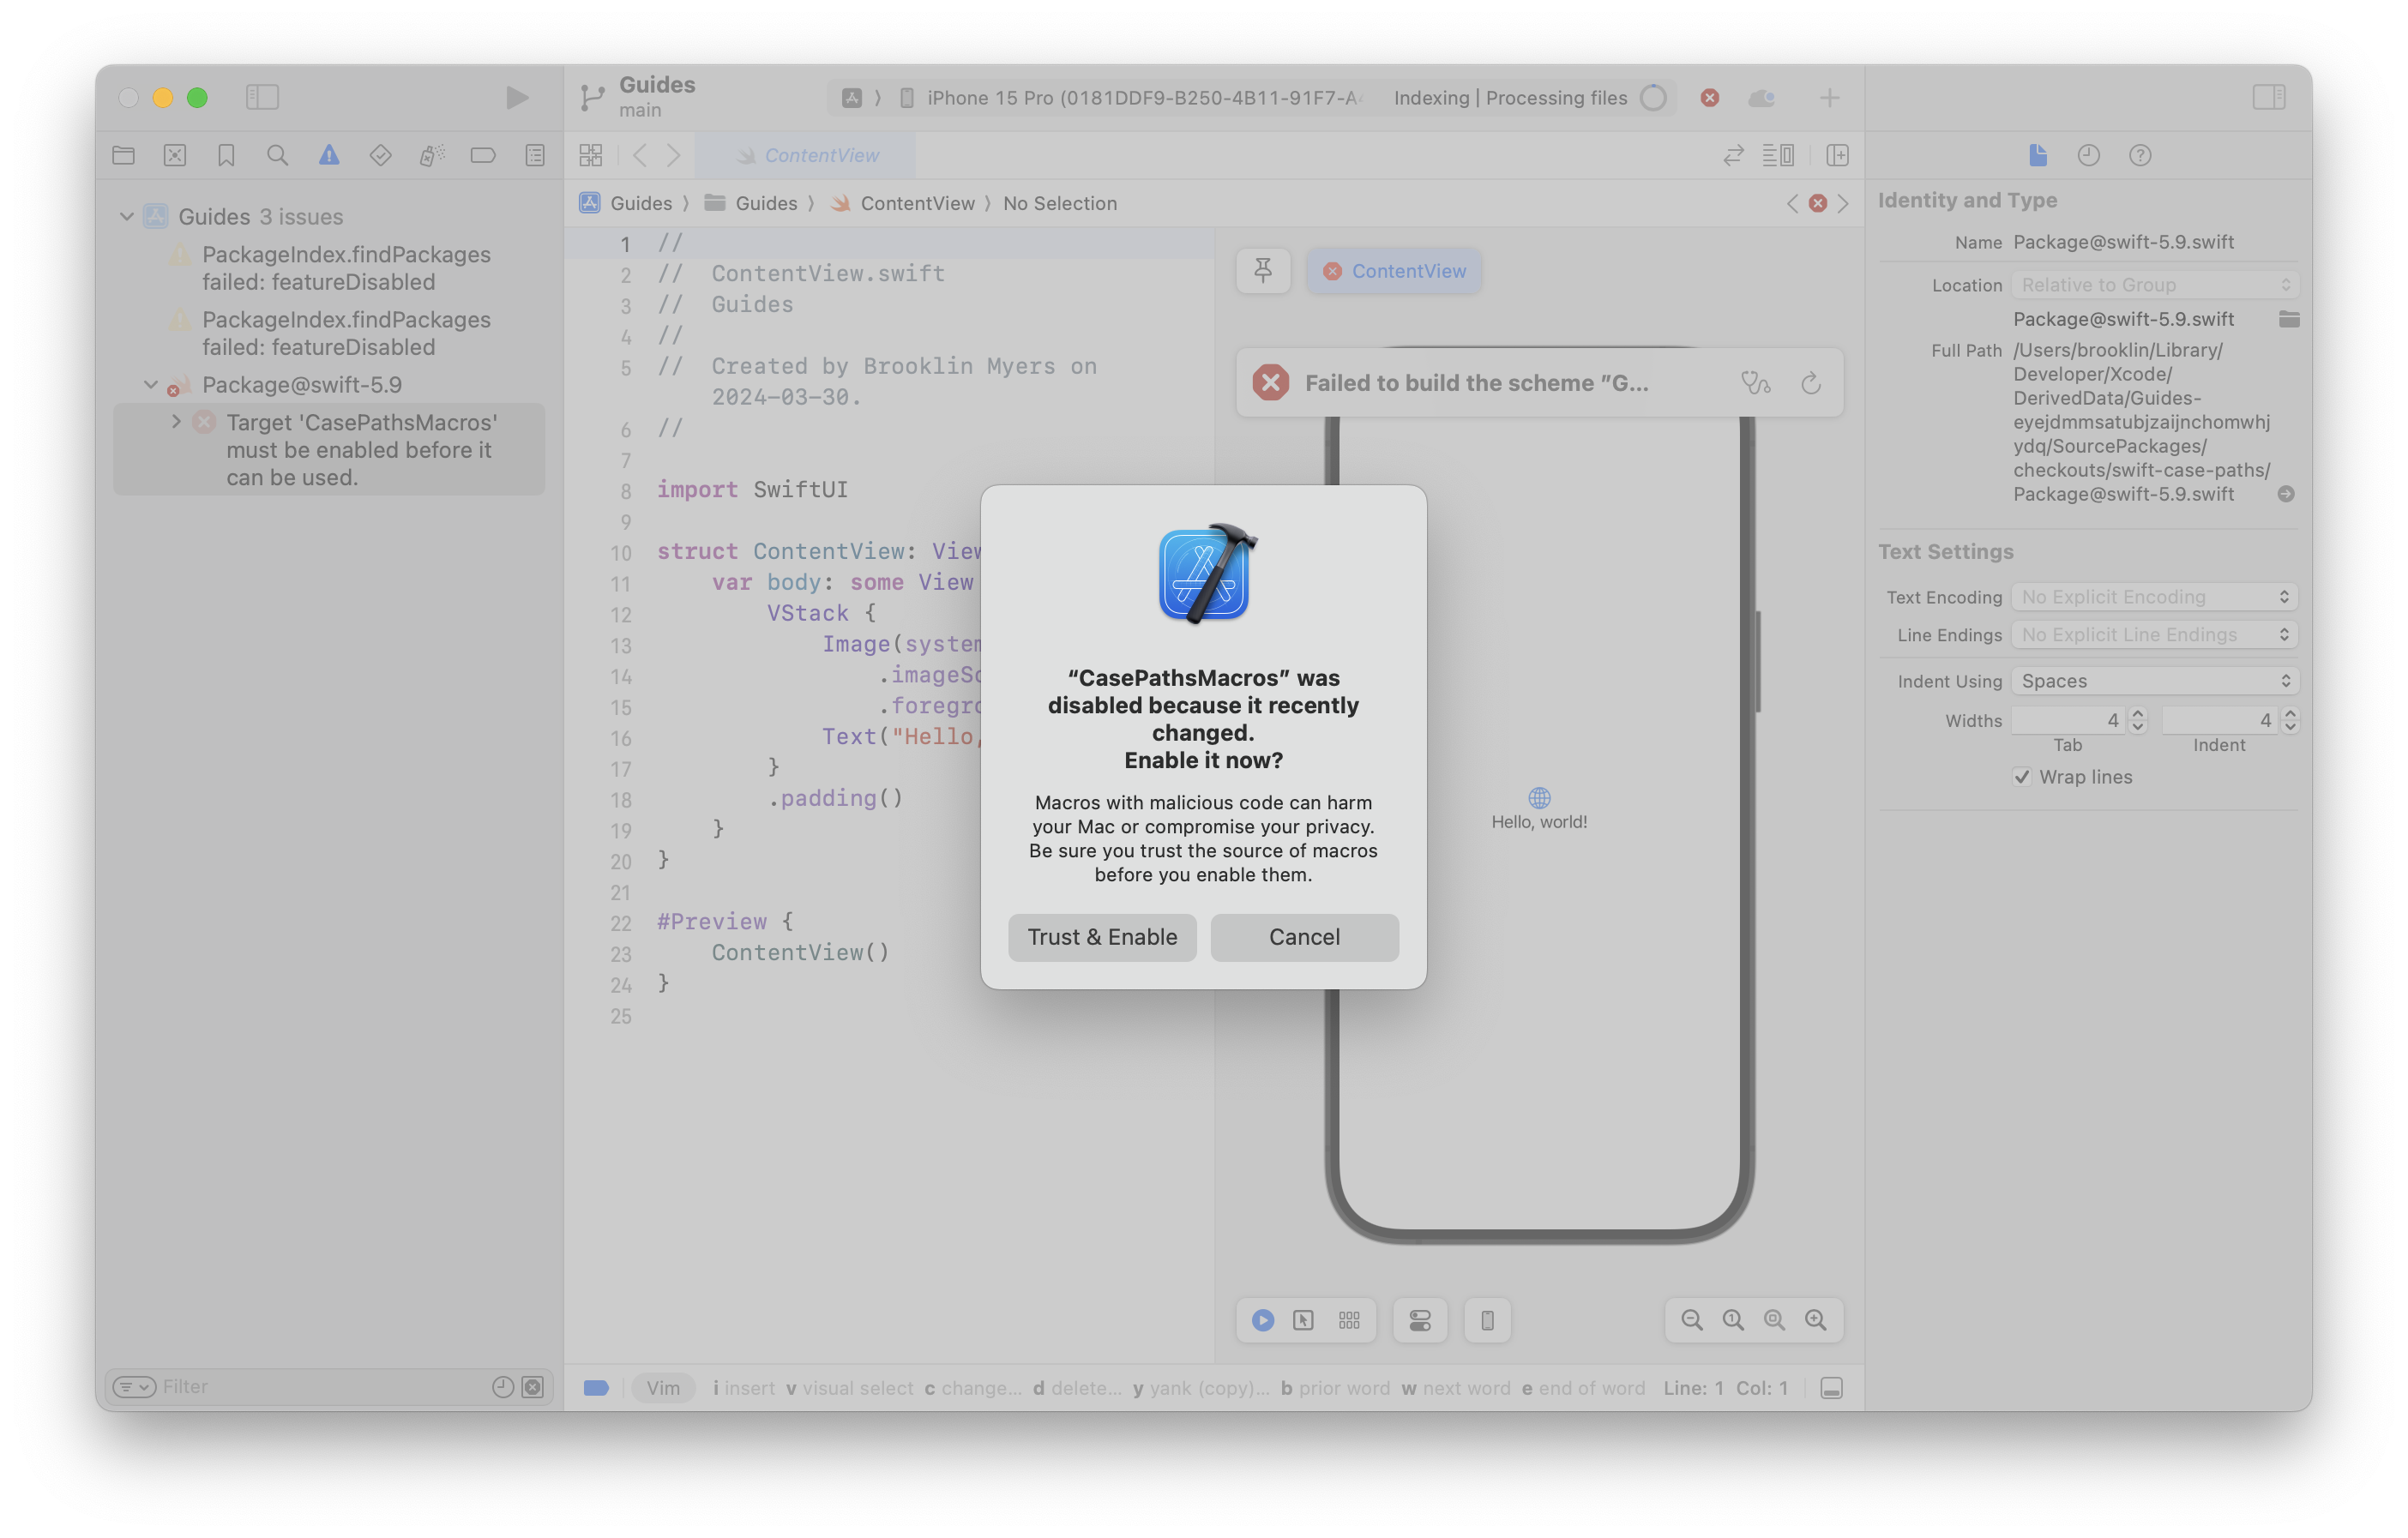
You'll also need to manually navigate to the error tab (shown below) to trust and enable packages. Click on each error to trigger a prompt. Select Trust & Enable to enable the plugin.
The specific plugins are subject to change. At the time of writing you need to enable LiveViewNativeStylesheetMacros, LiveViewNativeMacros, and CasePathMacros as shown in the images below.
Setup the SwiftUI LiveView
The ContentView contains the main view of our iOS application.
Replace the code in the ContentView file with the following to connect the SwiftUI application and the Phoenix application.
import SwiftUI
import LiveViewNative

struct ContentView: View {

    var body: some View {
        #LiveView(.automatic(
            development: .localhost,
            production: URL(string: "https://example.com/")!
        ))
    }
}


// Optionally preview the native UI in Xcode
#Preview {
    ContentView()
}
(Optional) configuration for using a physical device
You may wish to use a physical device instead of a simulator. If so, you'll need to change the development configuration to use your machine's IP address instead of localhost as seen in the example below.
#LiveView(
  .automatic(
    development: URL(string: "http://192.168.1.xxx:4000")!,
    production: URL(string: "https://example.com")!
  )
)
Make sure to replace 192.168.1.xxx with your IP address. You can run the following command in the IEx shell to find your machine's IP address:
iex> IO.puts :os.cmd(~c[ipconfig getifaddr en0])The code above sets up the SwiftUI LiveView. By default, the SwiftUI LiveView connects to any Phoenix app running on http://localhost:4000.
graph LR;
  subgraph I[iOS App]
   direction TB
   ContentView
   SL[SwiftUI LiveView]
  end
  subgraph P[Phoenix App]
    LiveView
  end
  SL --> P
  ContentView --> SL
Start the Active Scheme
Click the run button to build the project and run it on the iOS simulator. Alternatively you may go to Product in the top menu then press Run.
A build scheme contains a list of targets to build and any configuration and environment details that affect the selected action. When you build and run an app, the scheme tells Xcode what launch arguments to pass to the app.
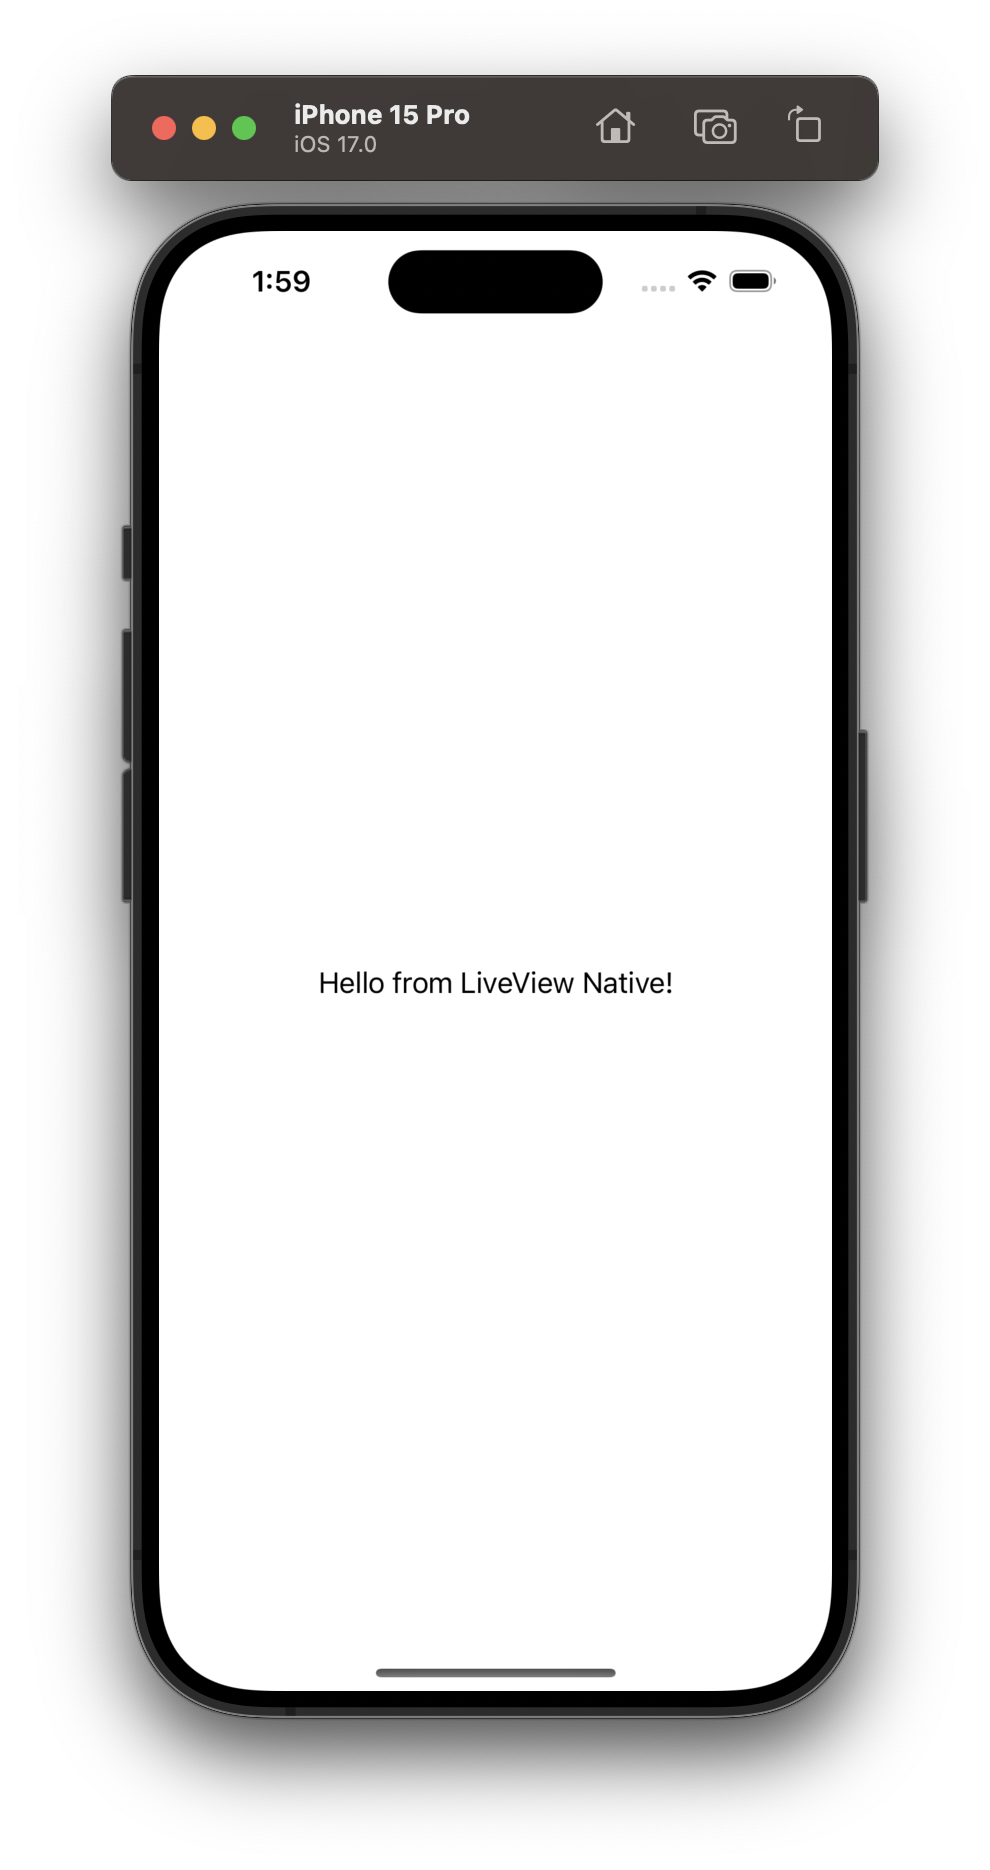
After you start the active scheme, the simulator should open the iOS application and display Hello from LiveView Native! If you encounter any issues, see the Troubleshooting section below.
Troubleshooting
If you encountered any issues with the native application, here are some troubleshooting steps you can use:
- Reset Package Caches: In the Xcode application go to File -> Packages -> Reset Package Caches.
- Update Packages: In the Xcode application go to File -> Packages -> Update to Latest Package Versions.
- Rebuild the Active Scheme: In the Xcode application, press the run button to rebuild the active scheme and run it on the Xcode simulator.
- Update your Xcode version if it is not already the latest version
- Check for error messages in the Livebook smart cells.
You can also raise an issue if you would like support from the LiveView Native team.