FreeBSD Installation
View SourceInstalling FreeBSD from an ISO image is a simple process that takes around 3-5 minutes. If you're used to using containers, you can think of this step as the equivalent of searching for and creating a new container. The upside is you know exactly what is going into your FreeBSD installation.
For most systems. this process only needs to be performed occasionally as FreeBSD systems are updated. This example shows the process for a new installation of FreeBSD 14.1 RELEASE.
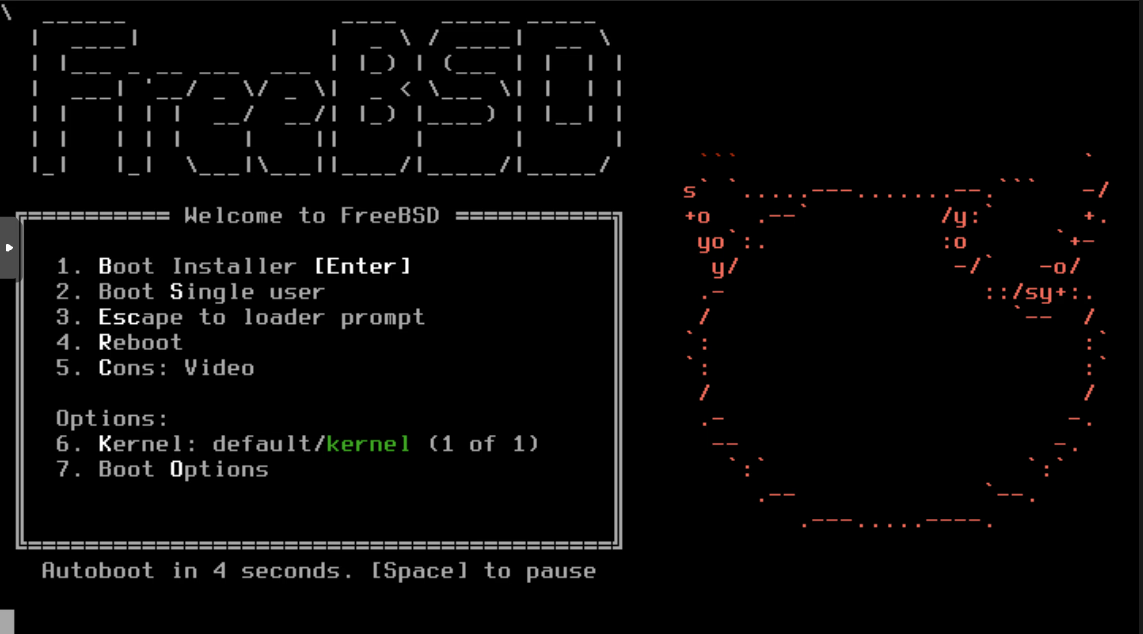
Start the Installer
Select the Boot Installer by hitting enter.
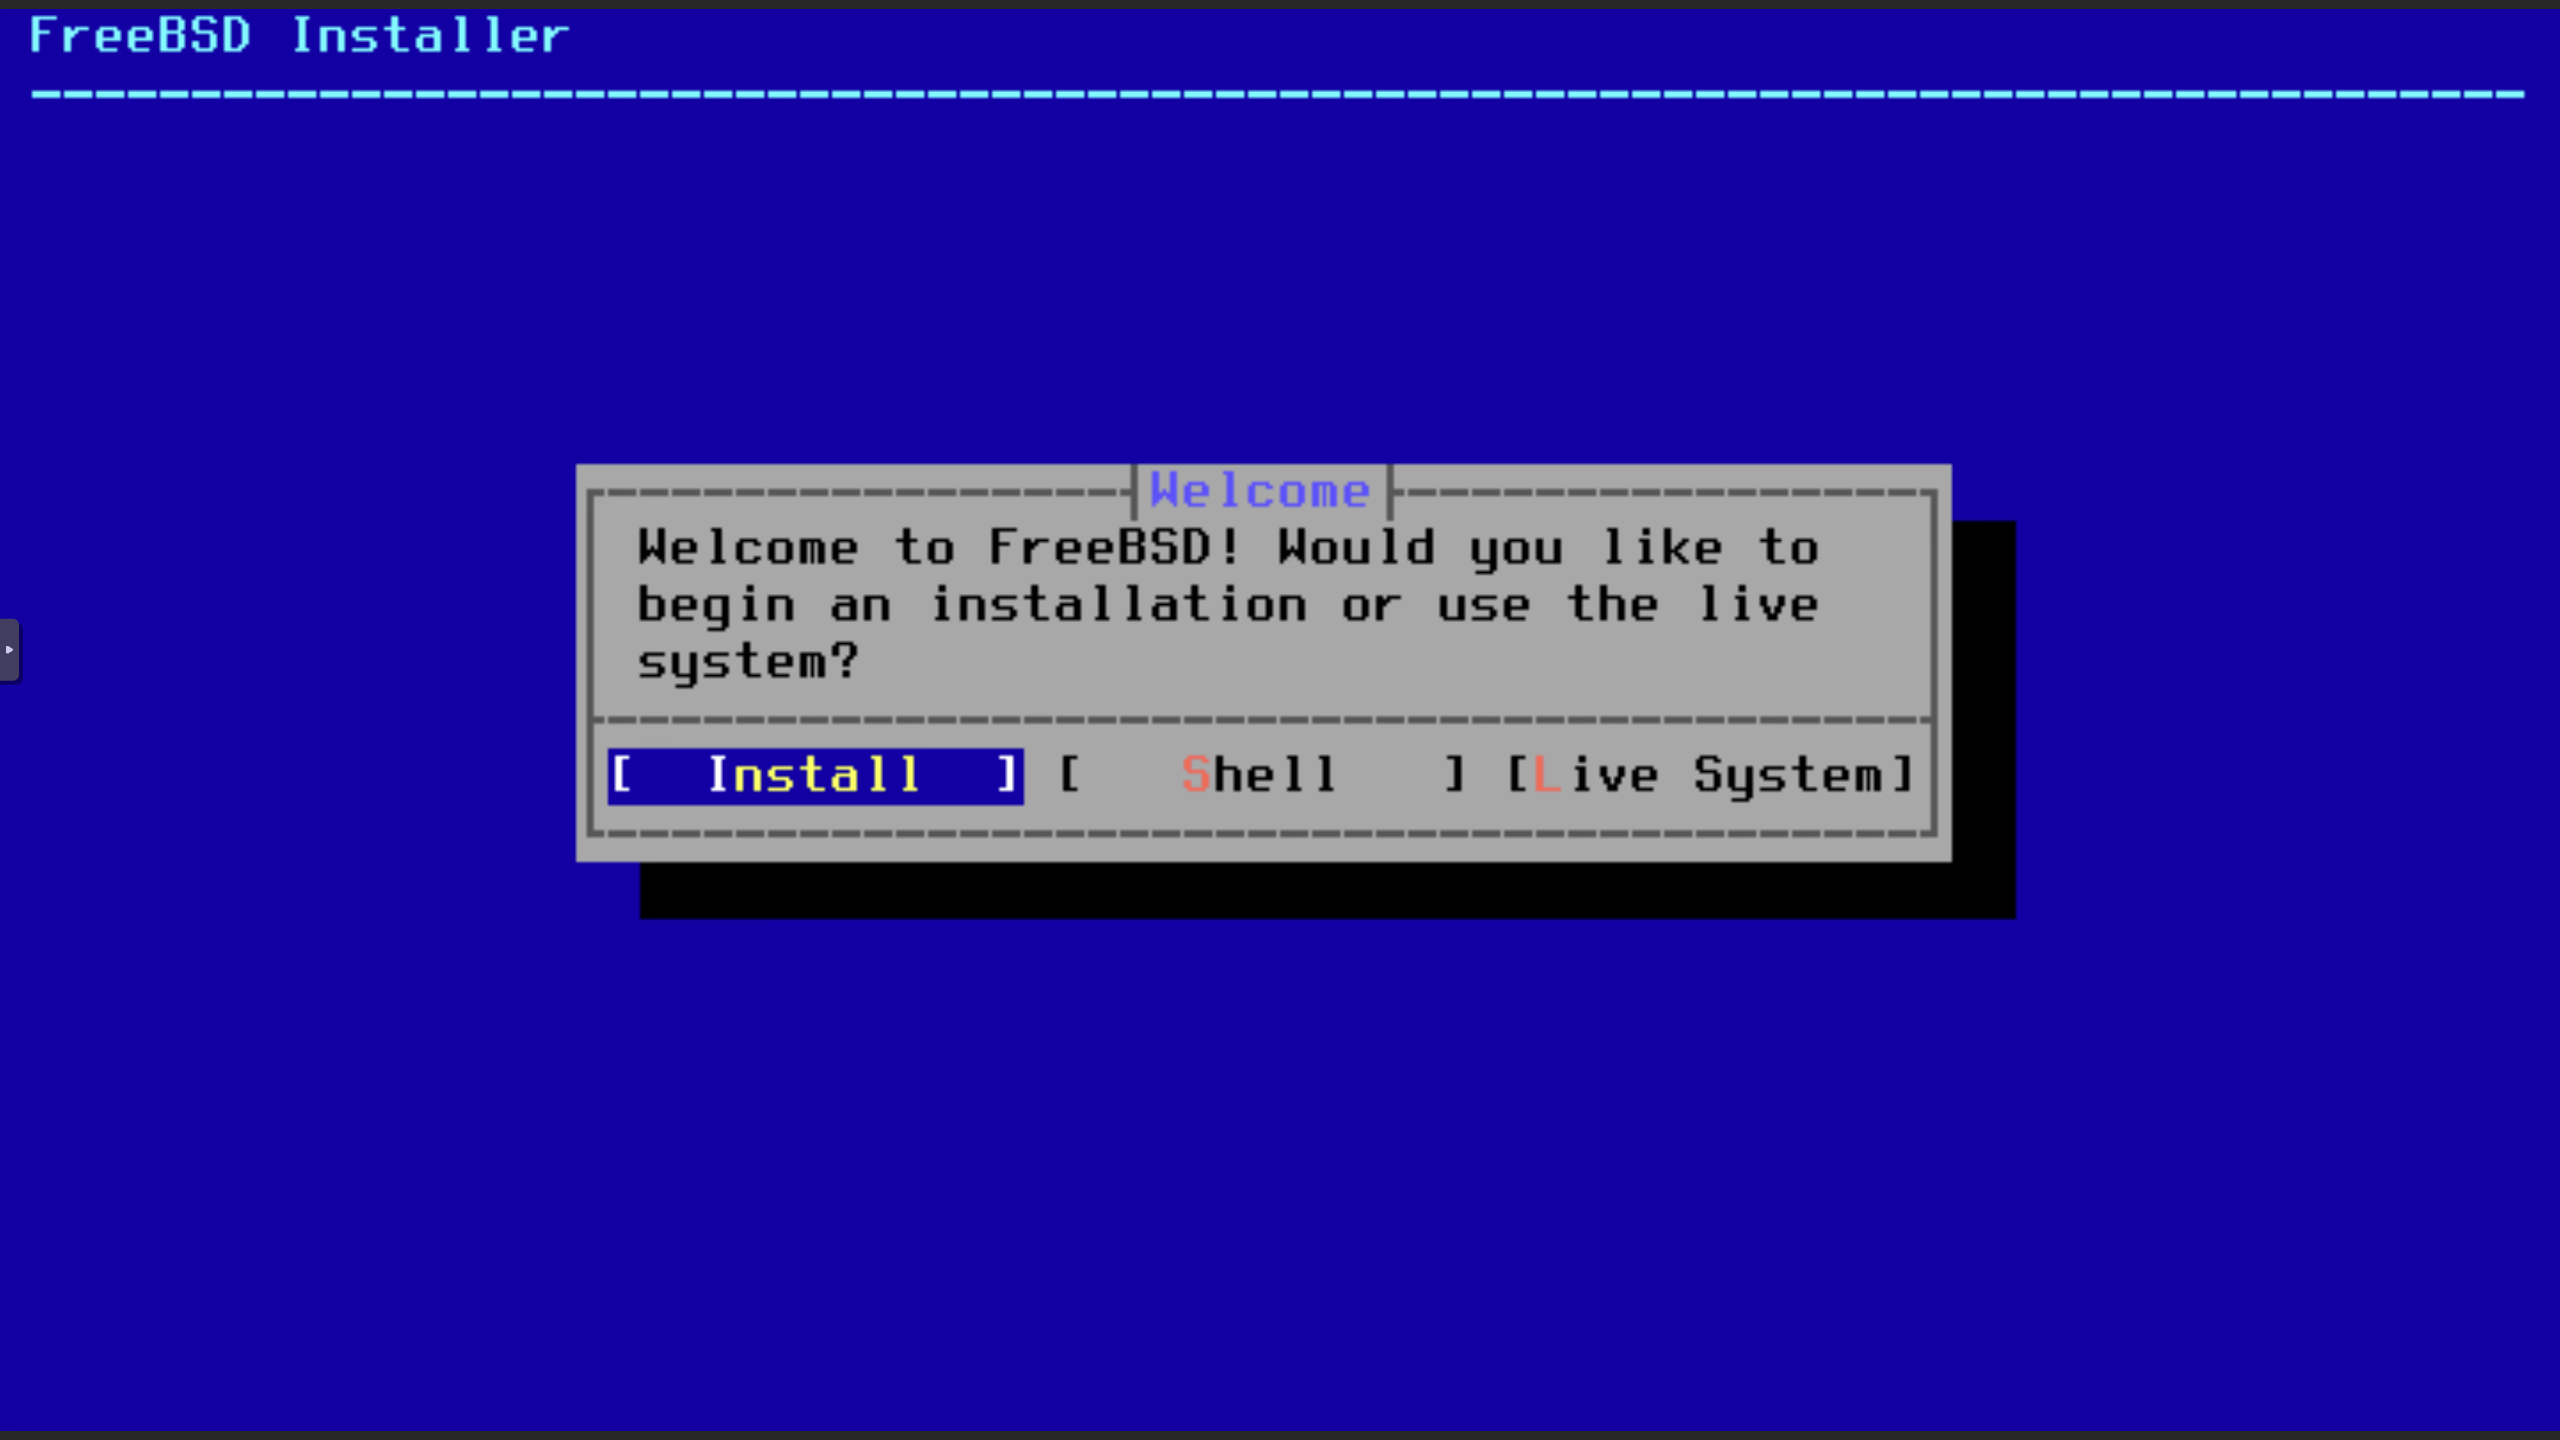
Select Install
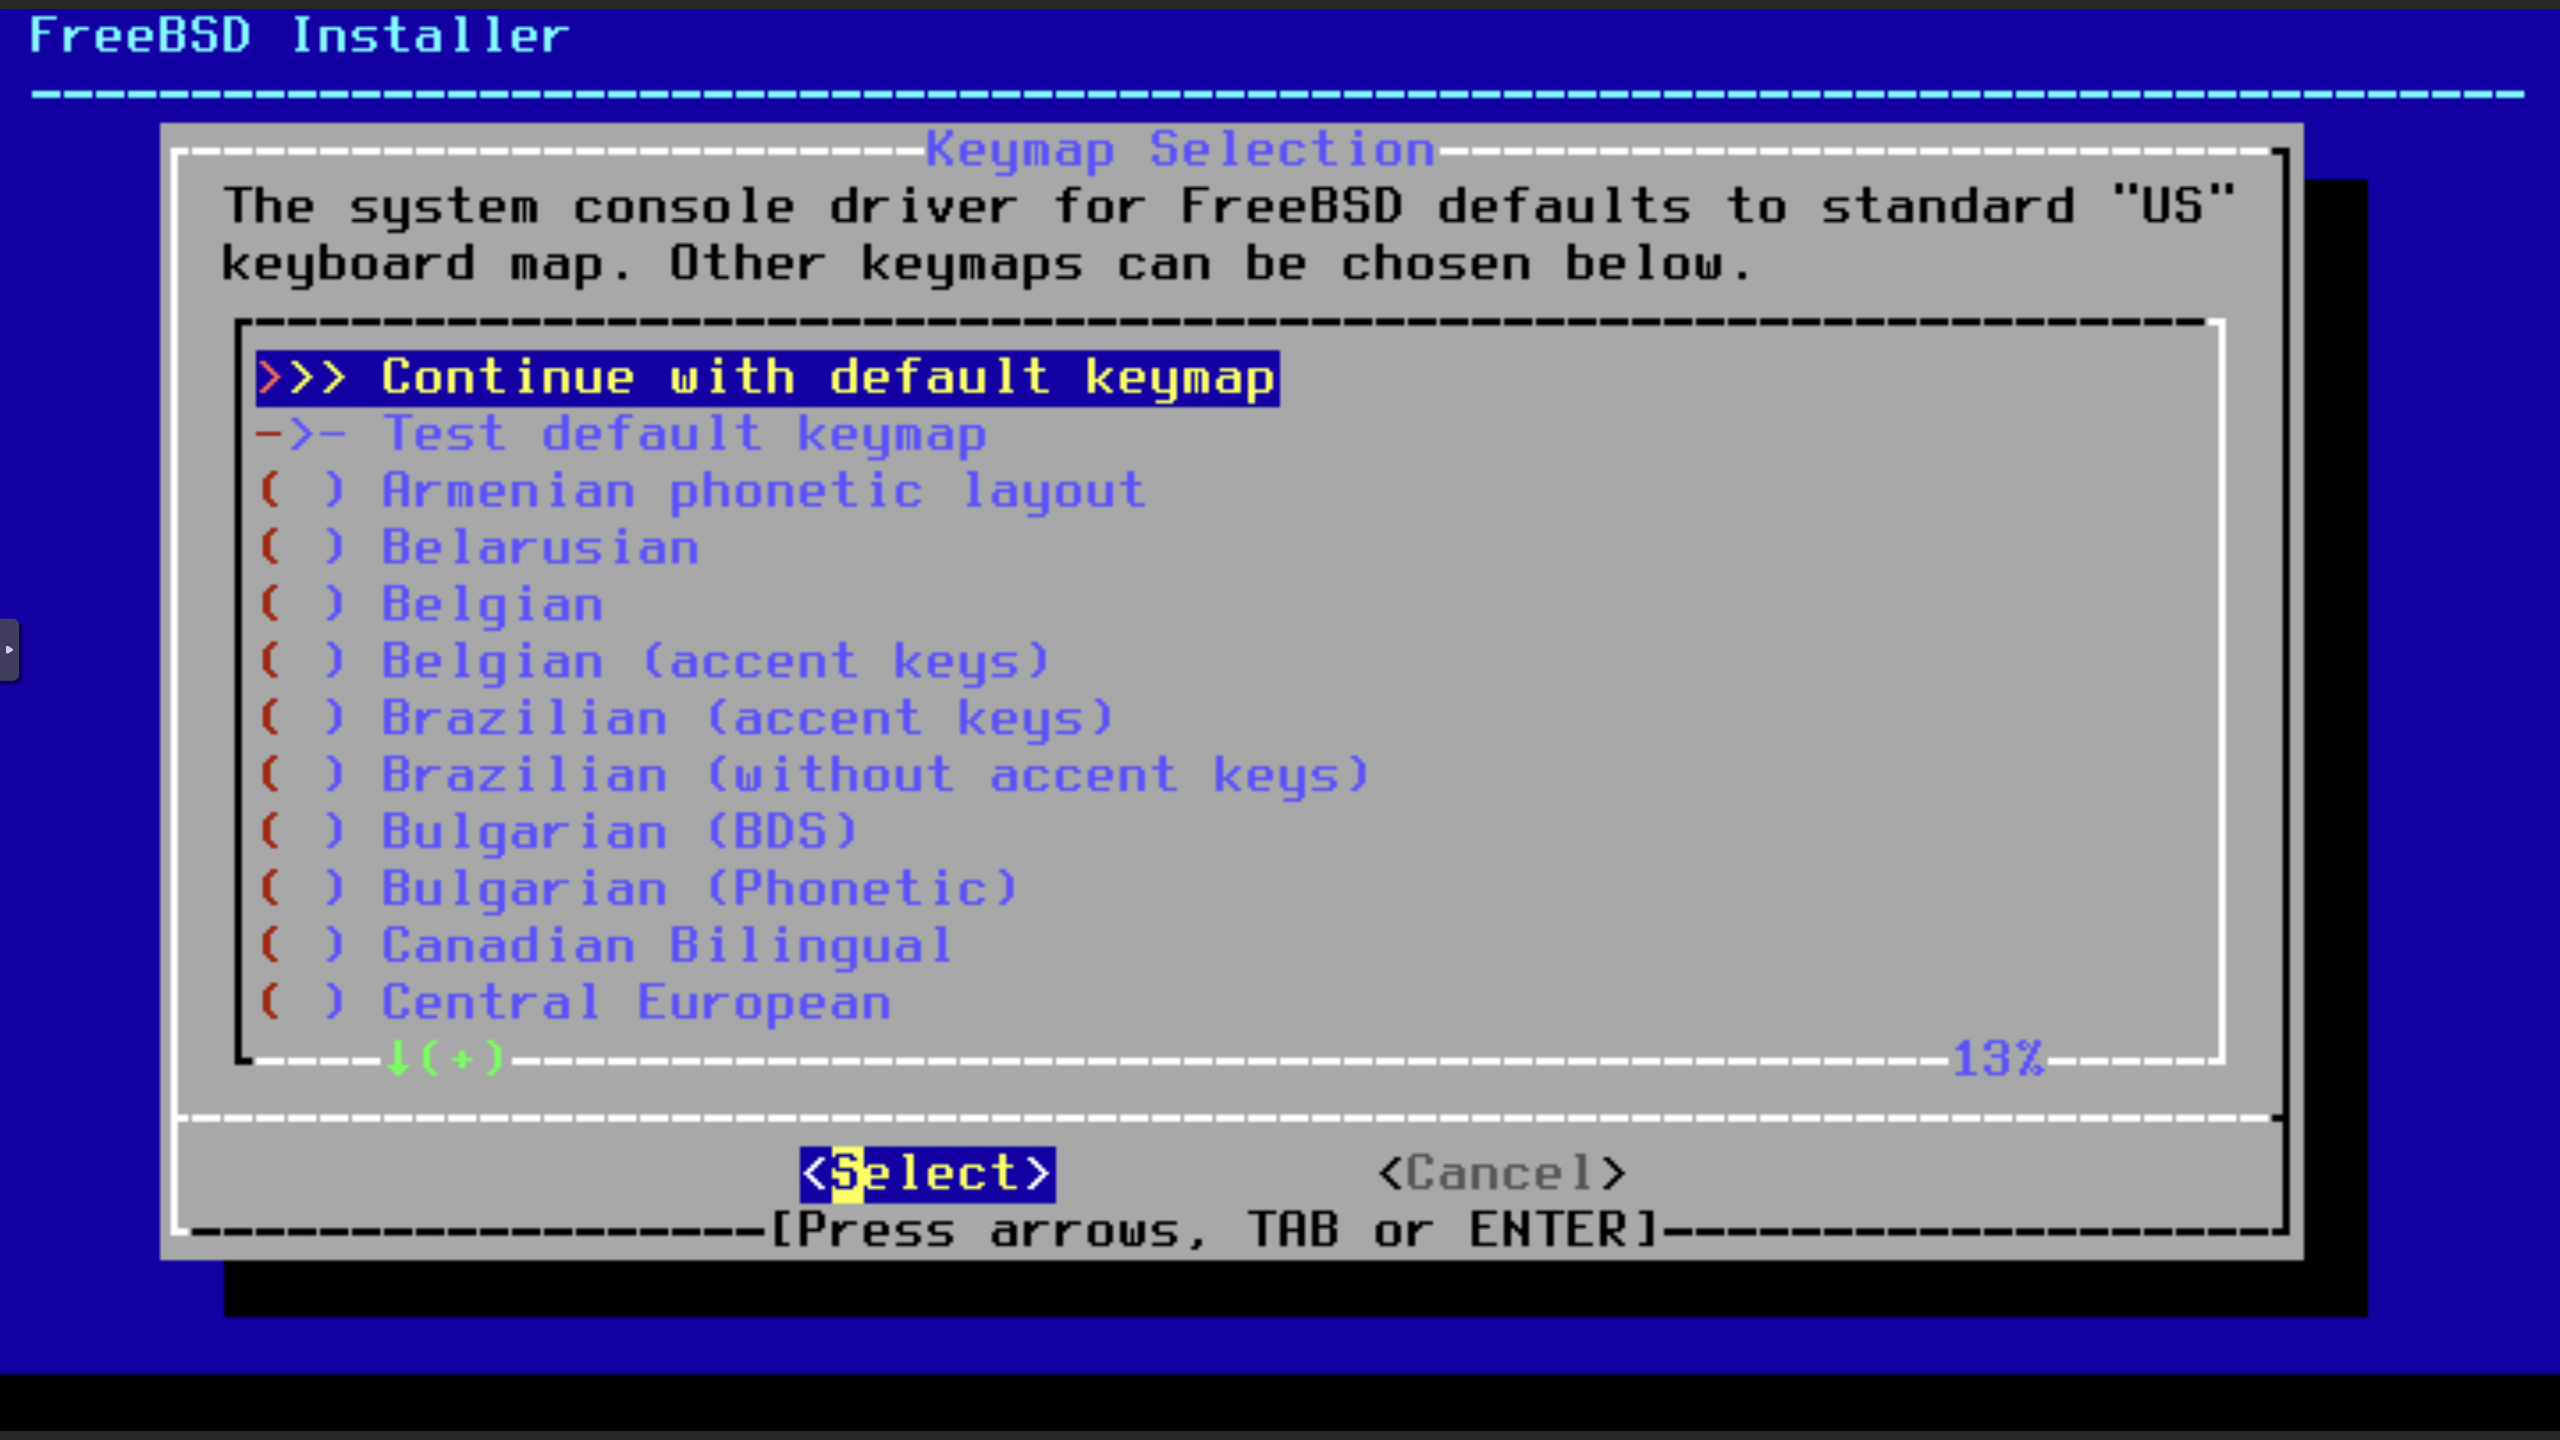
Select Your Keyboard
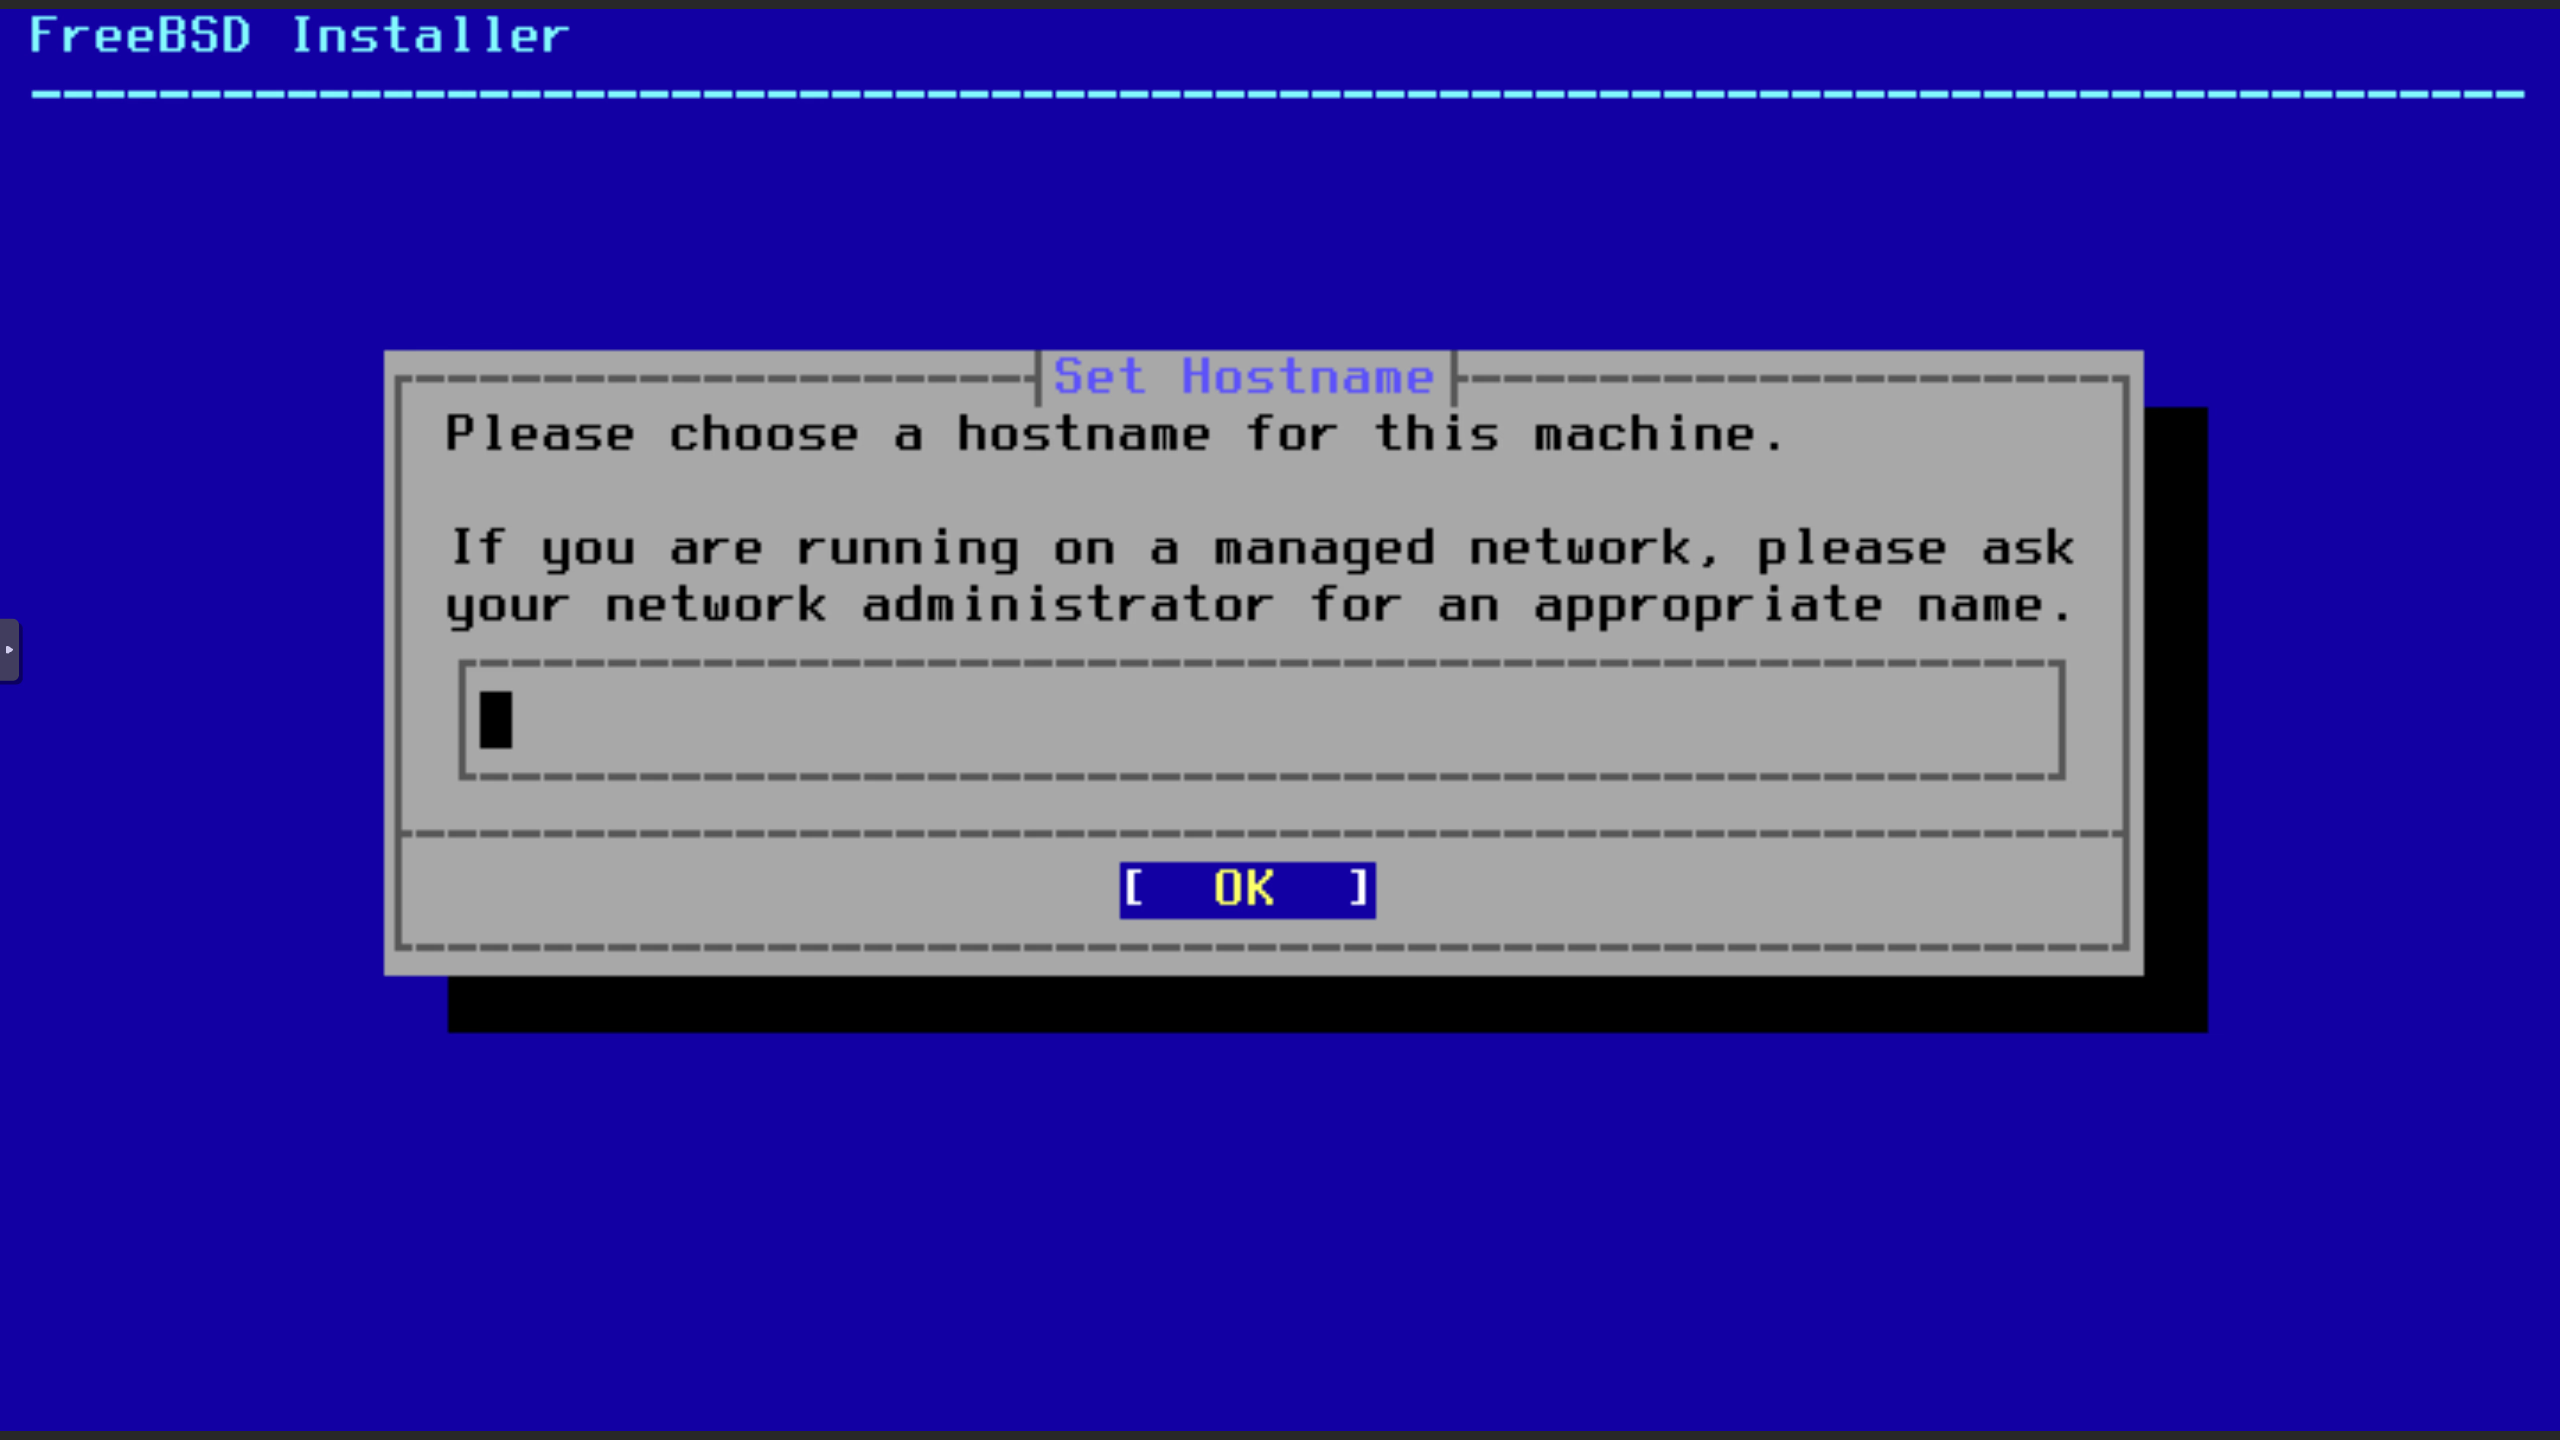
Hostname
You can leave the hostname blank for now as we will set it later during the initial setup.
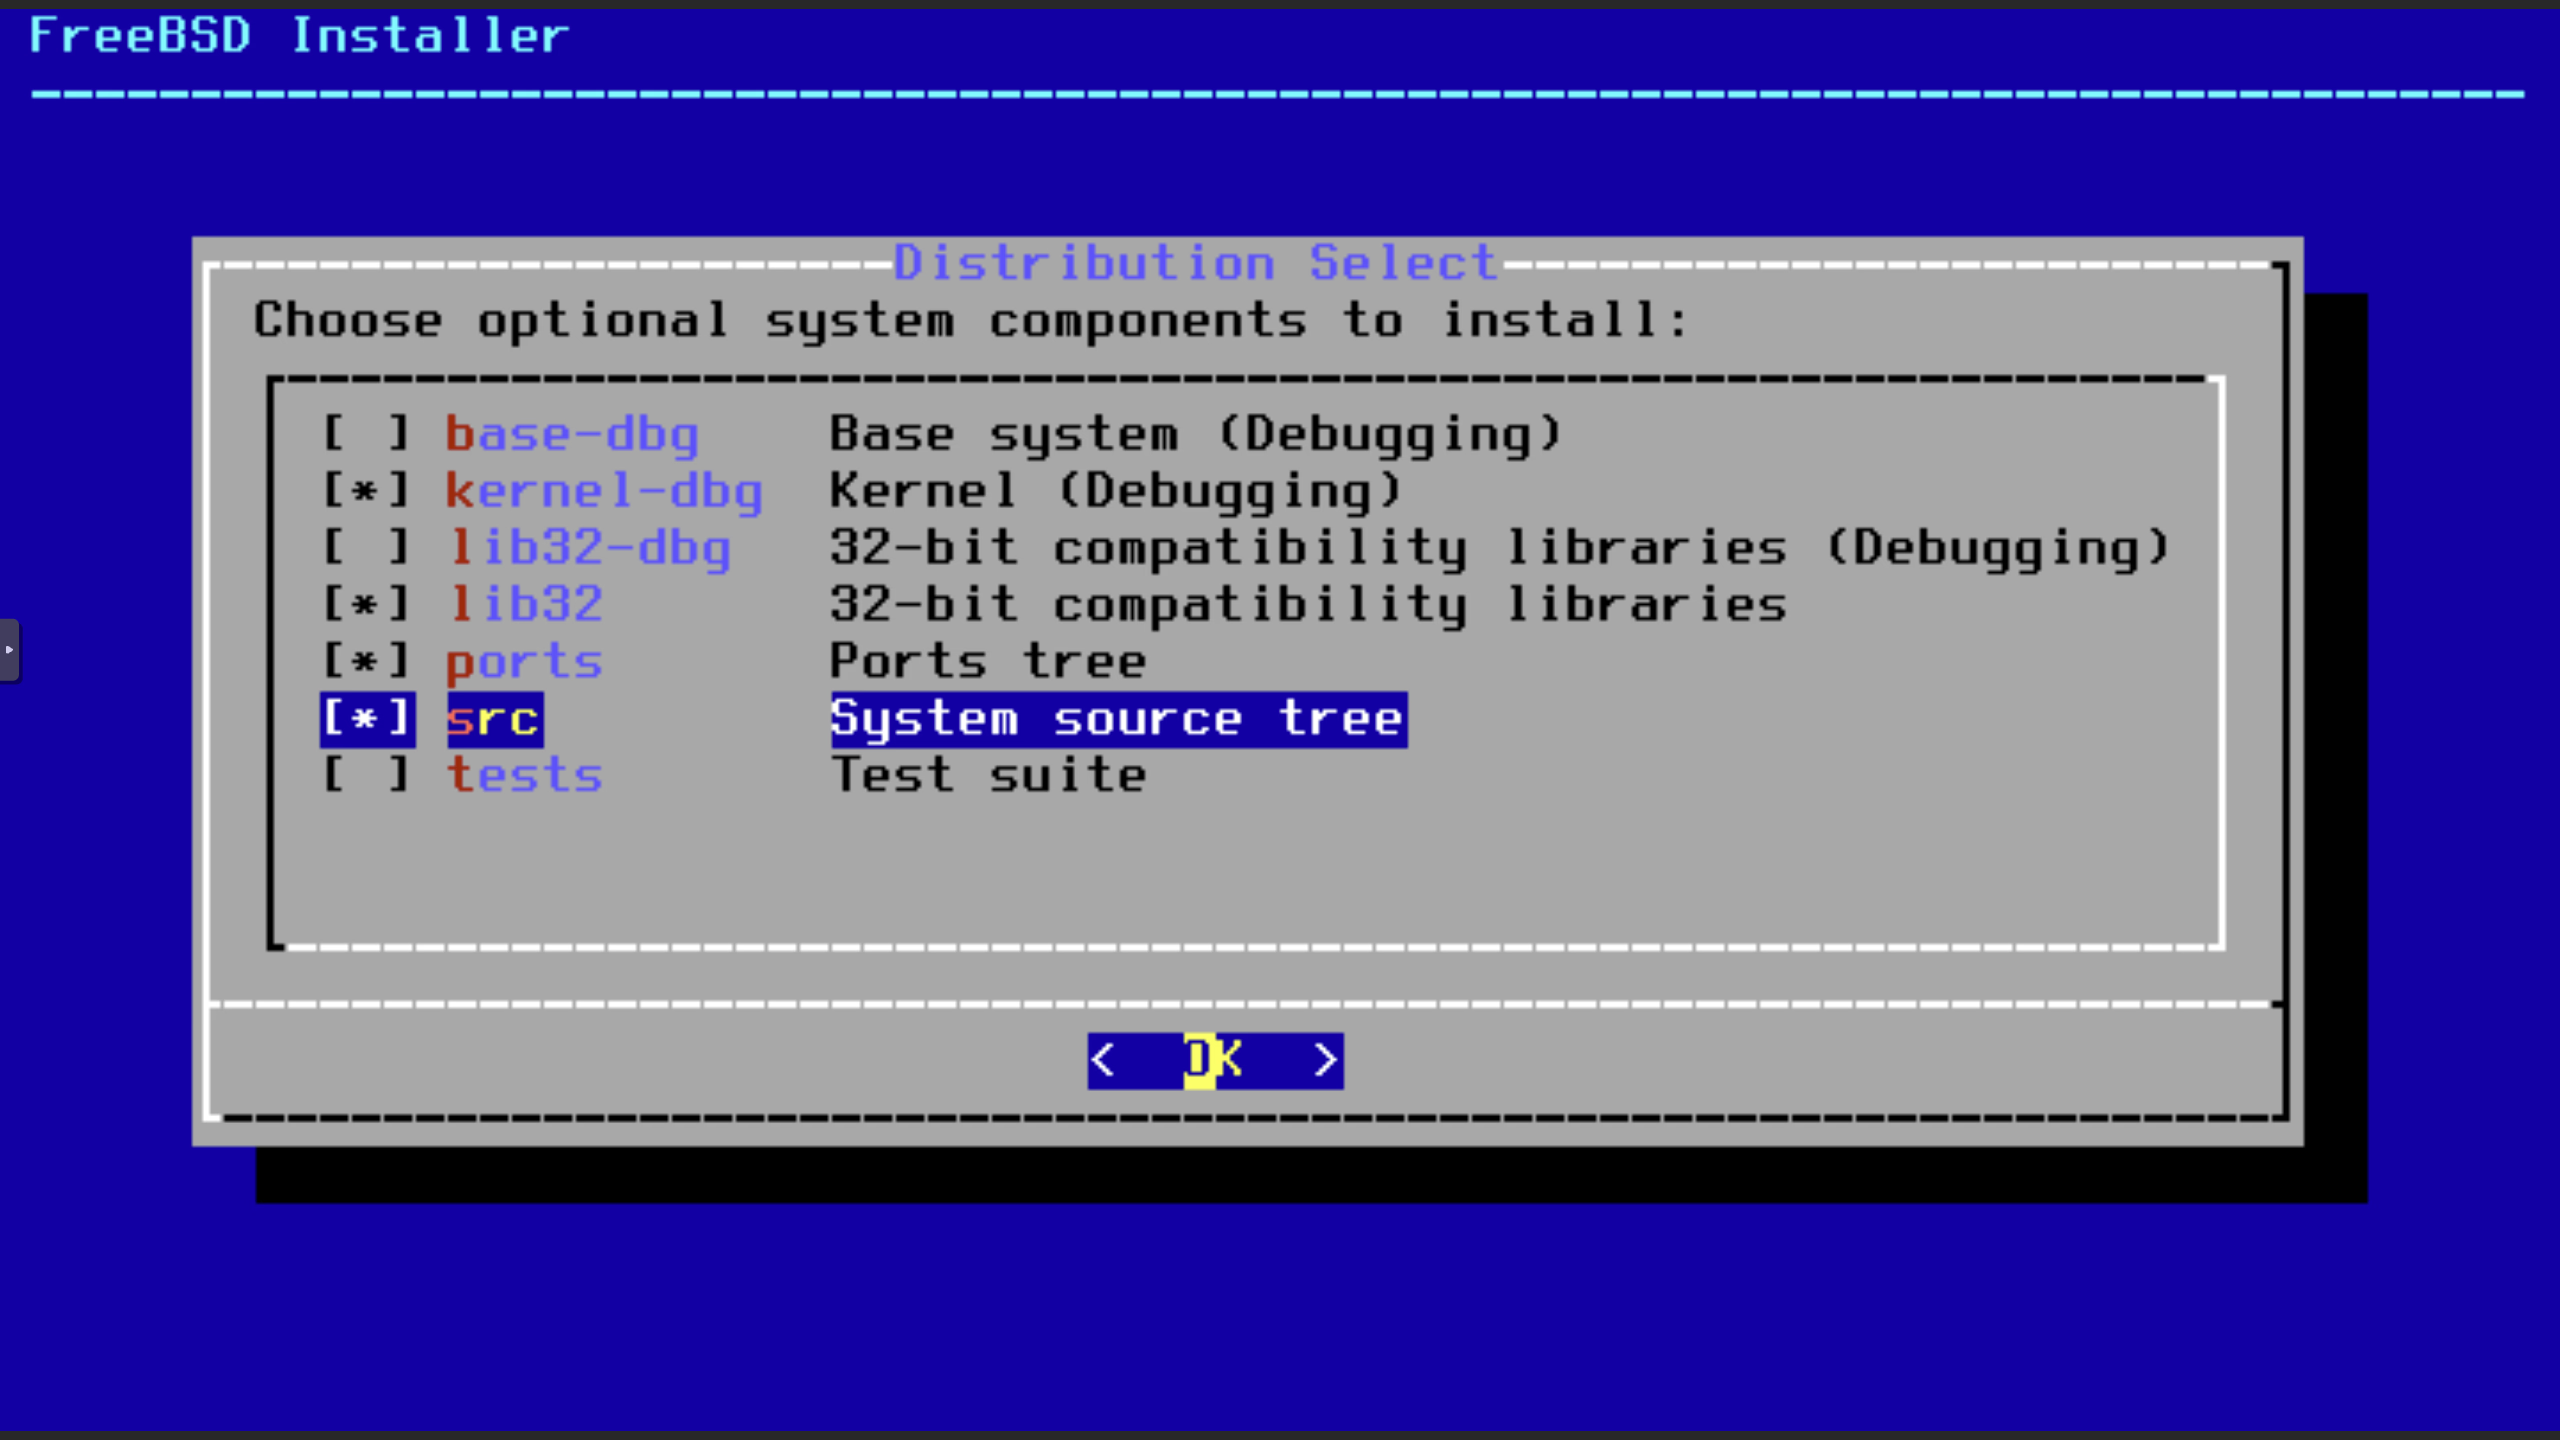
System Components
We add the ports tree to save time in case it is needed later and we add the source tree for convenience.
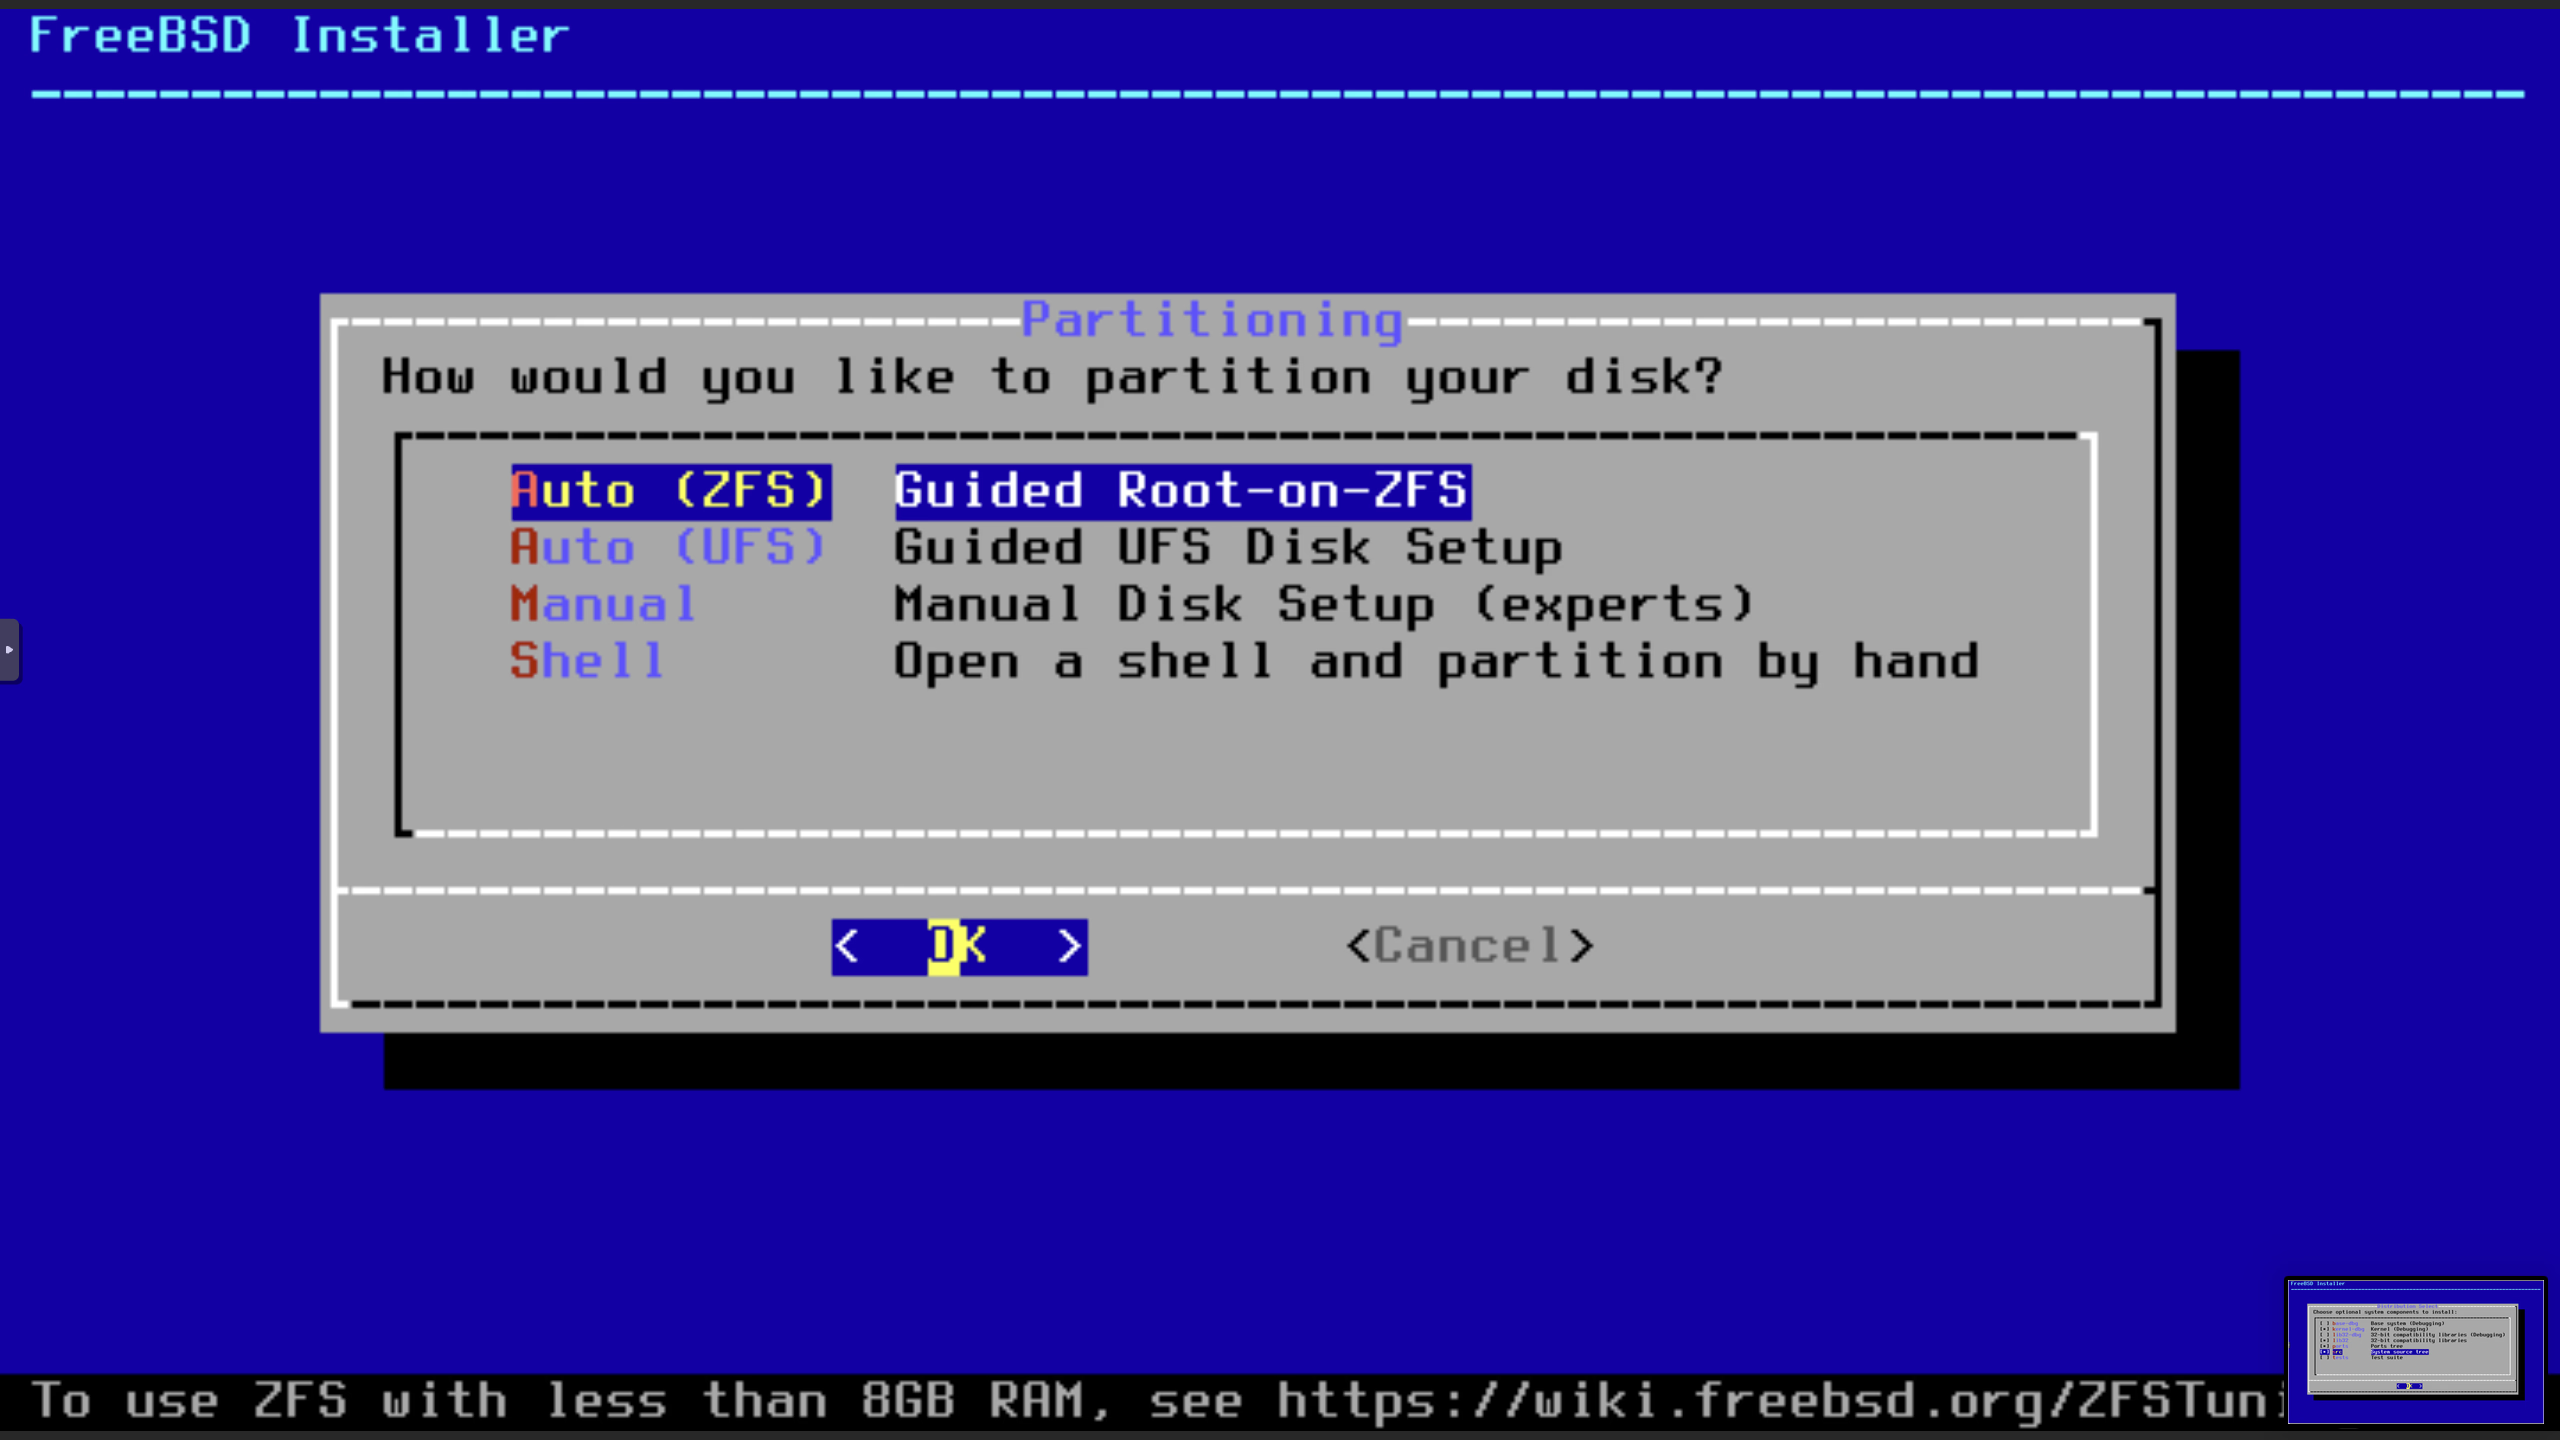
Disk Setup
We will use the entire disk for the installation. If you have a specific partitioning scheme in mind, you can select the manual option.
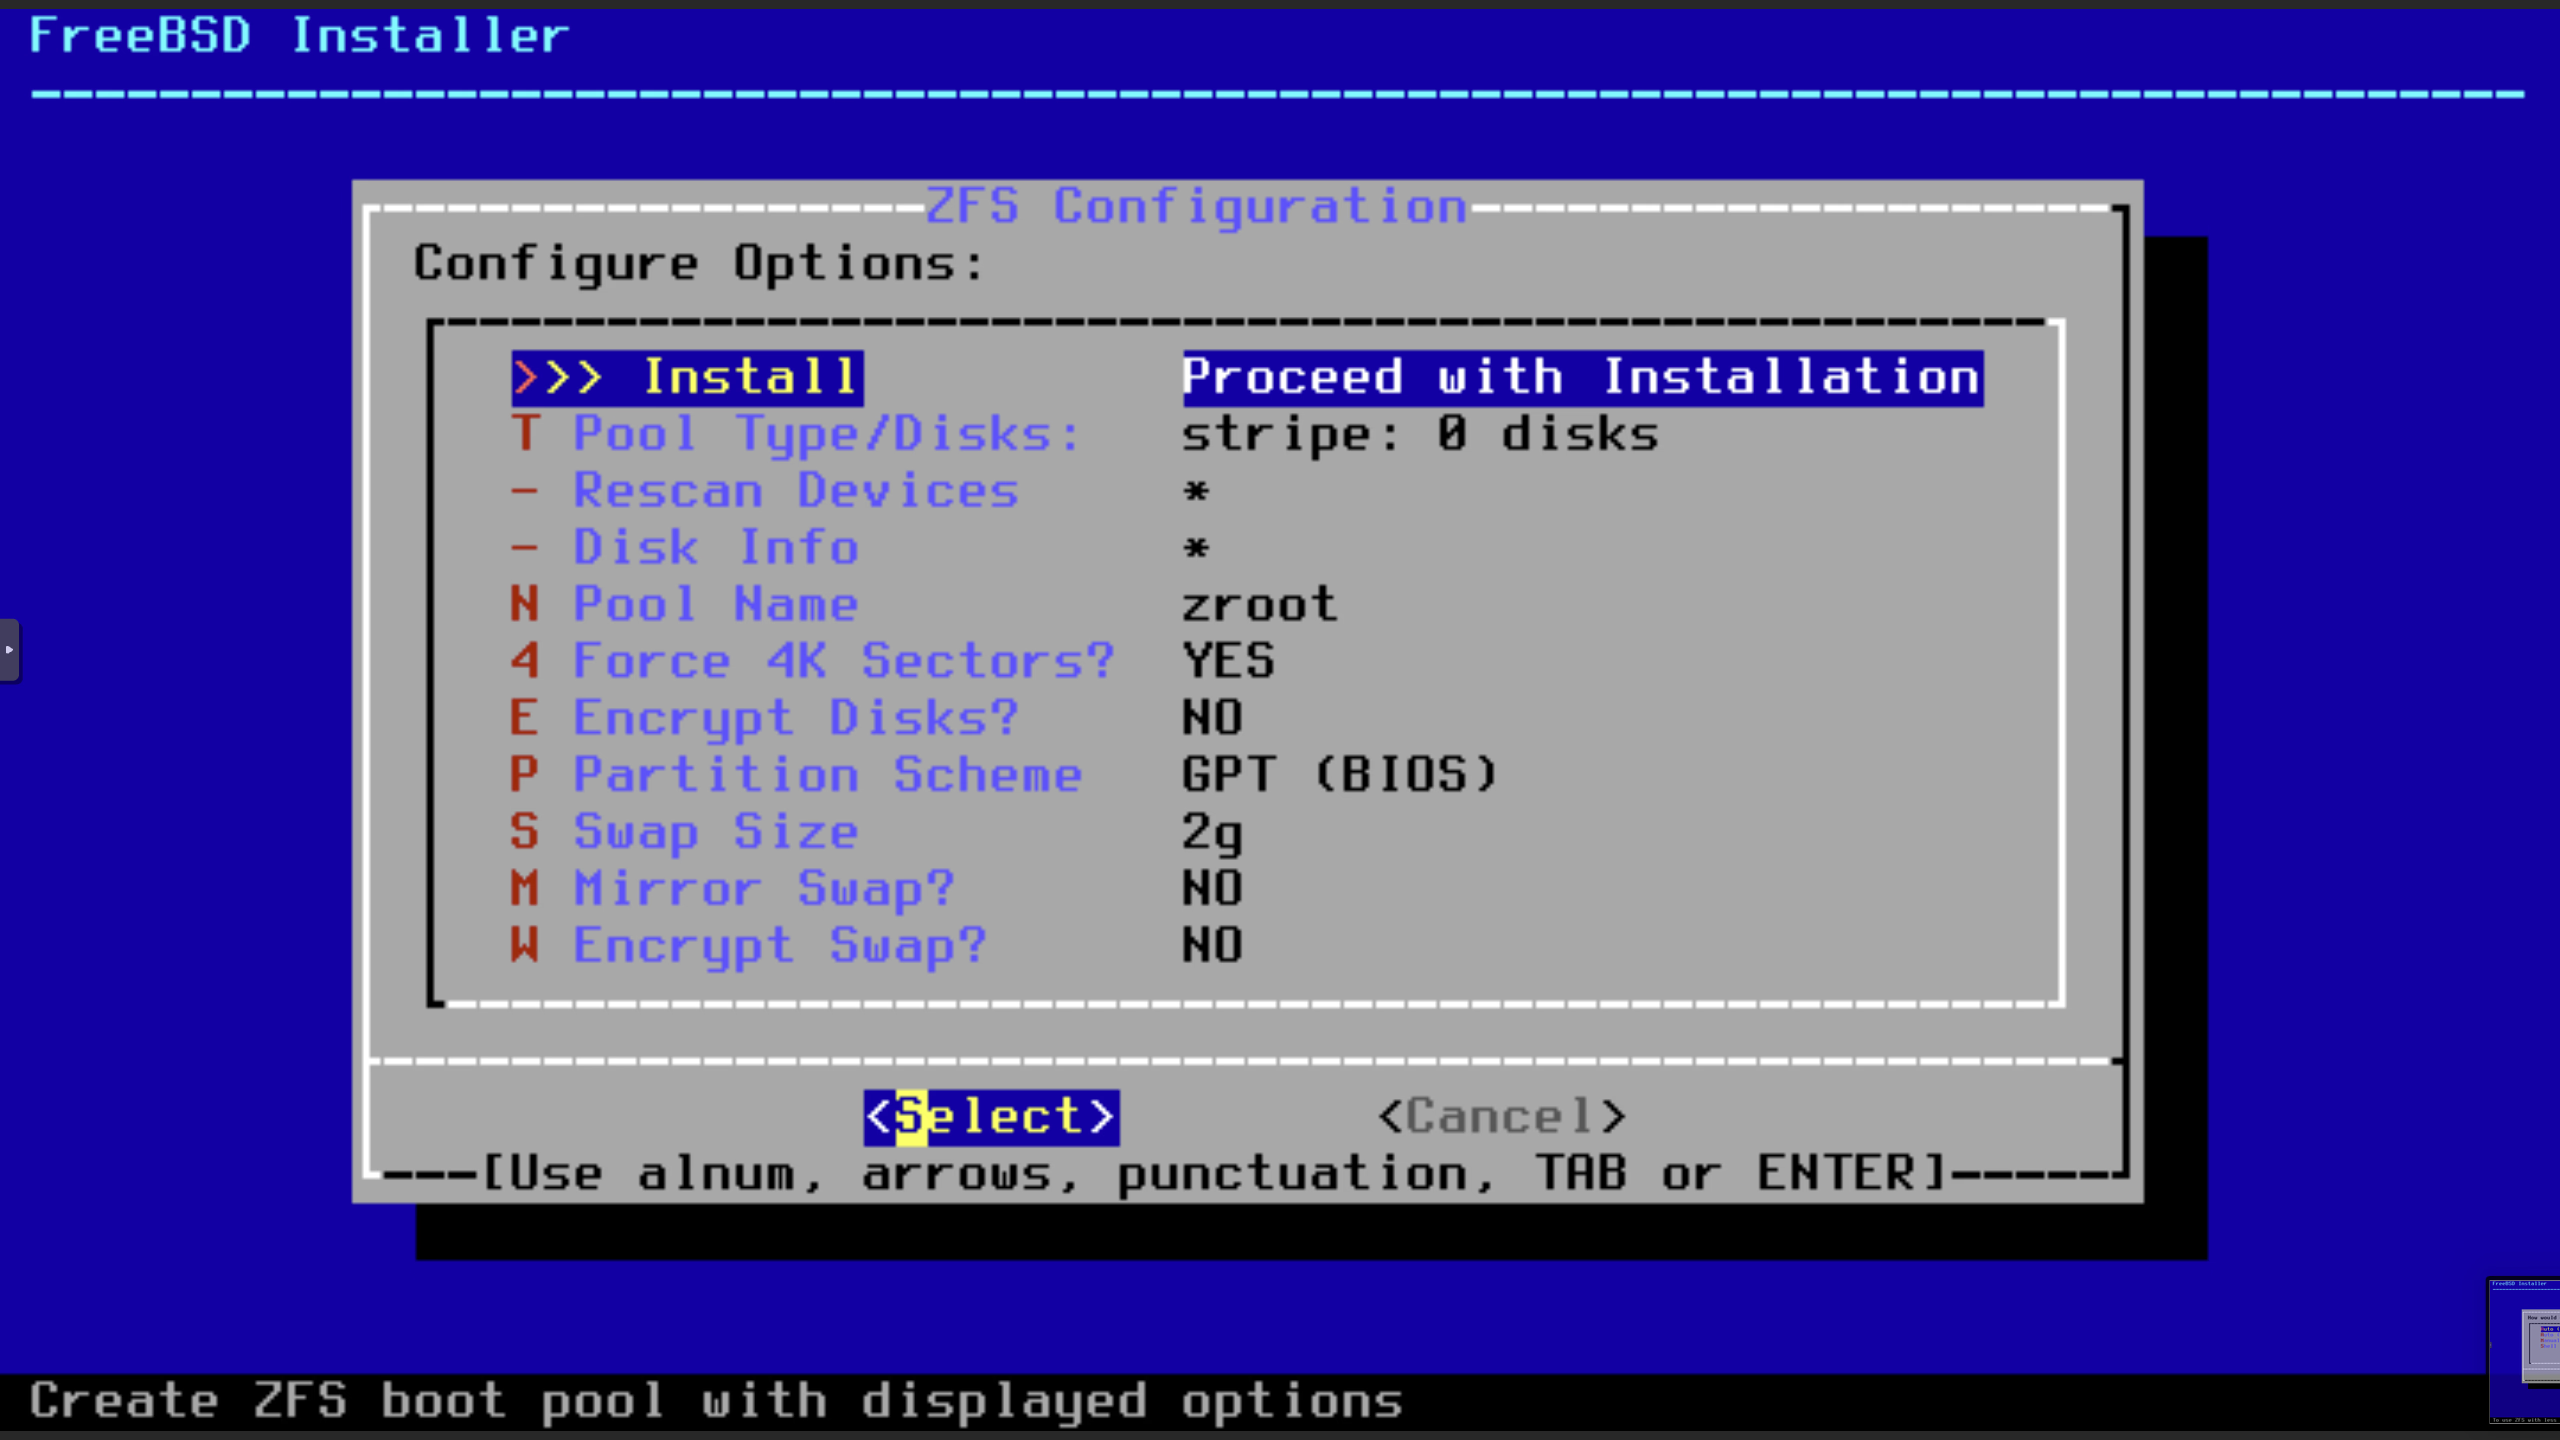
ZFS Configuration
Use the defaults for ZFS configuration.
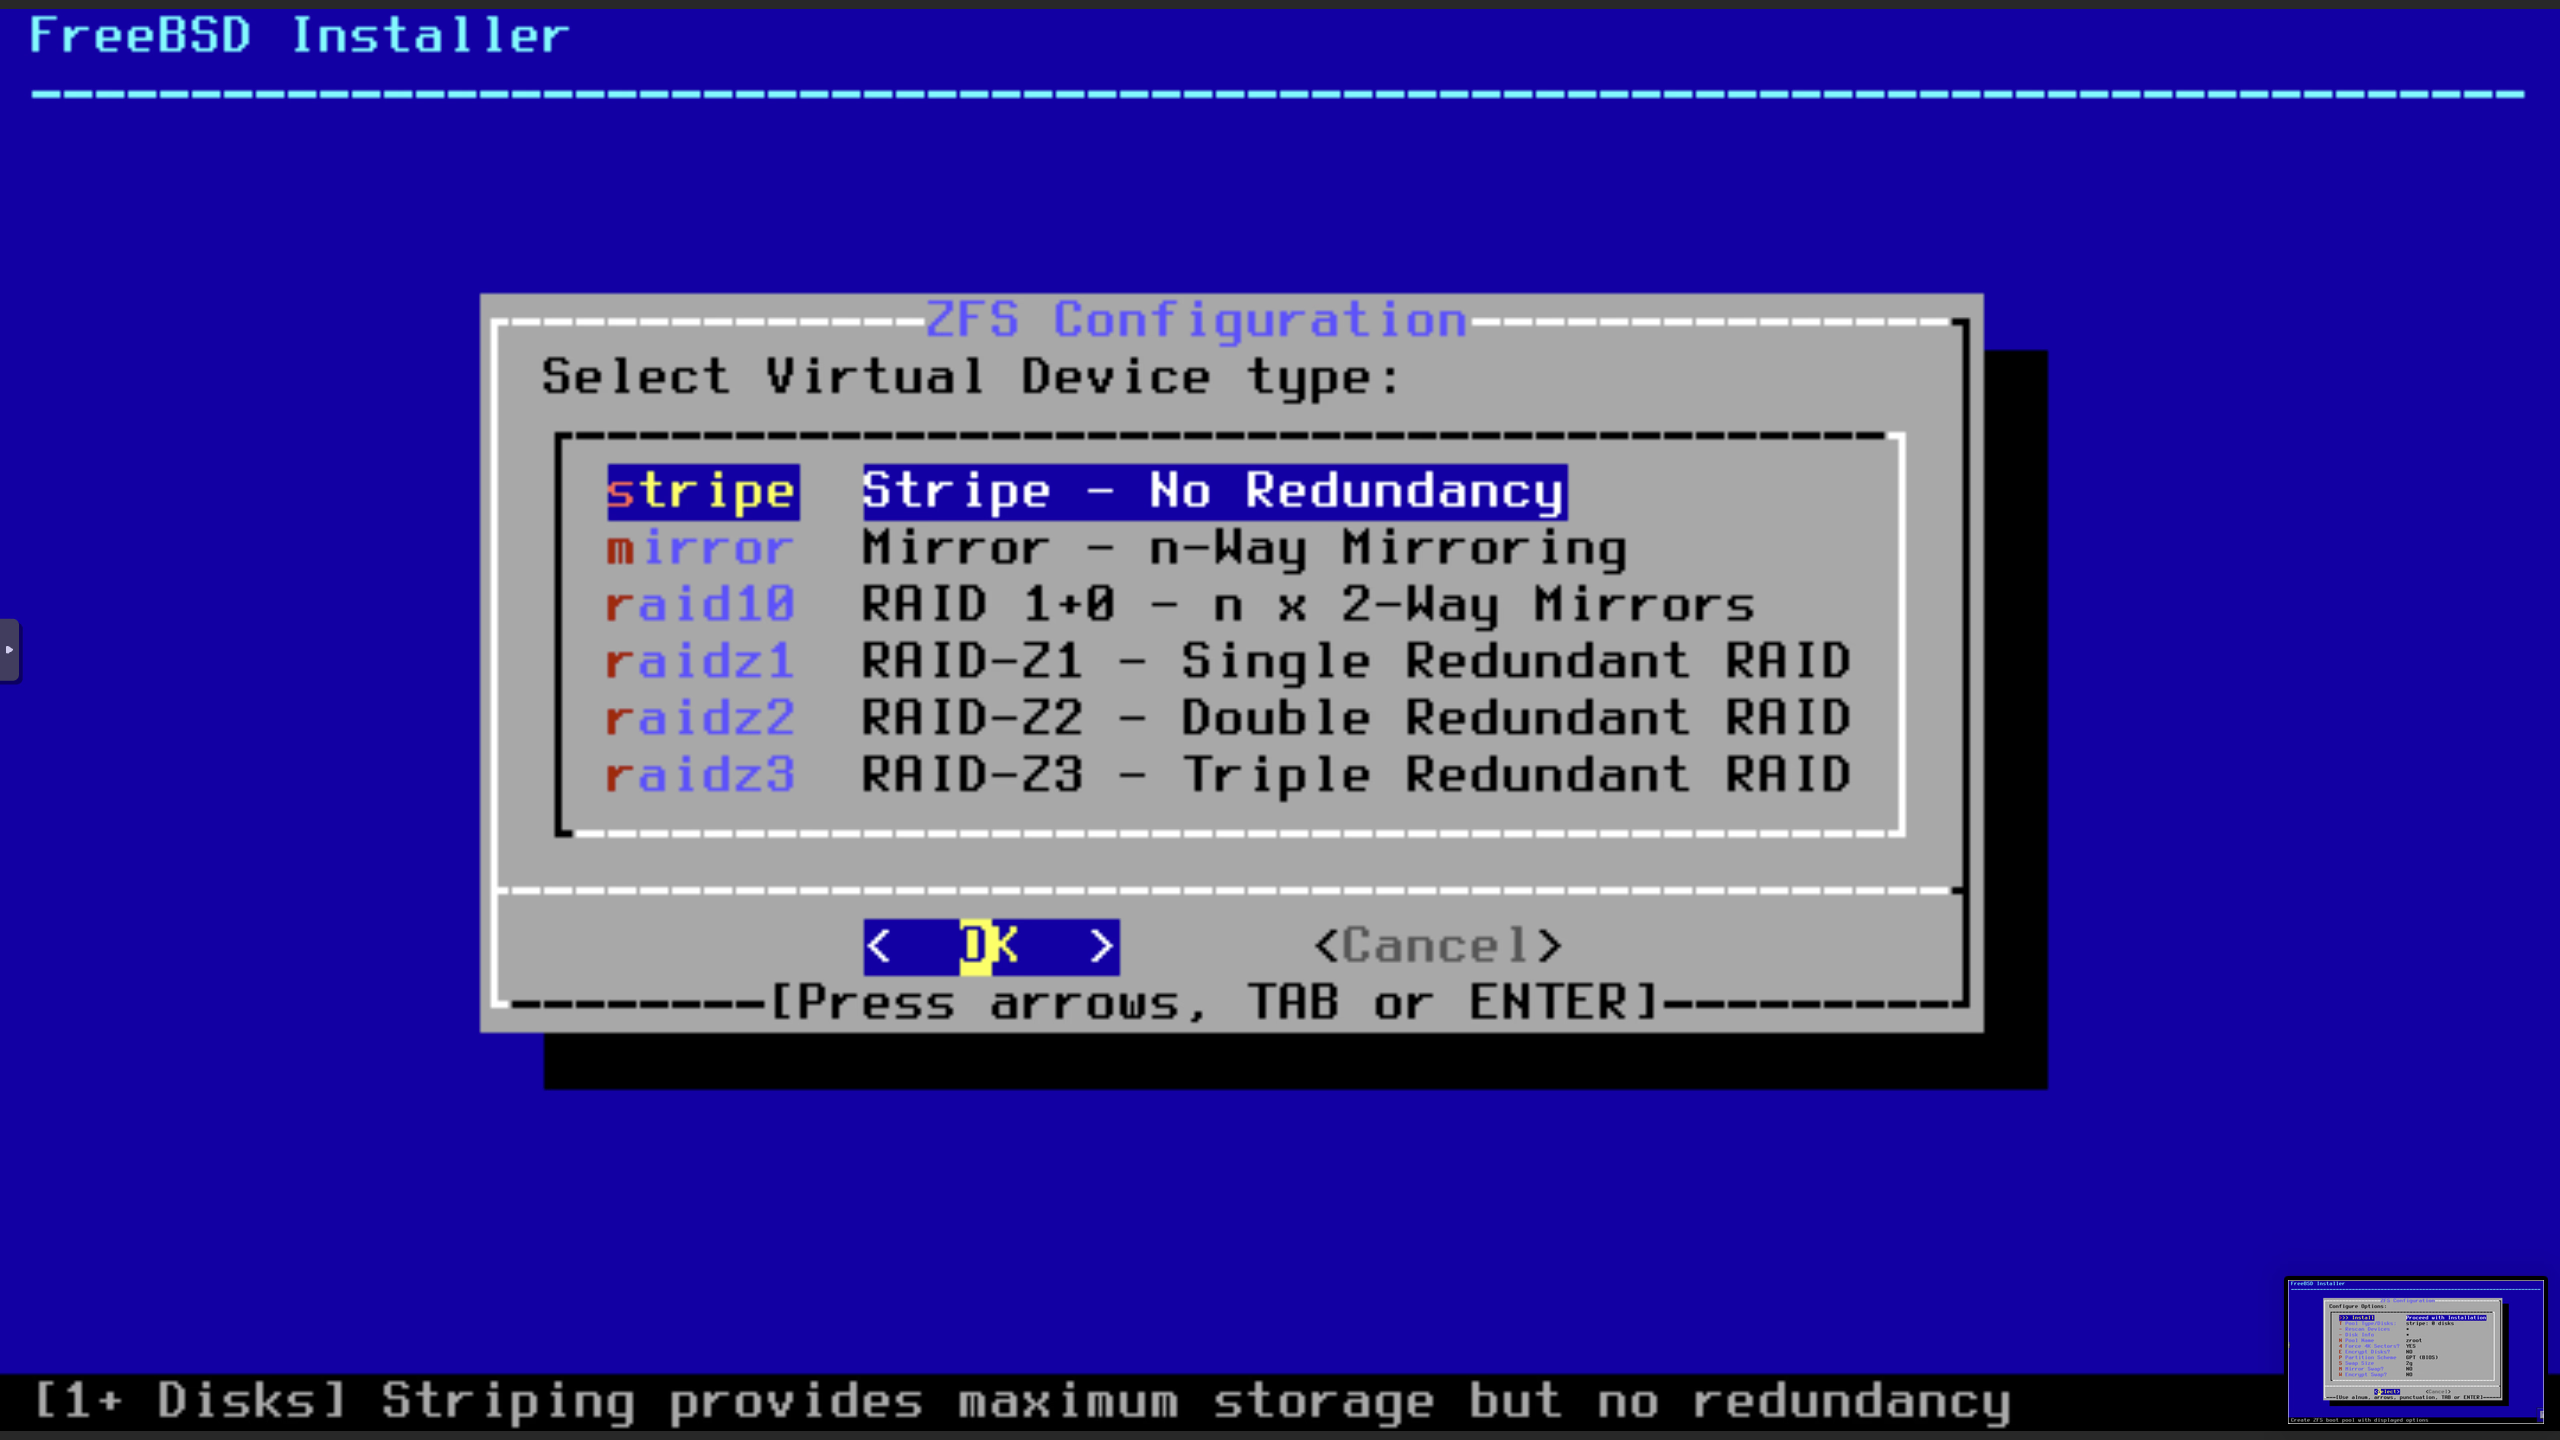
Device Type
This will depend o your hosting setup, but usually we offload any disk redundancy to the hosting provider.
In a typical Horizon setup, the two host types (web and postgres) do not need redundancy as the web hosts are stateless and can be recreated easily and the postgres host is continually backed up (and possibly mirrored).
Drive Selection
Select the device to format.
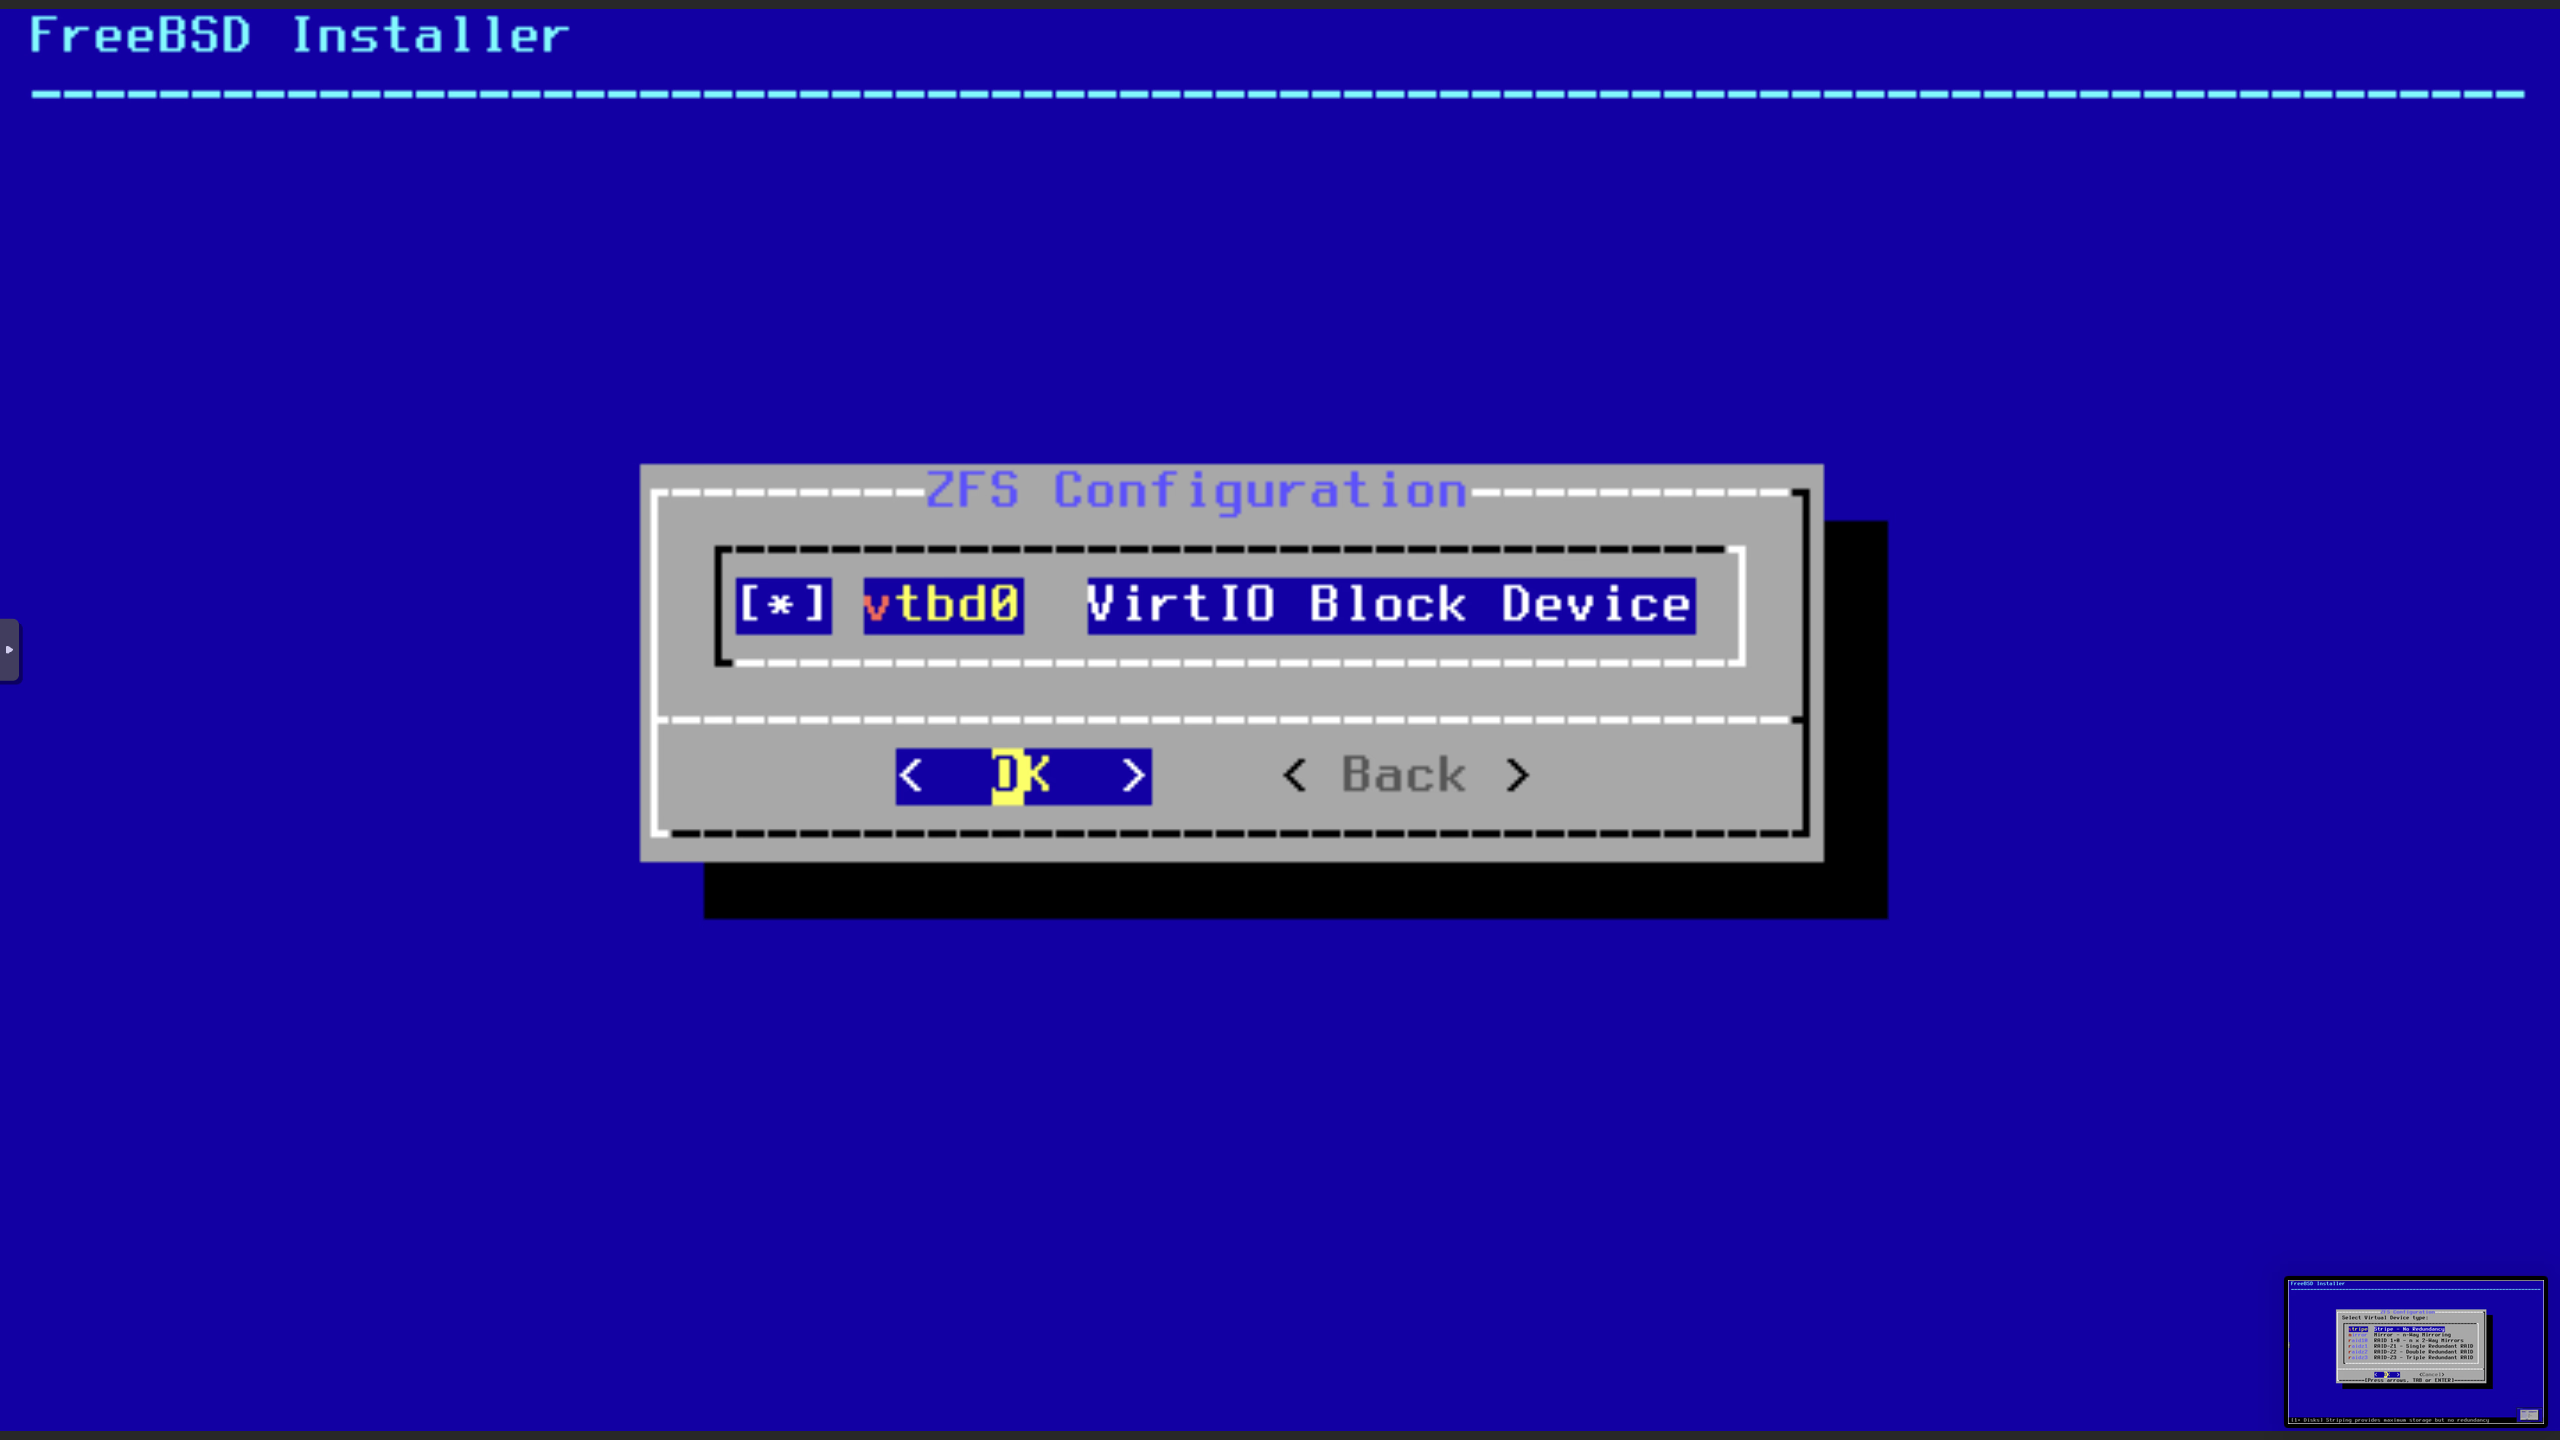
Confirm Formatting
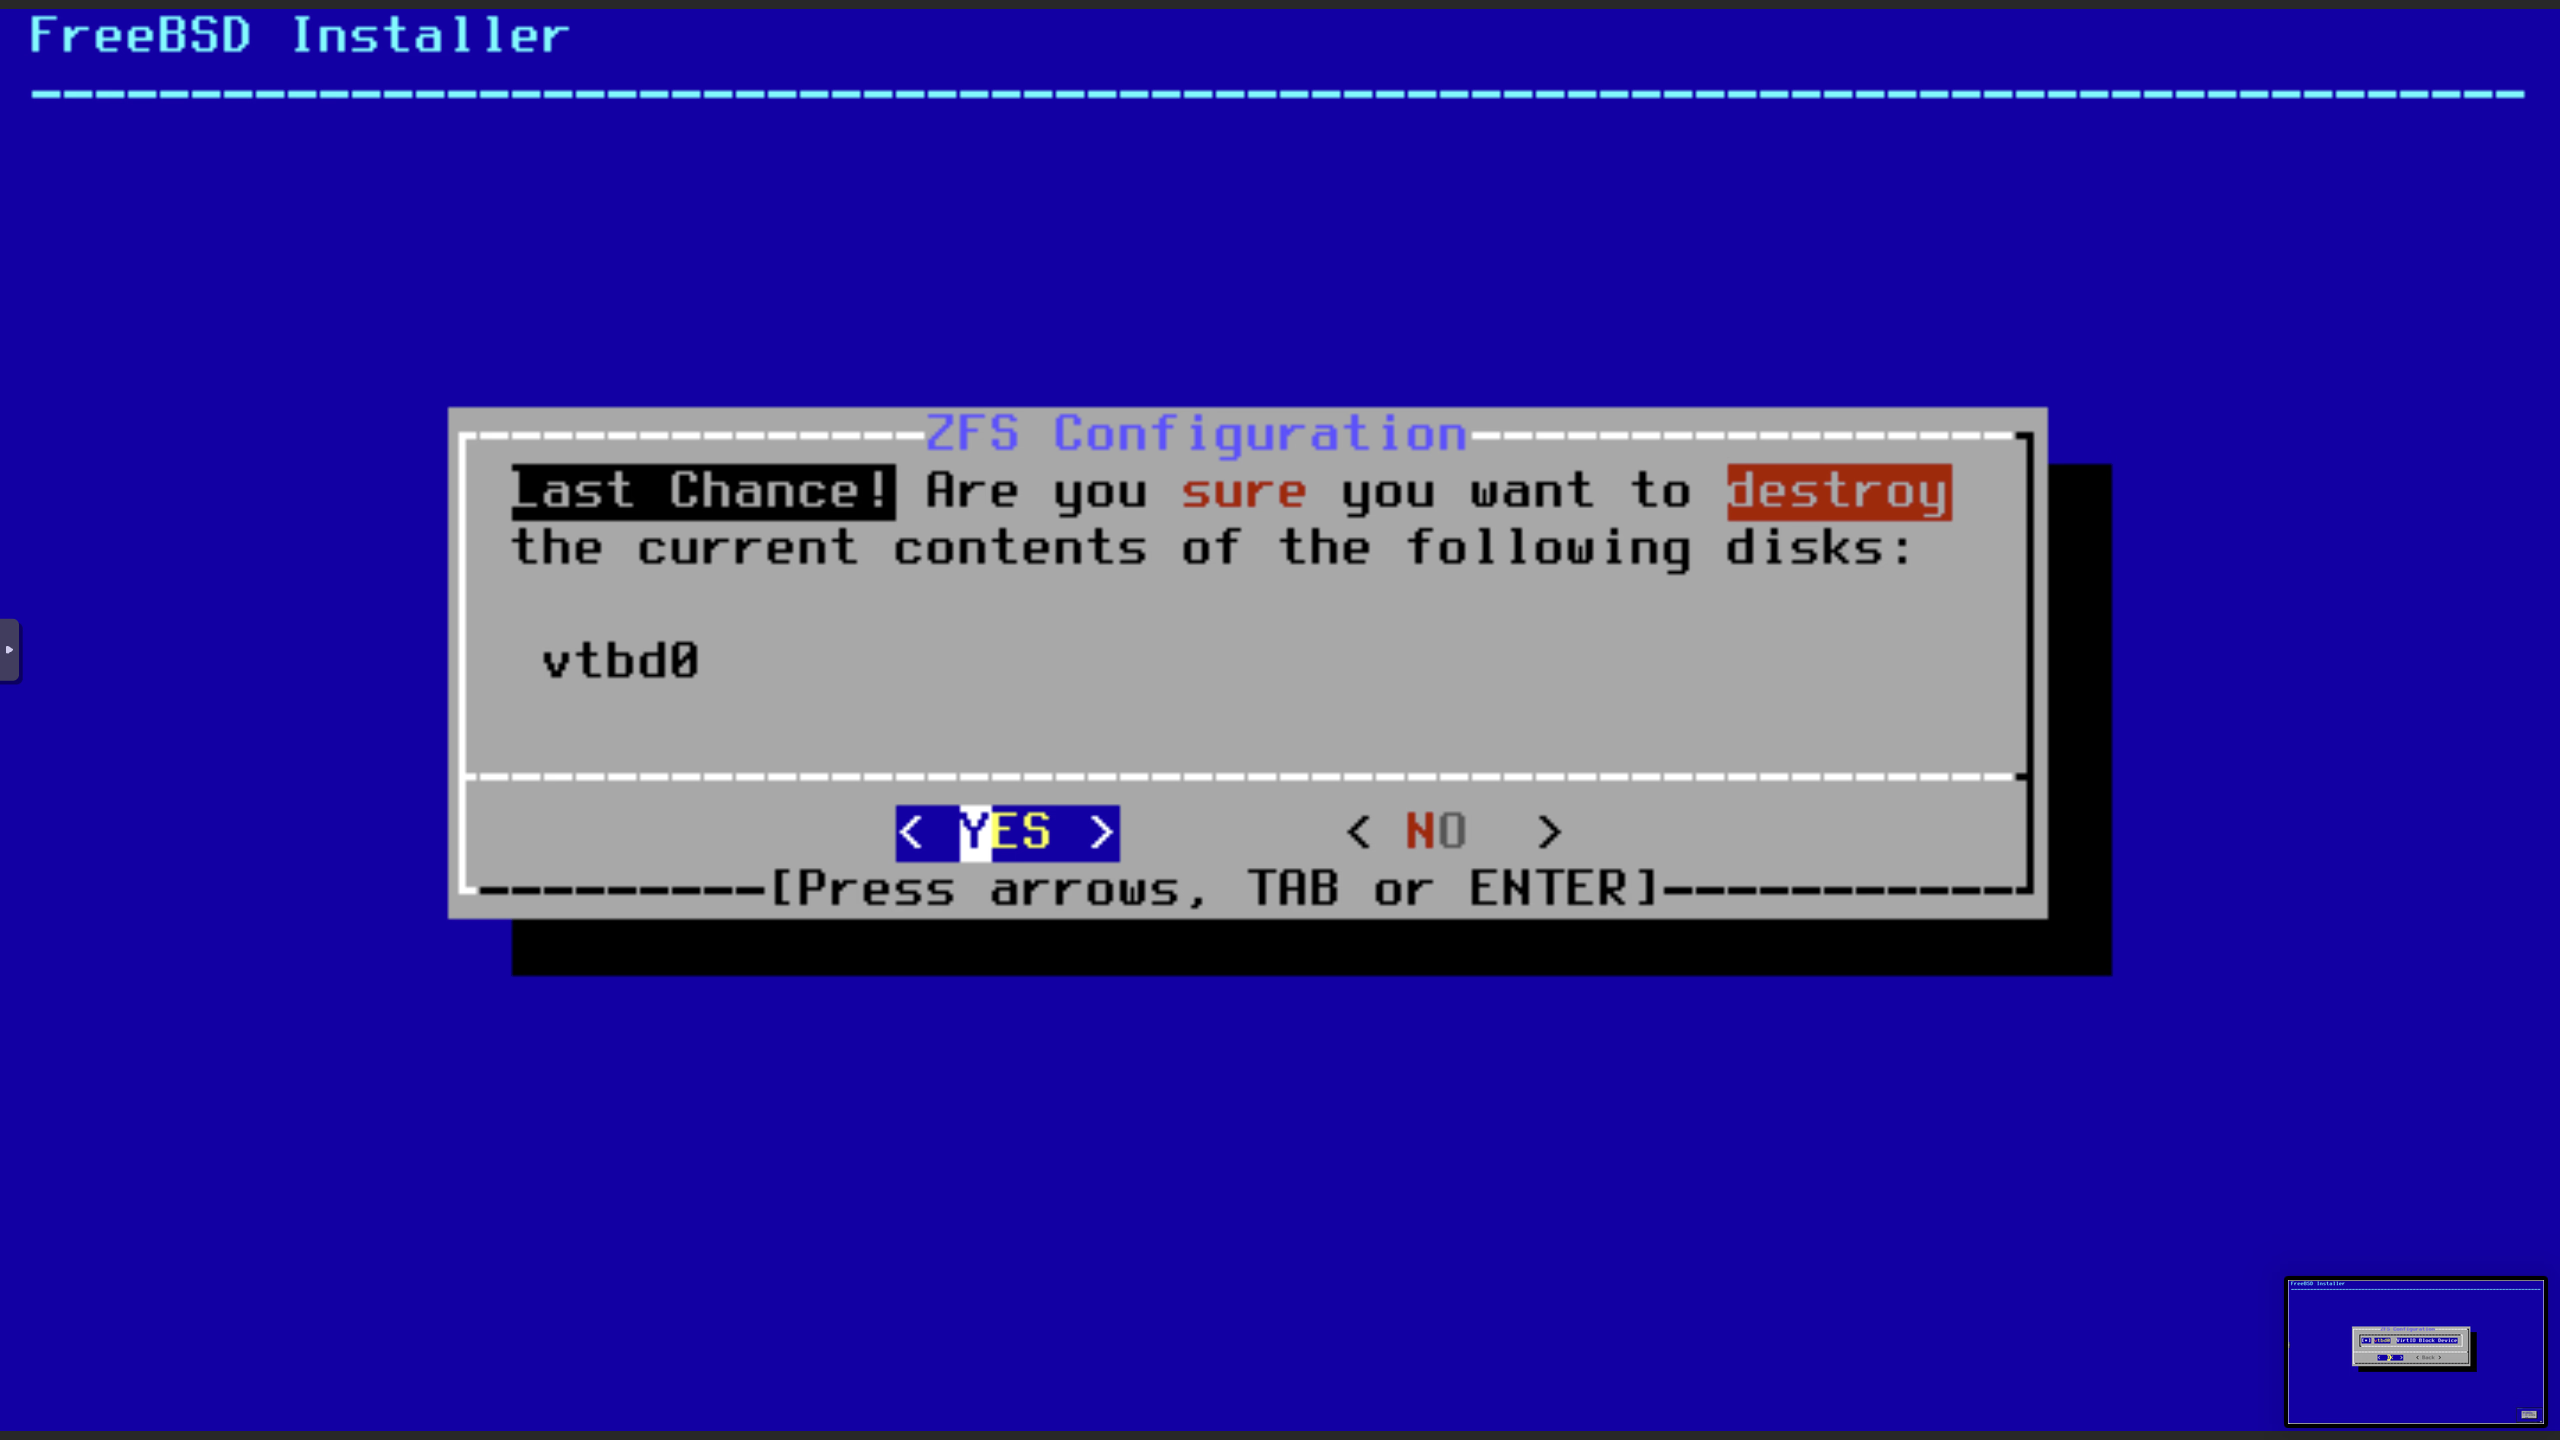
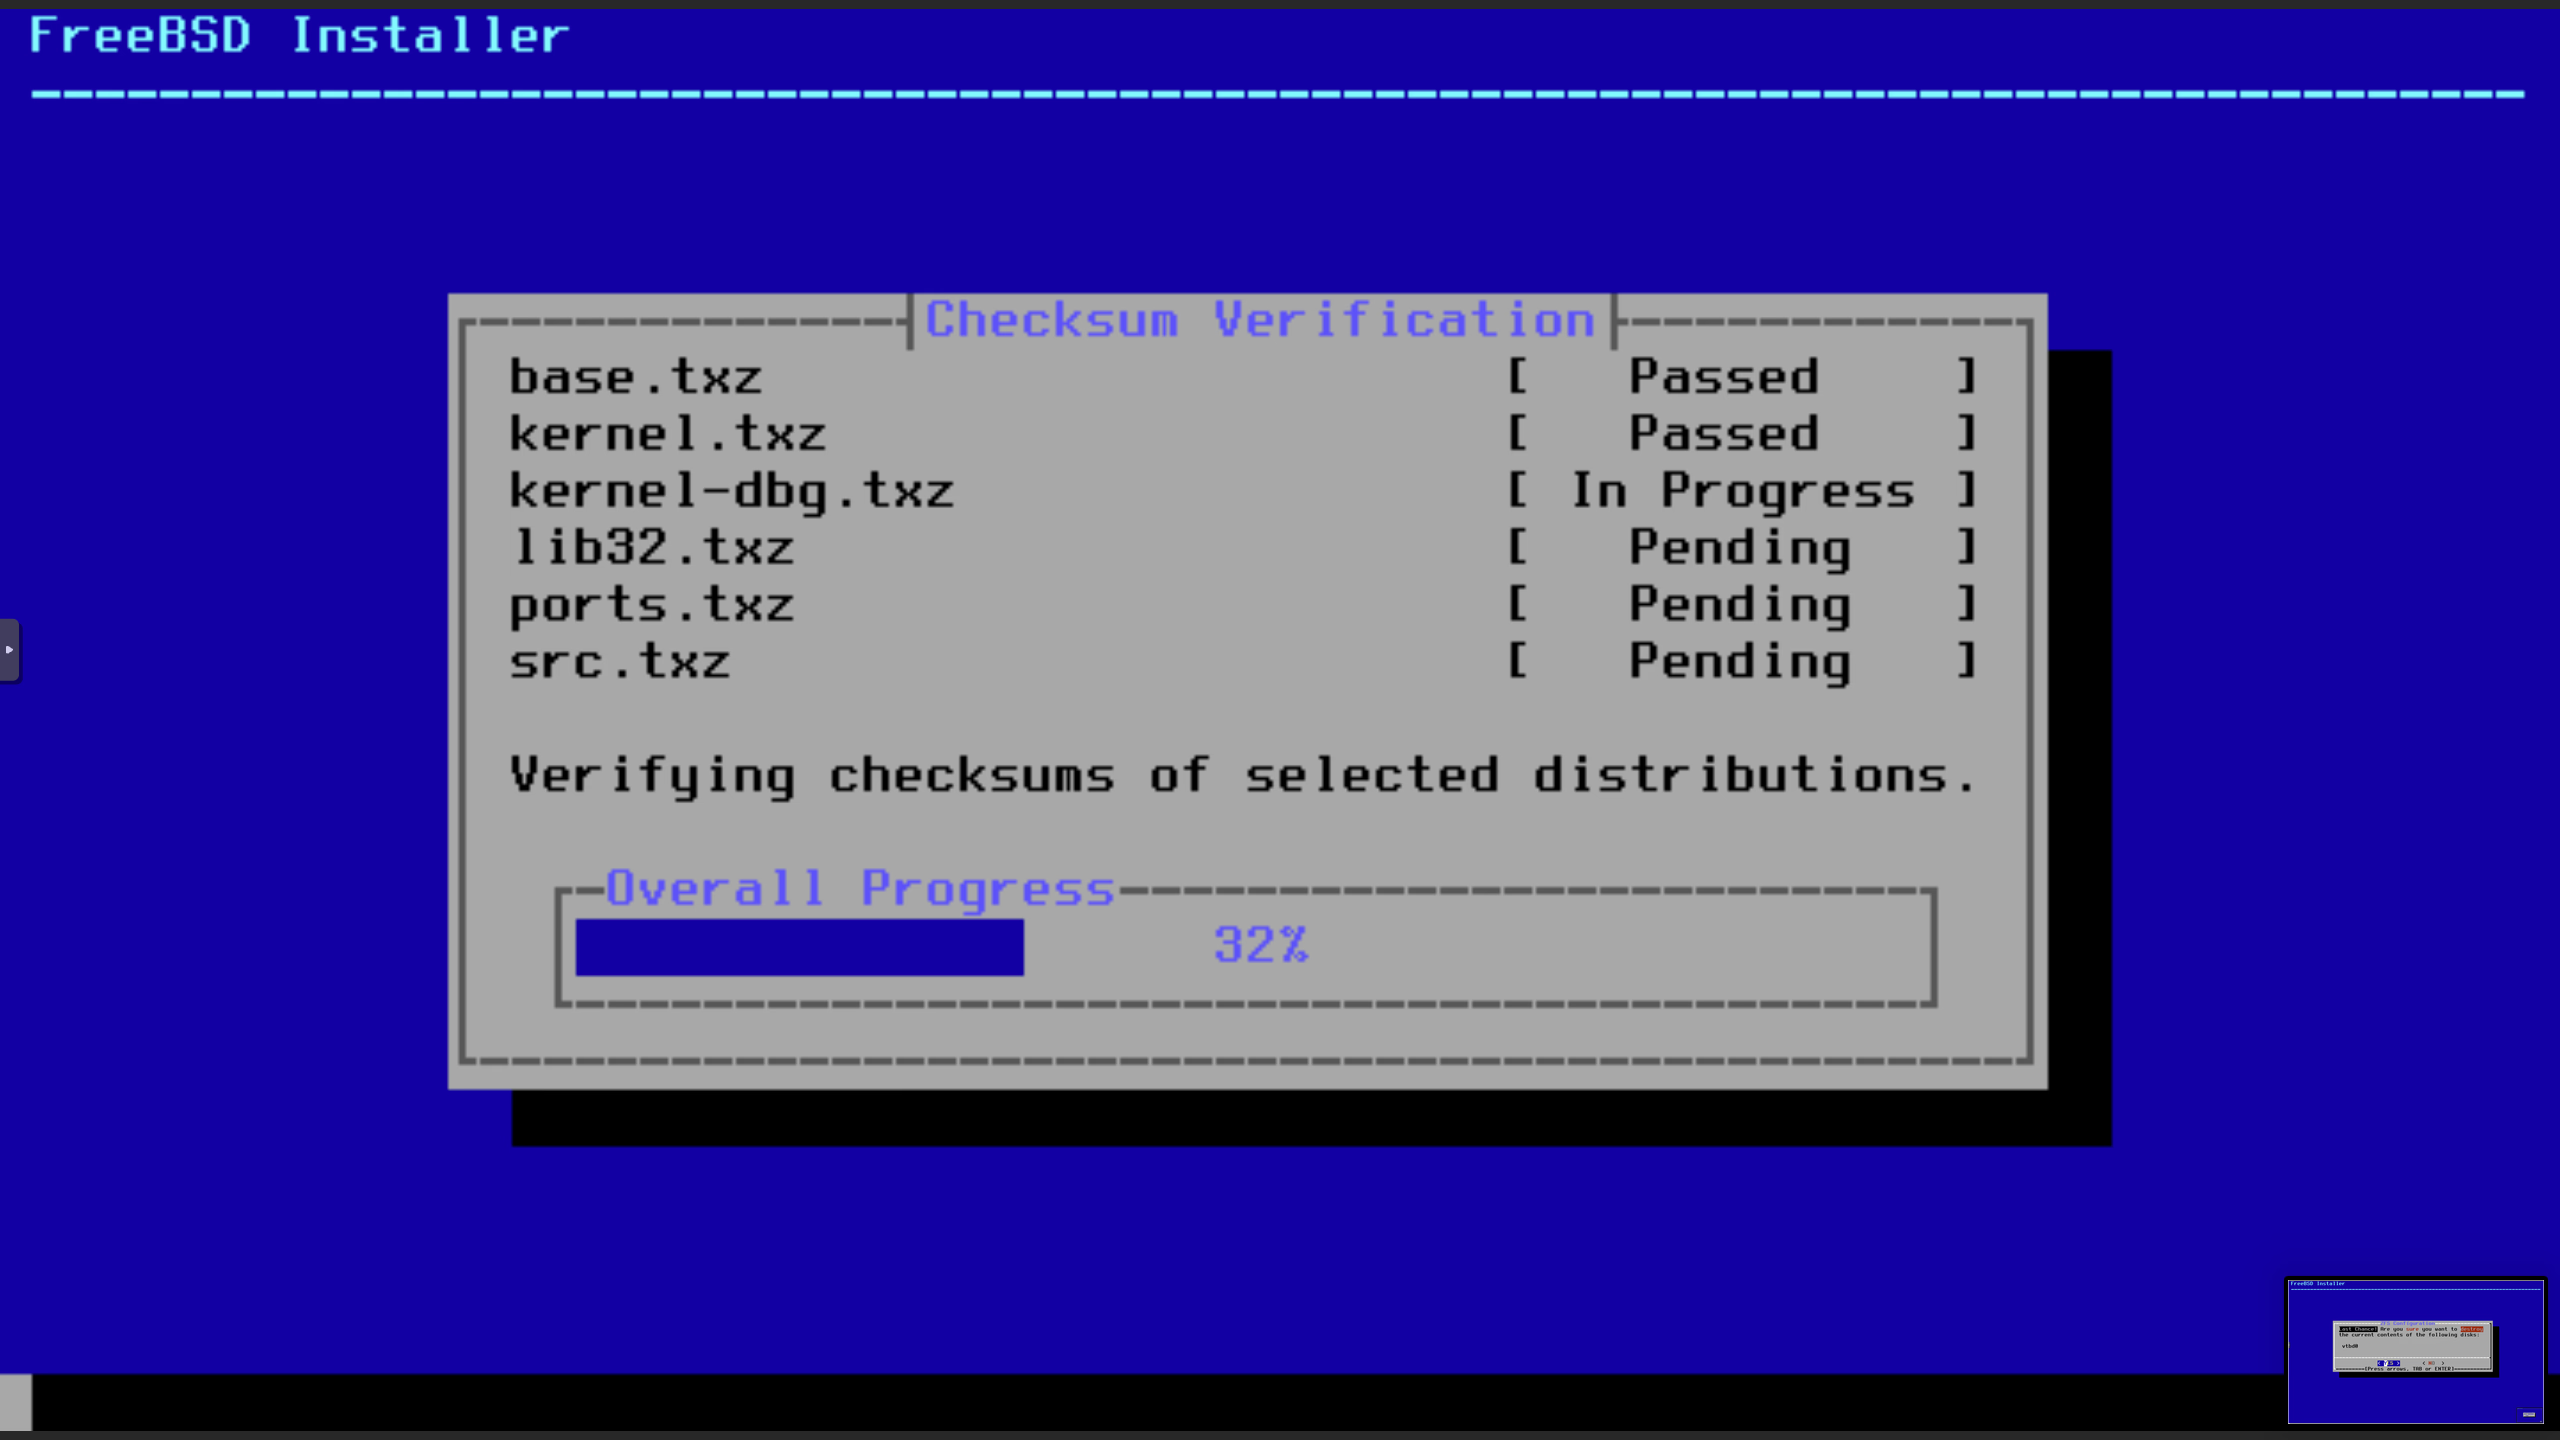
Checksum Verification
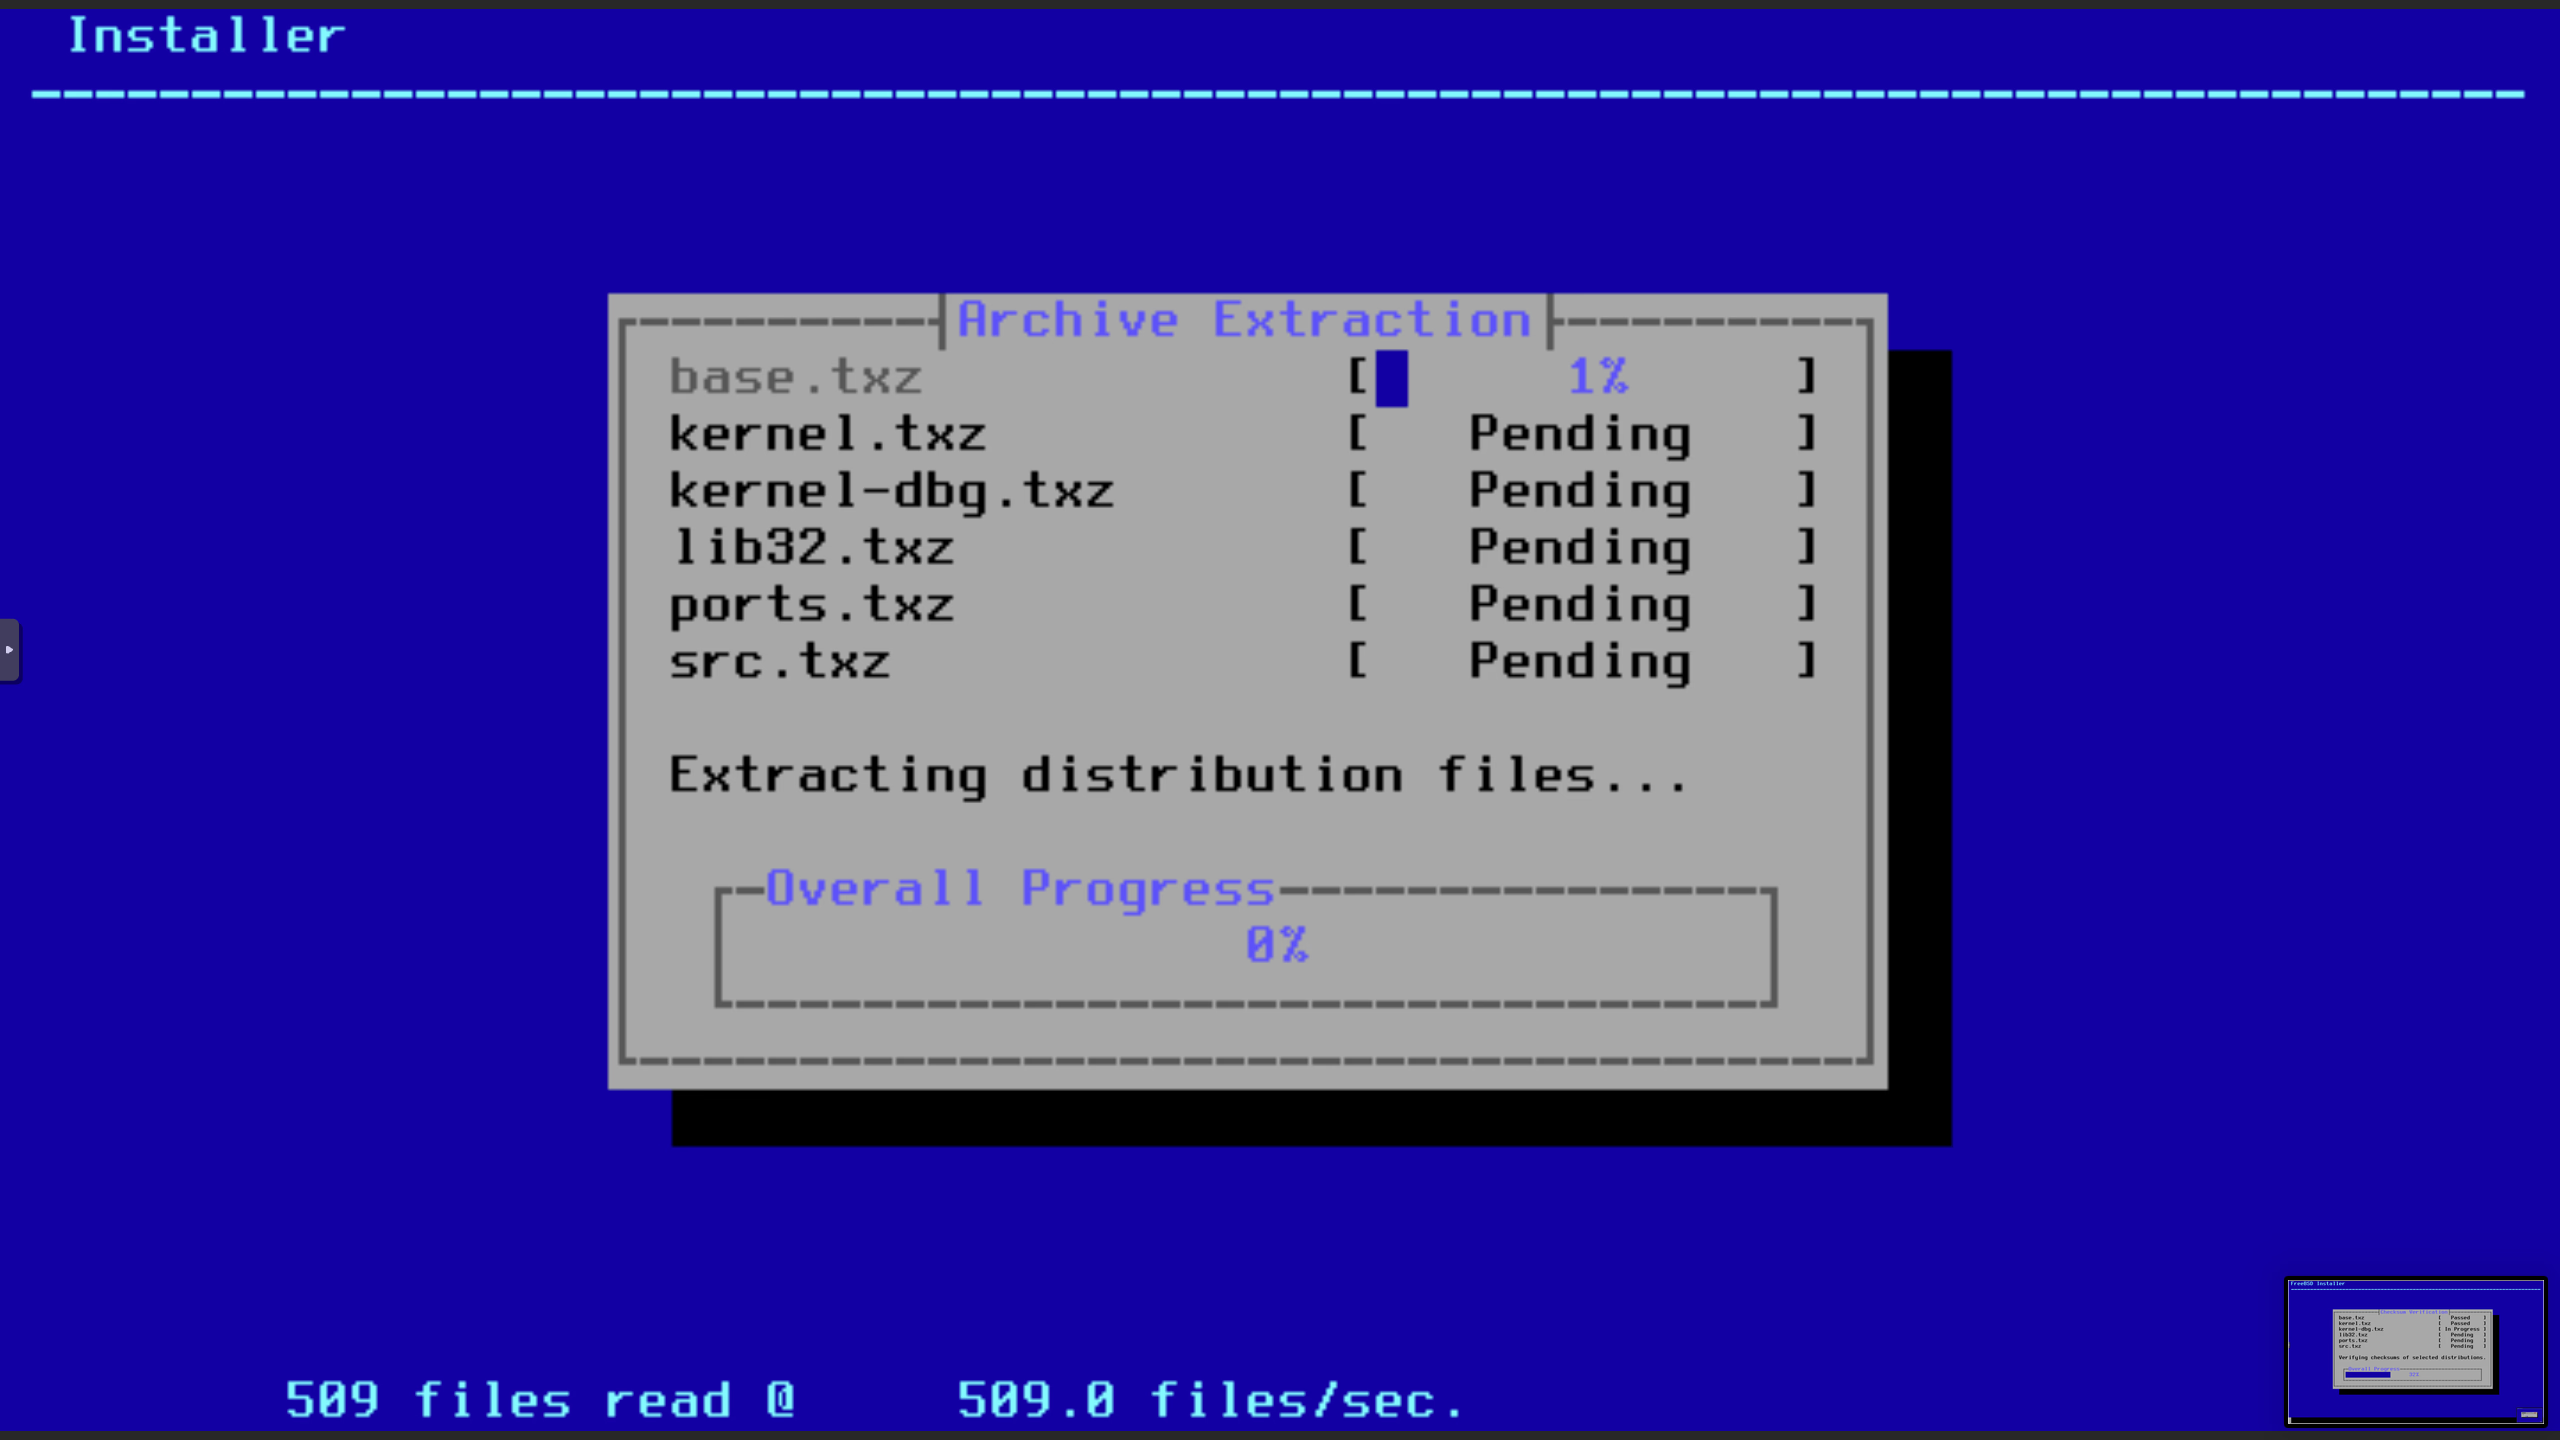
Installation (Archive Extraction)
Set Root Password
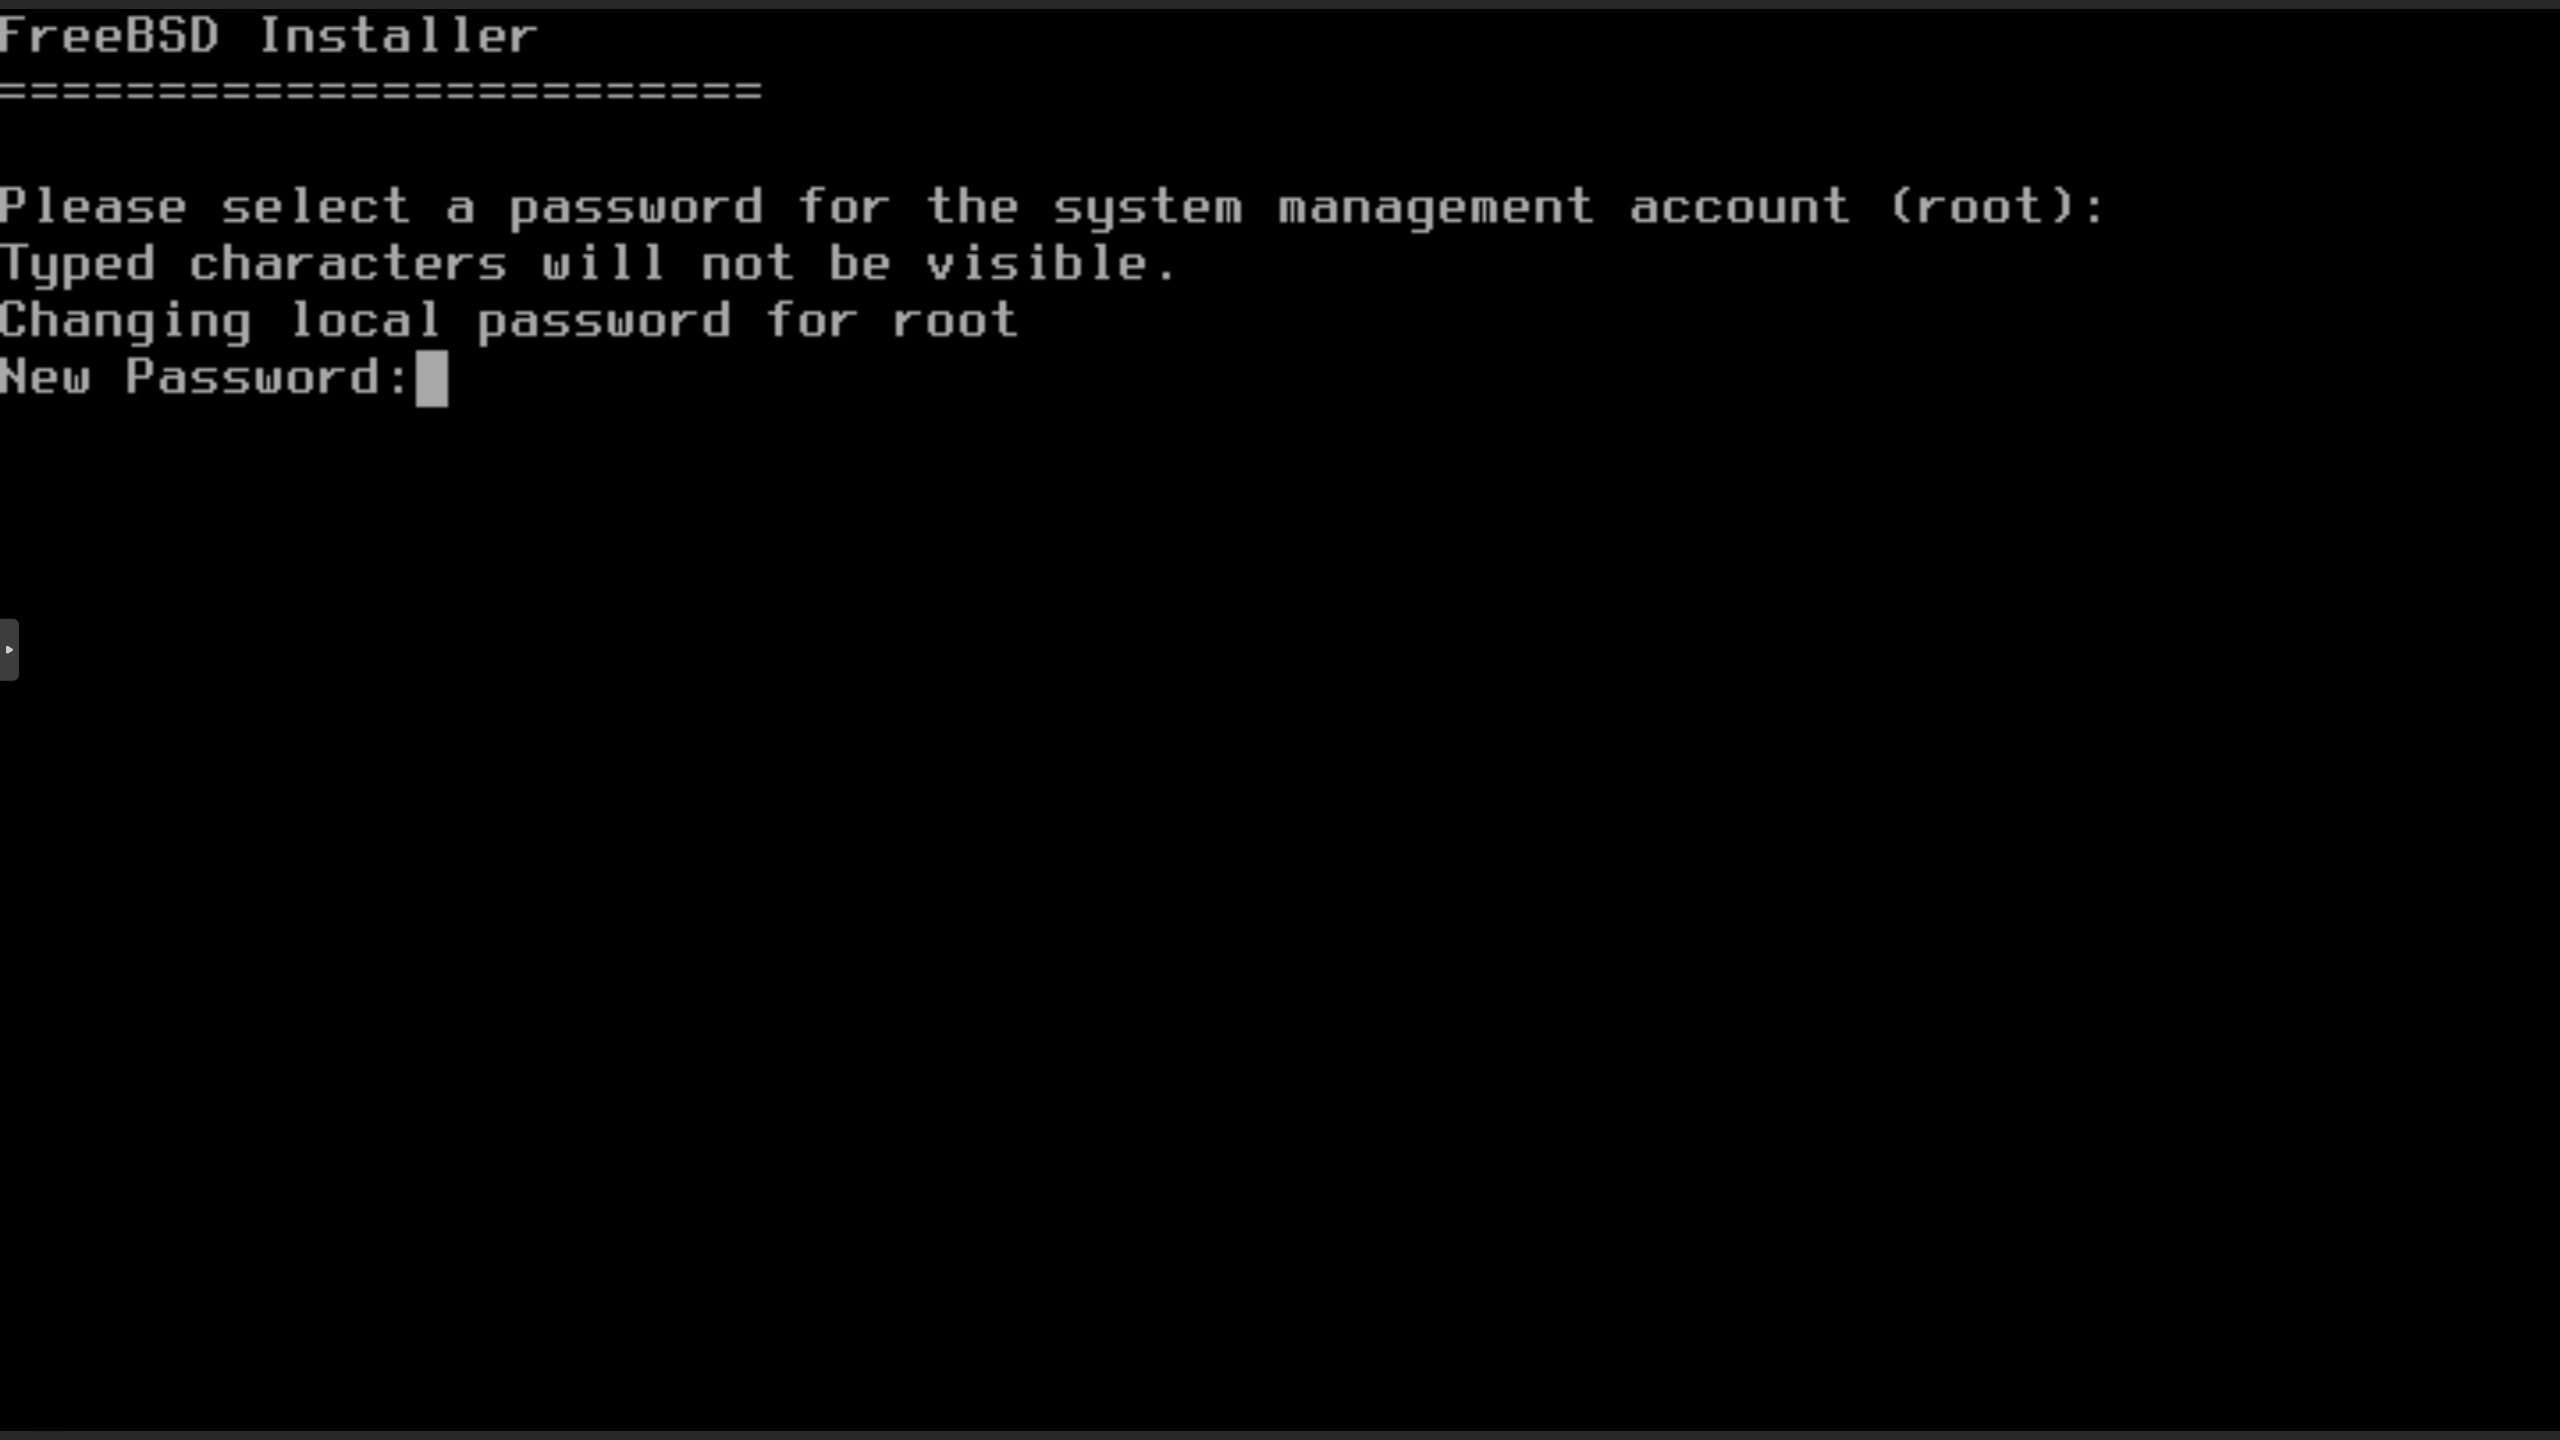
Network Configuration
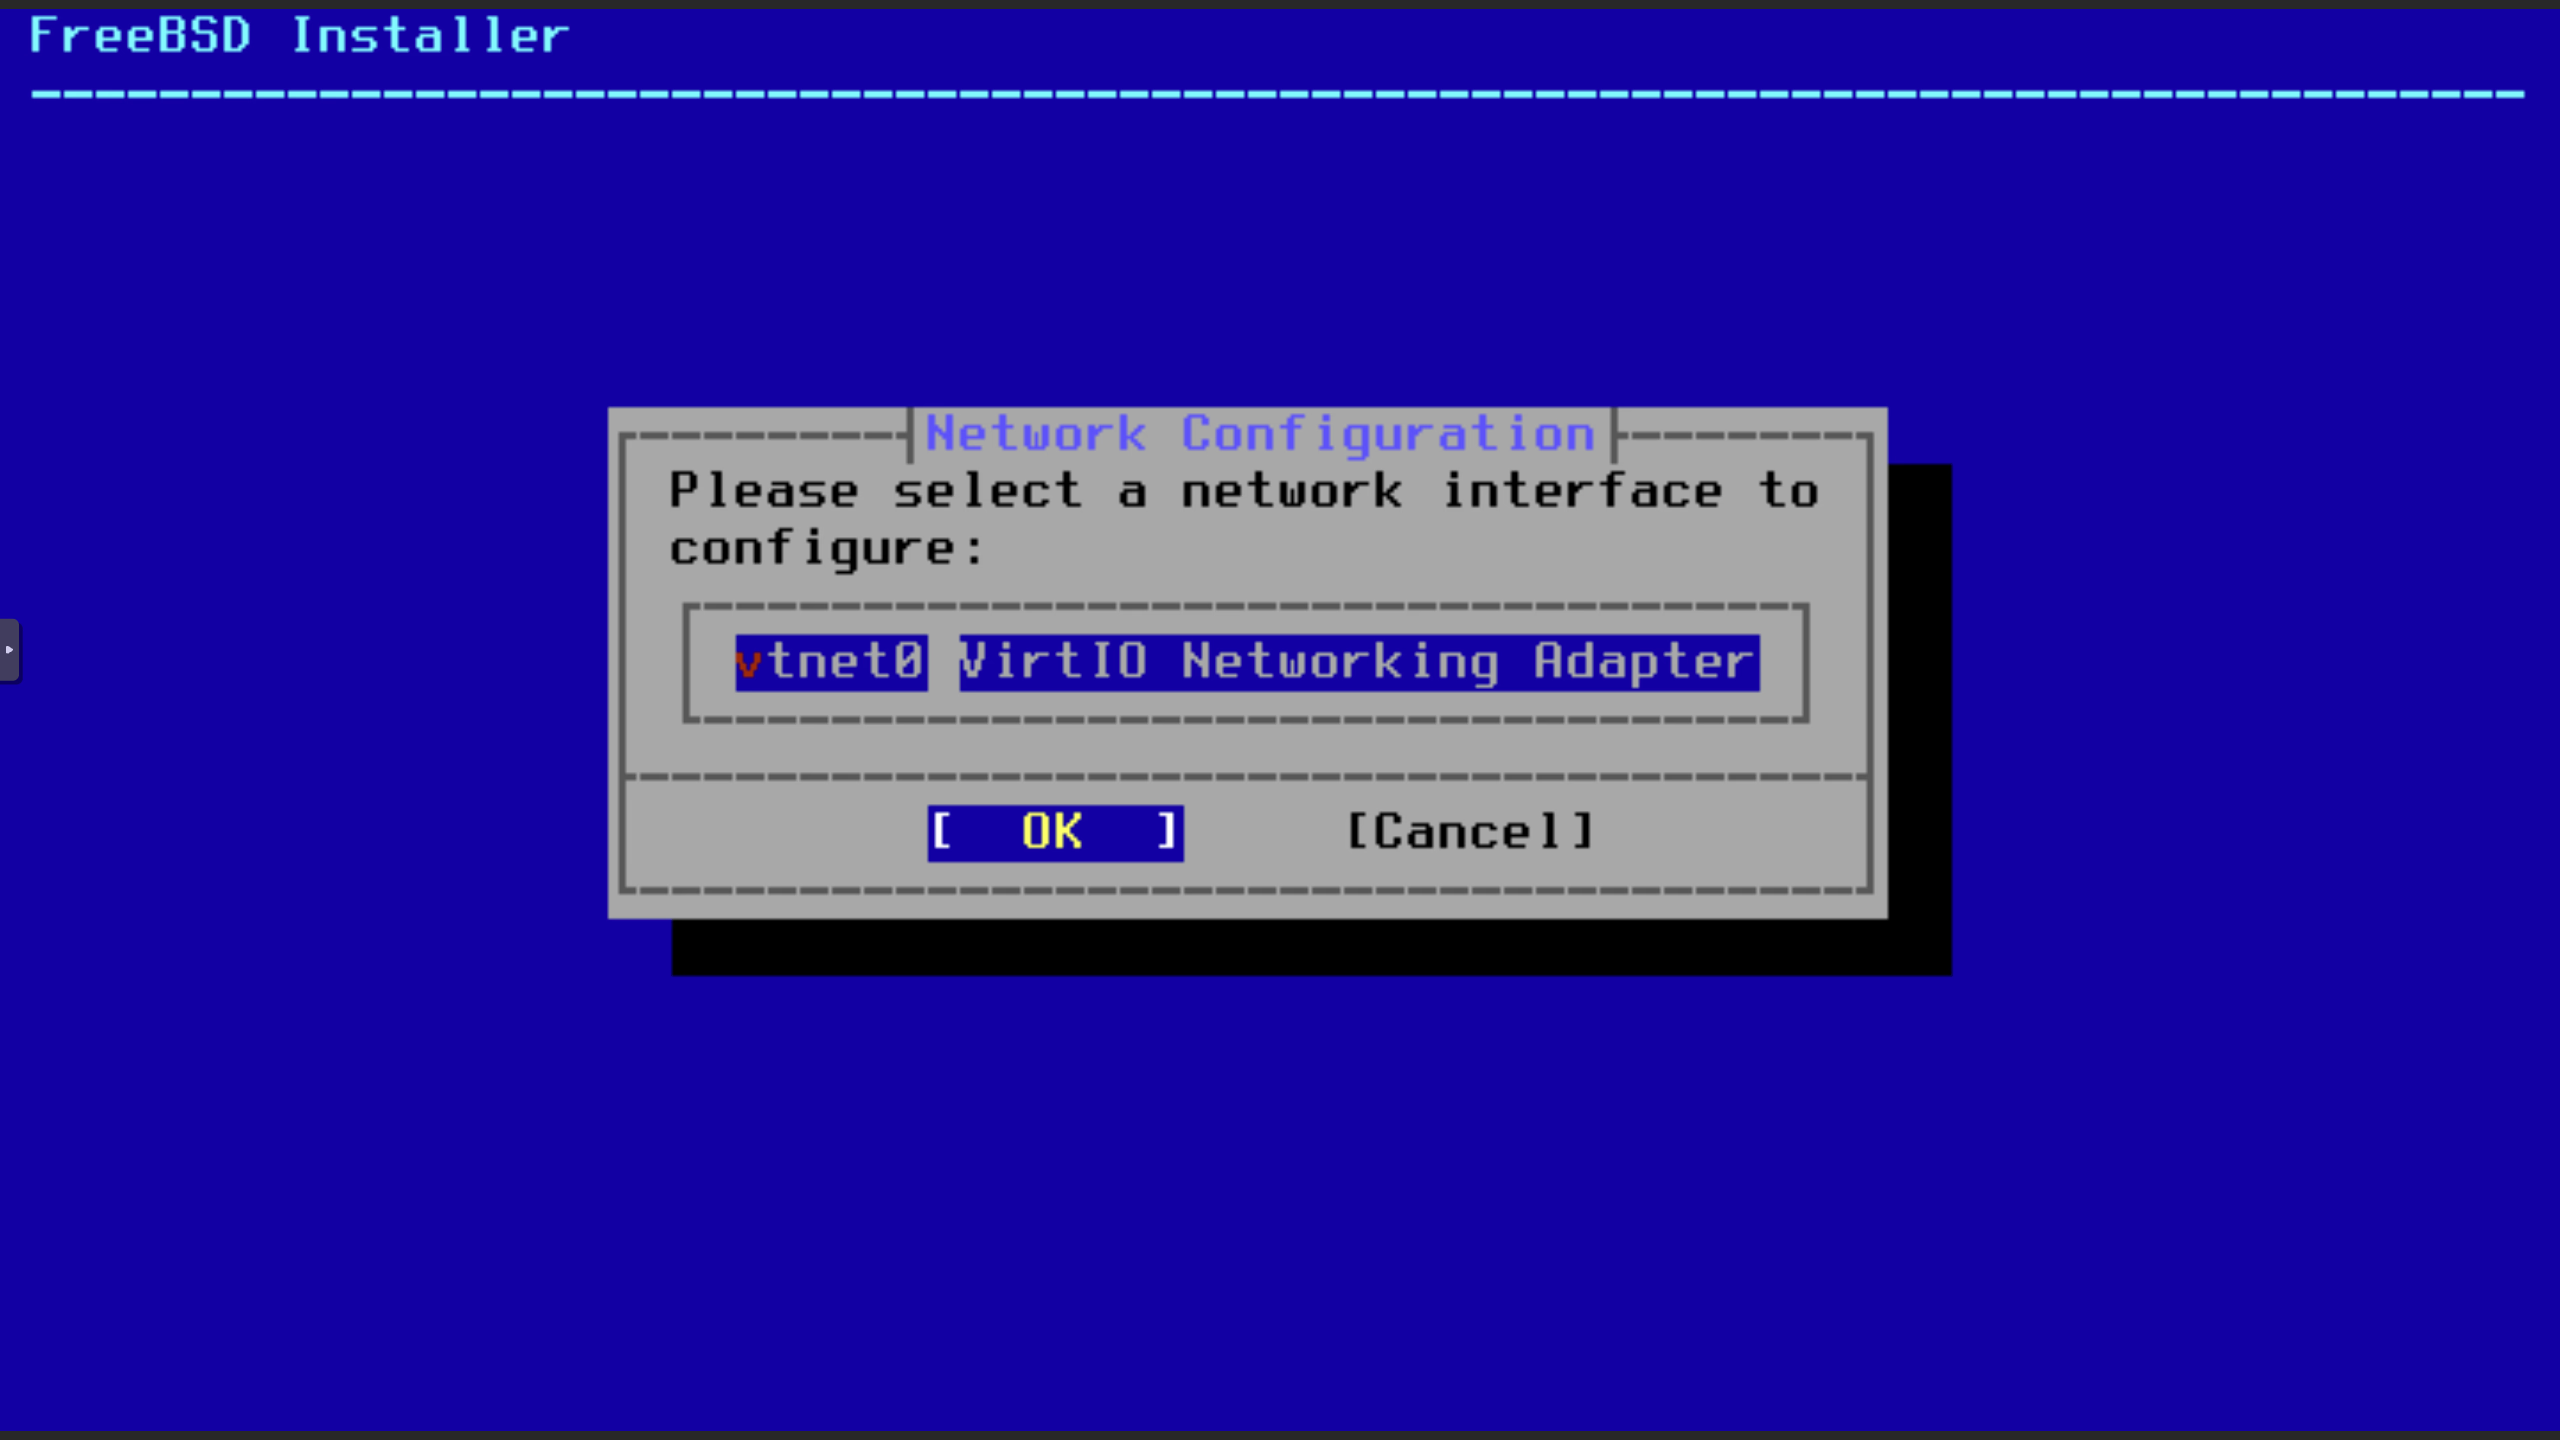
Add IPv4 Interface
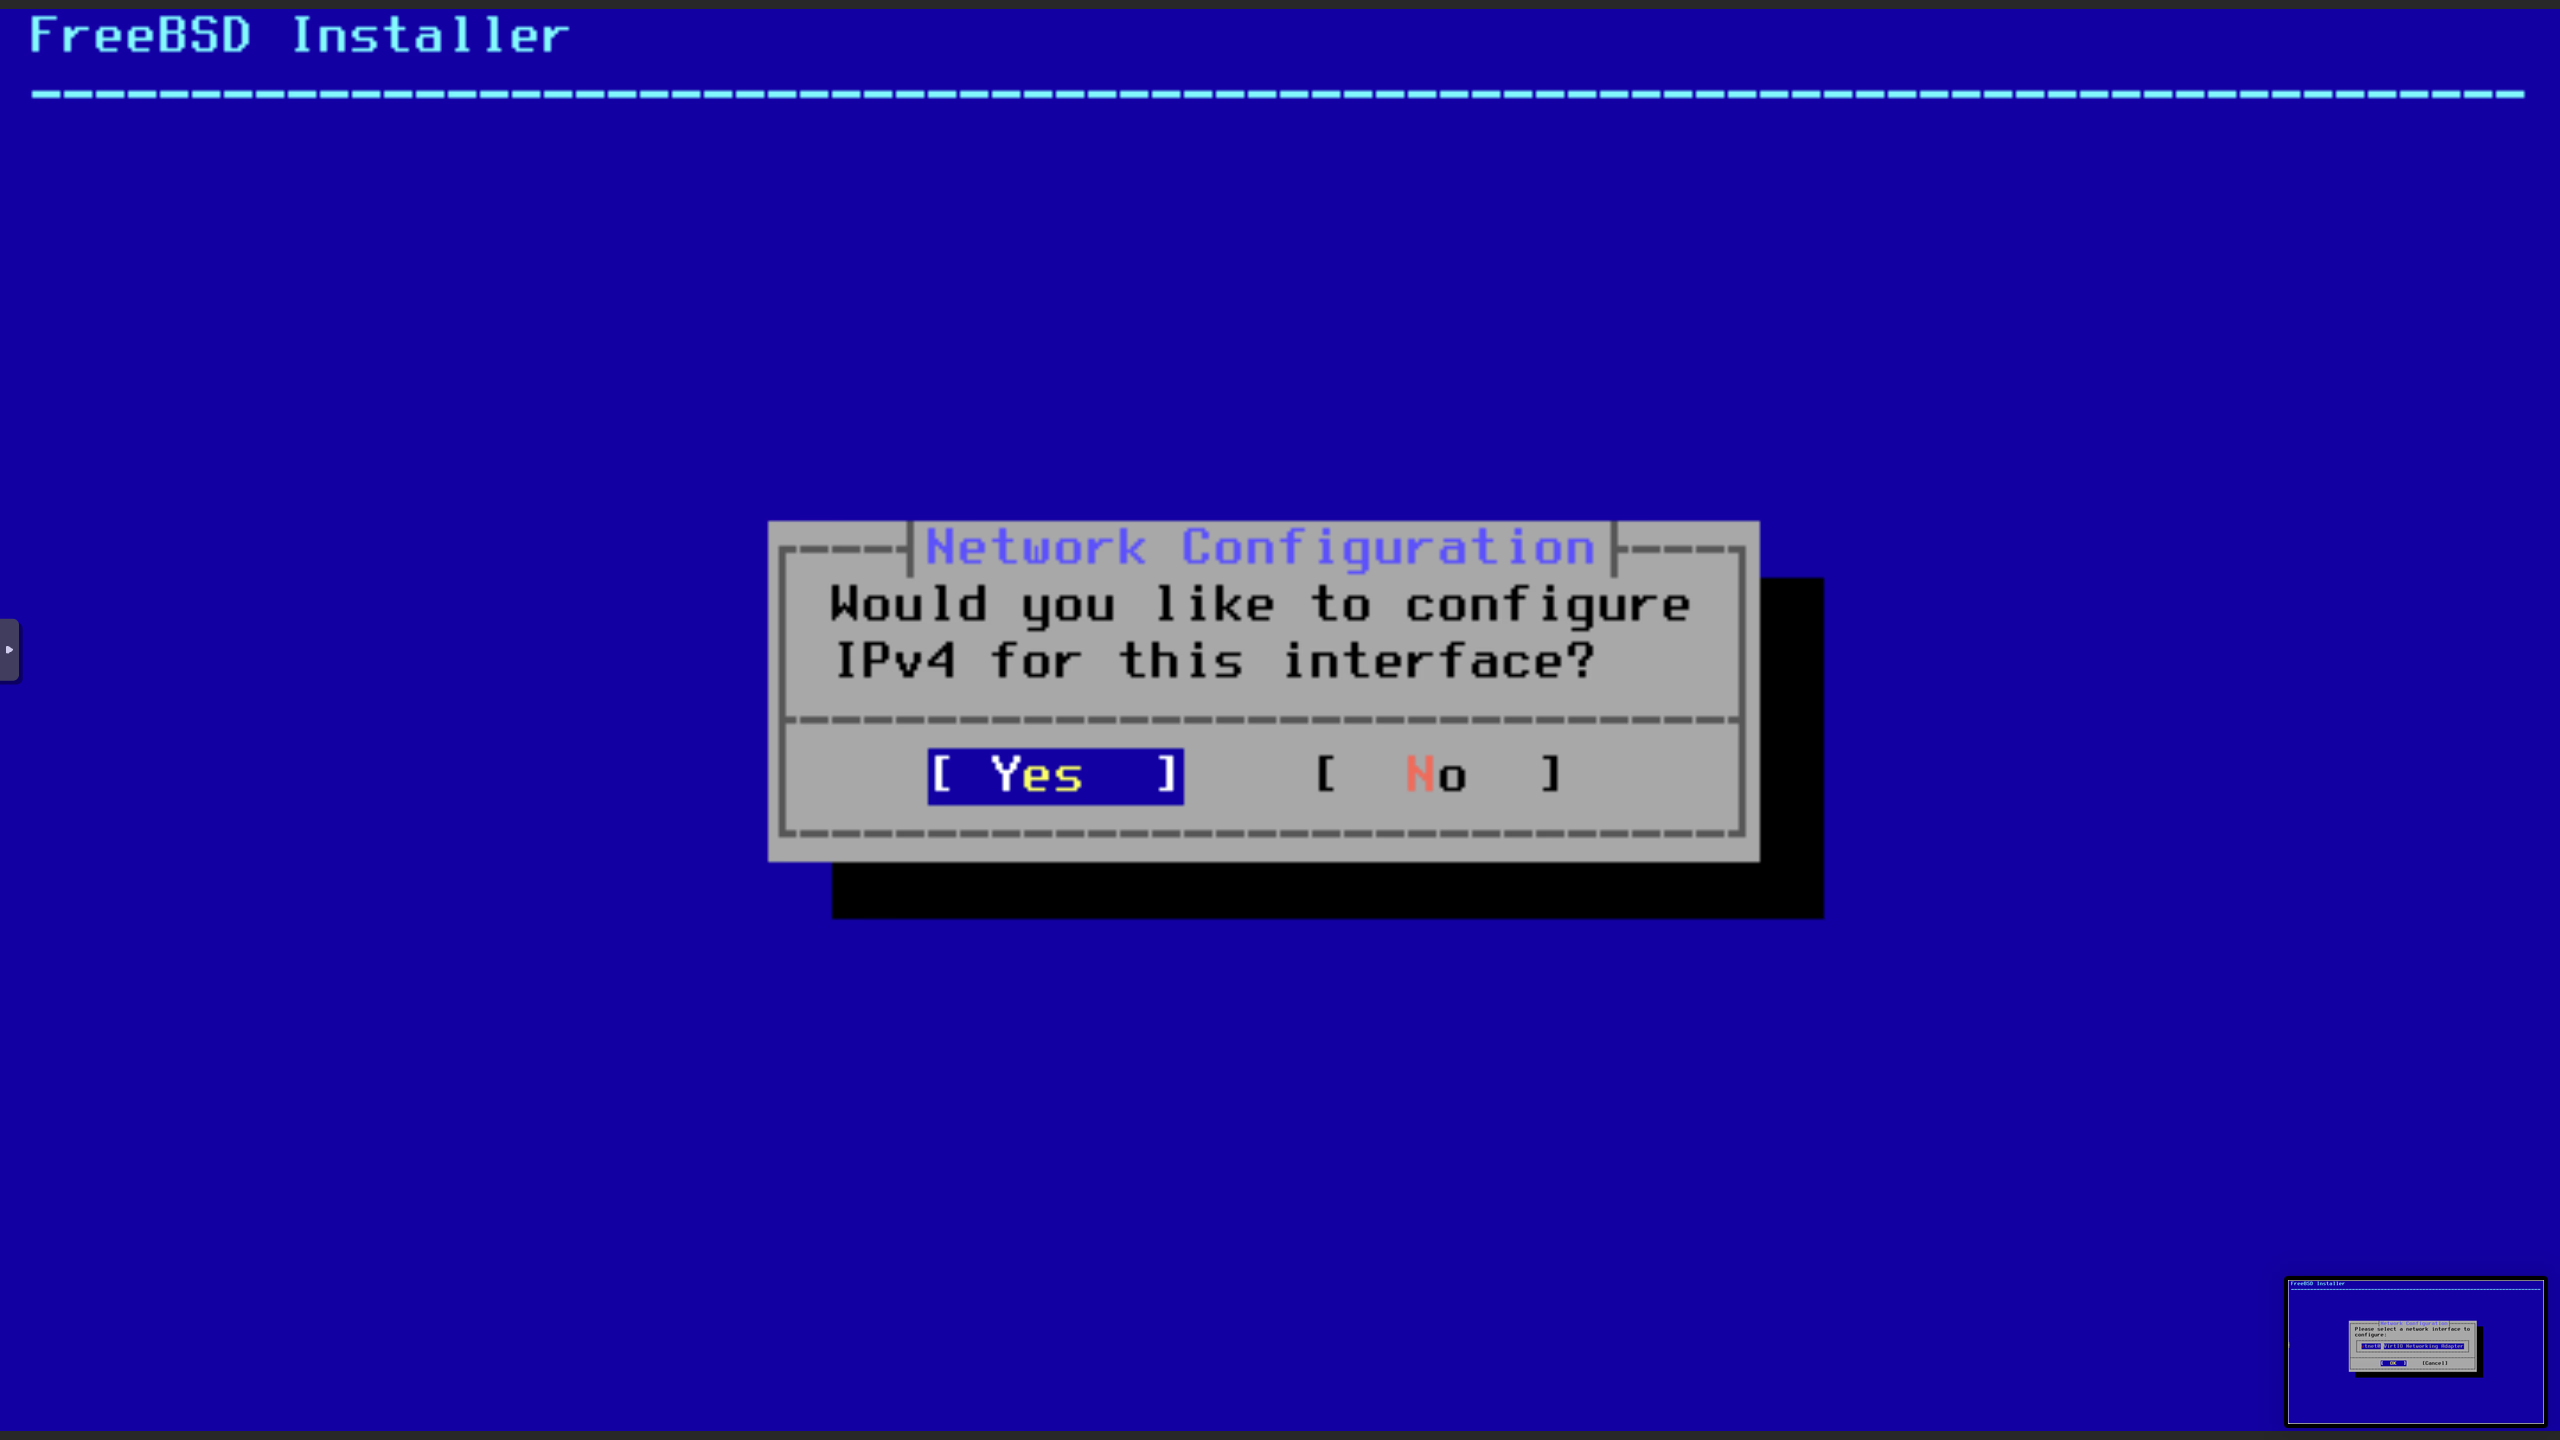
Use DHCP
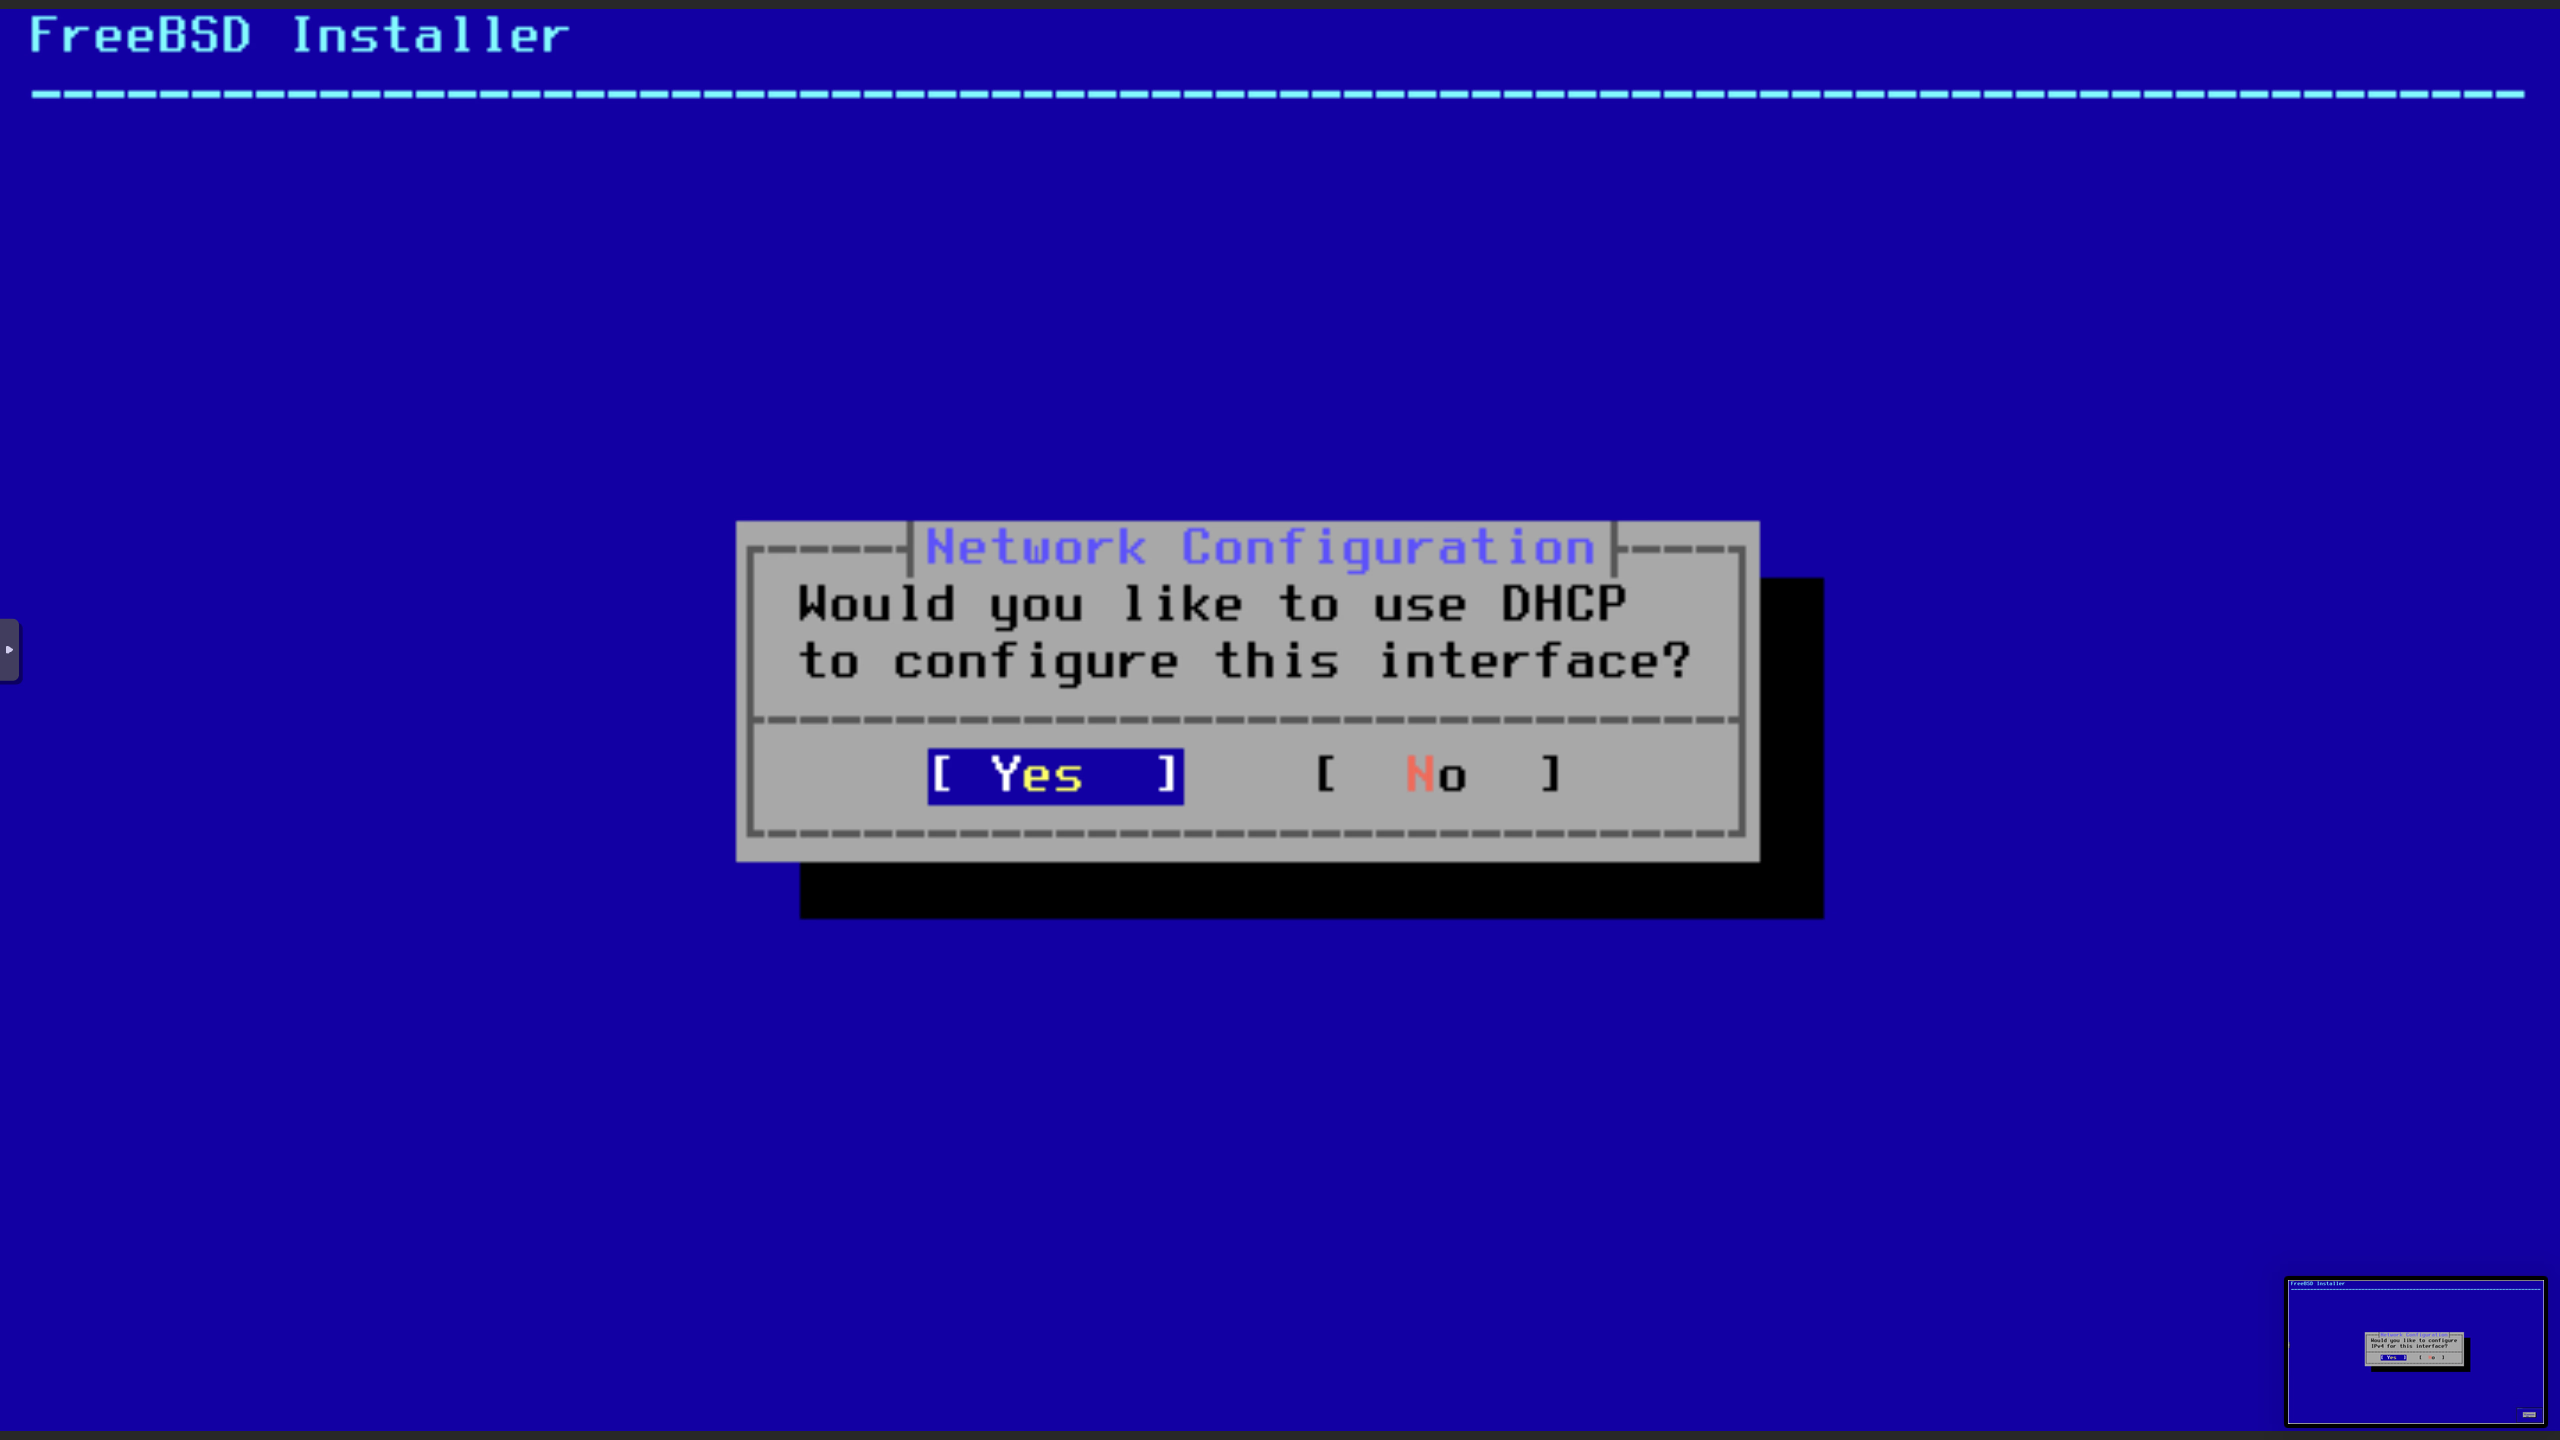
IPv6 Configuration
This can skipped if you don't plan to use IPv6.
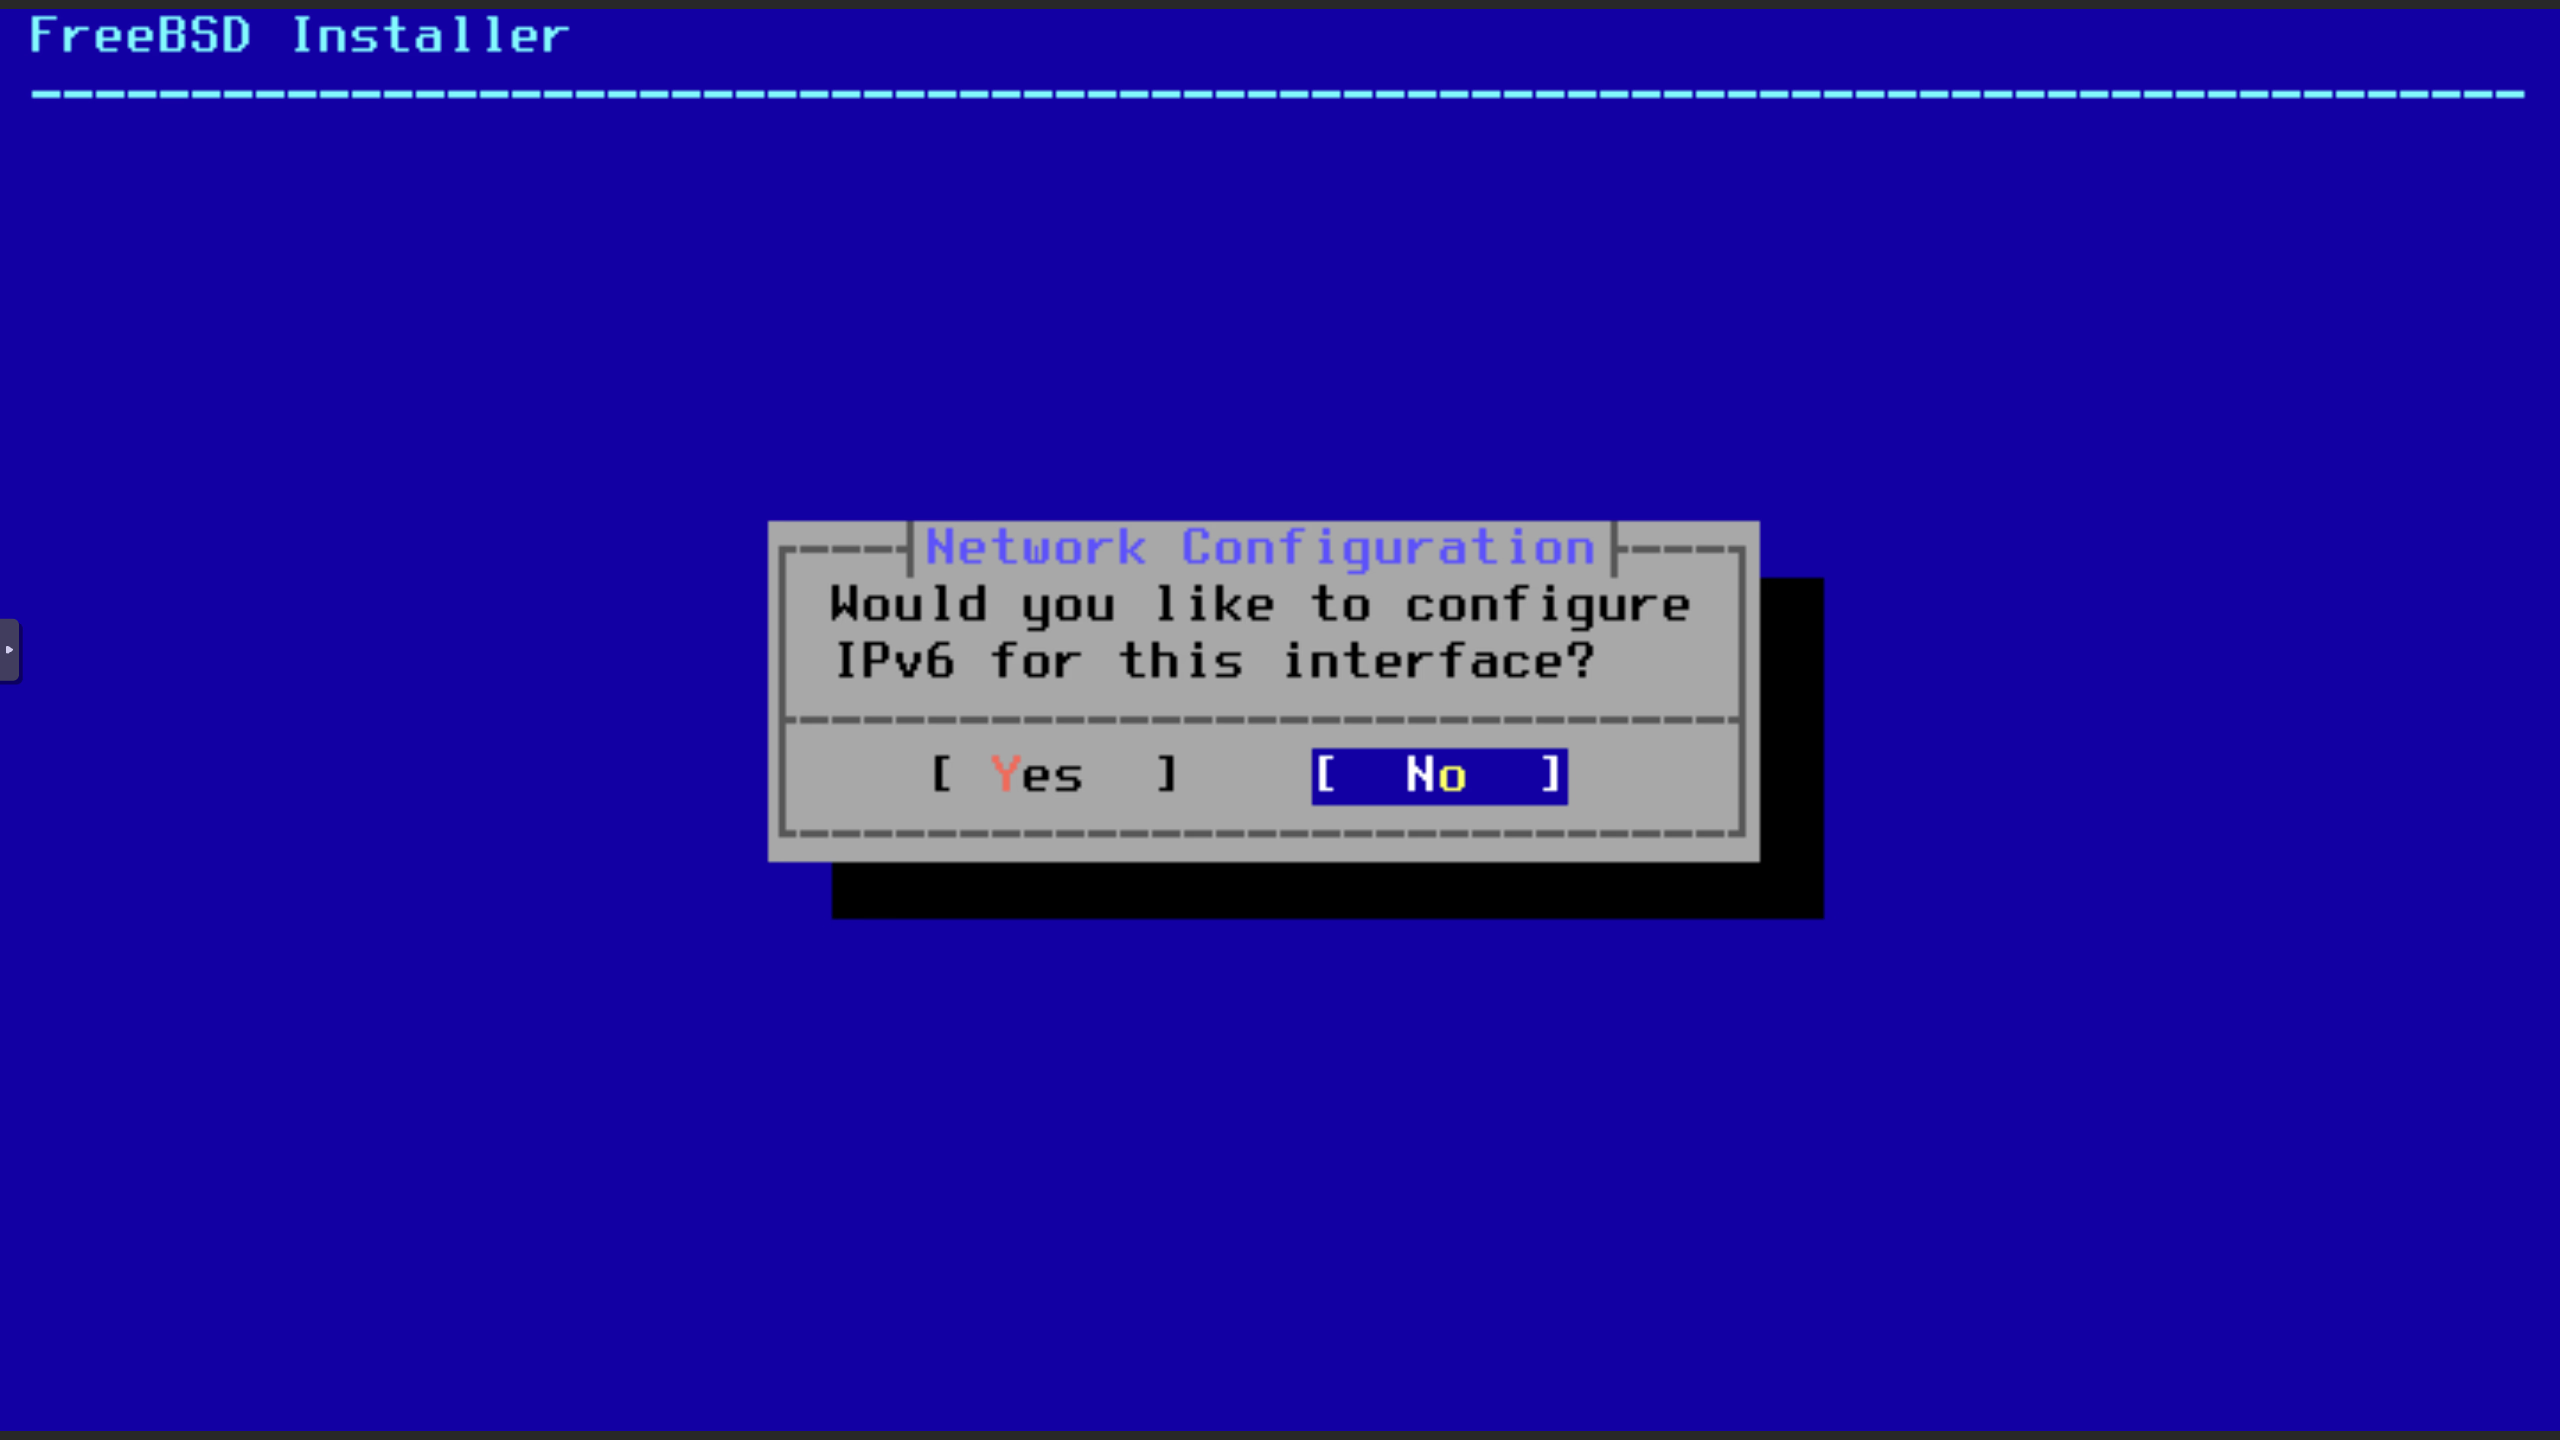
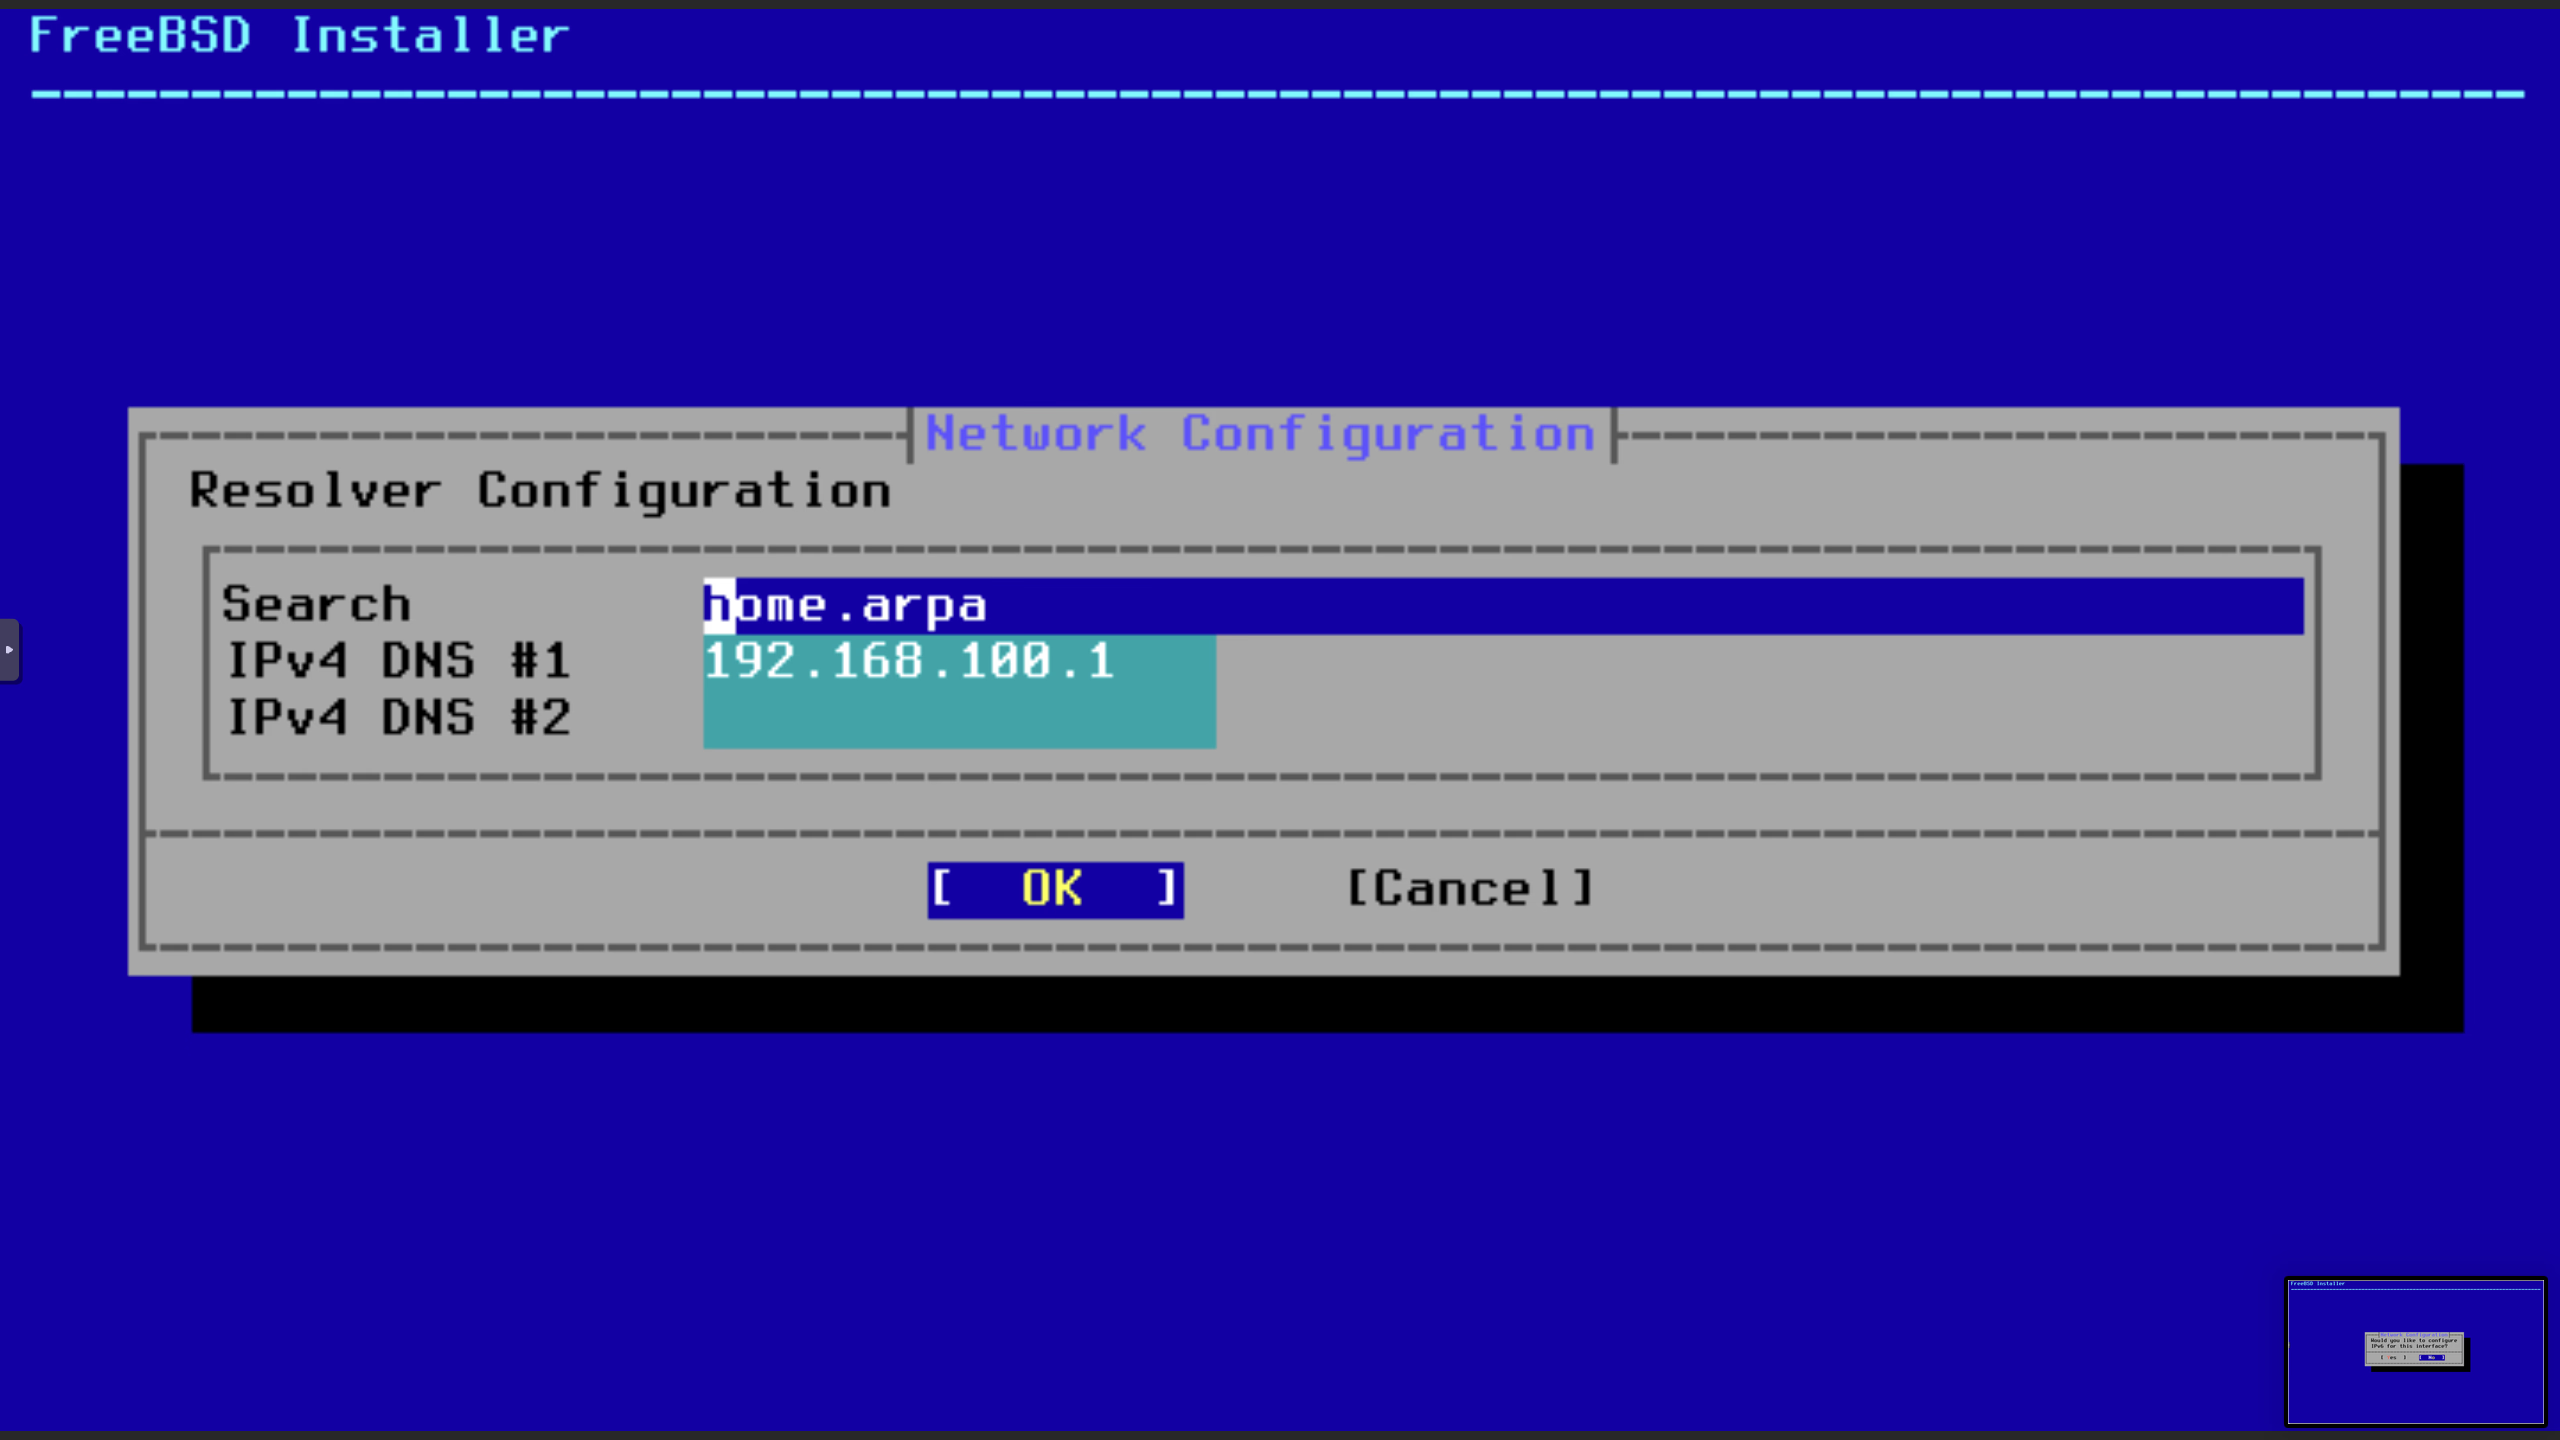
Confirm Network Configuration
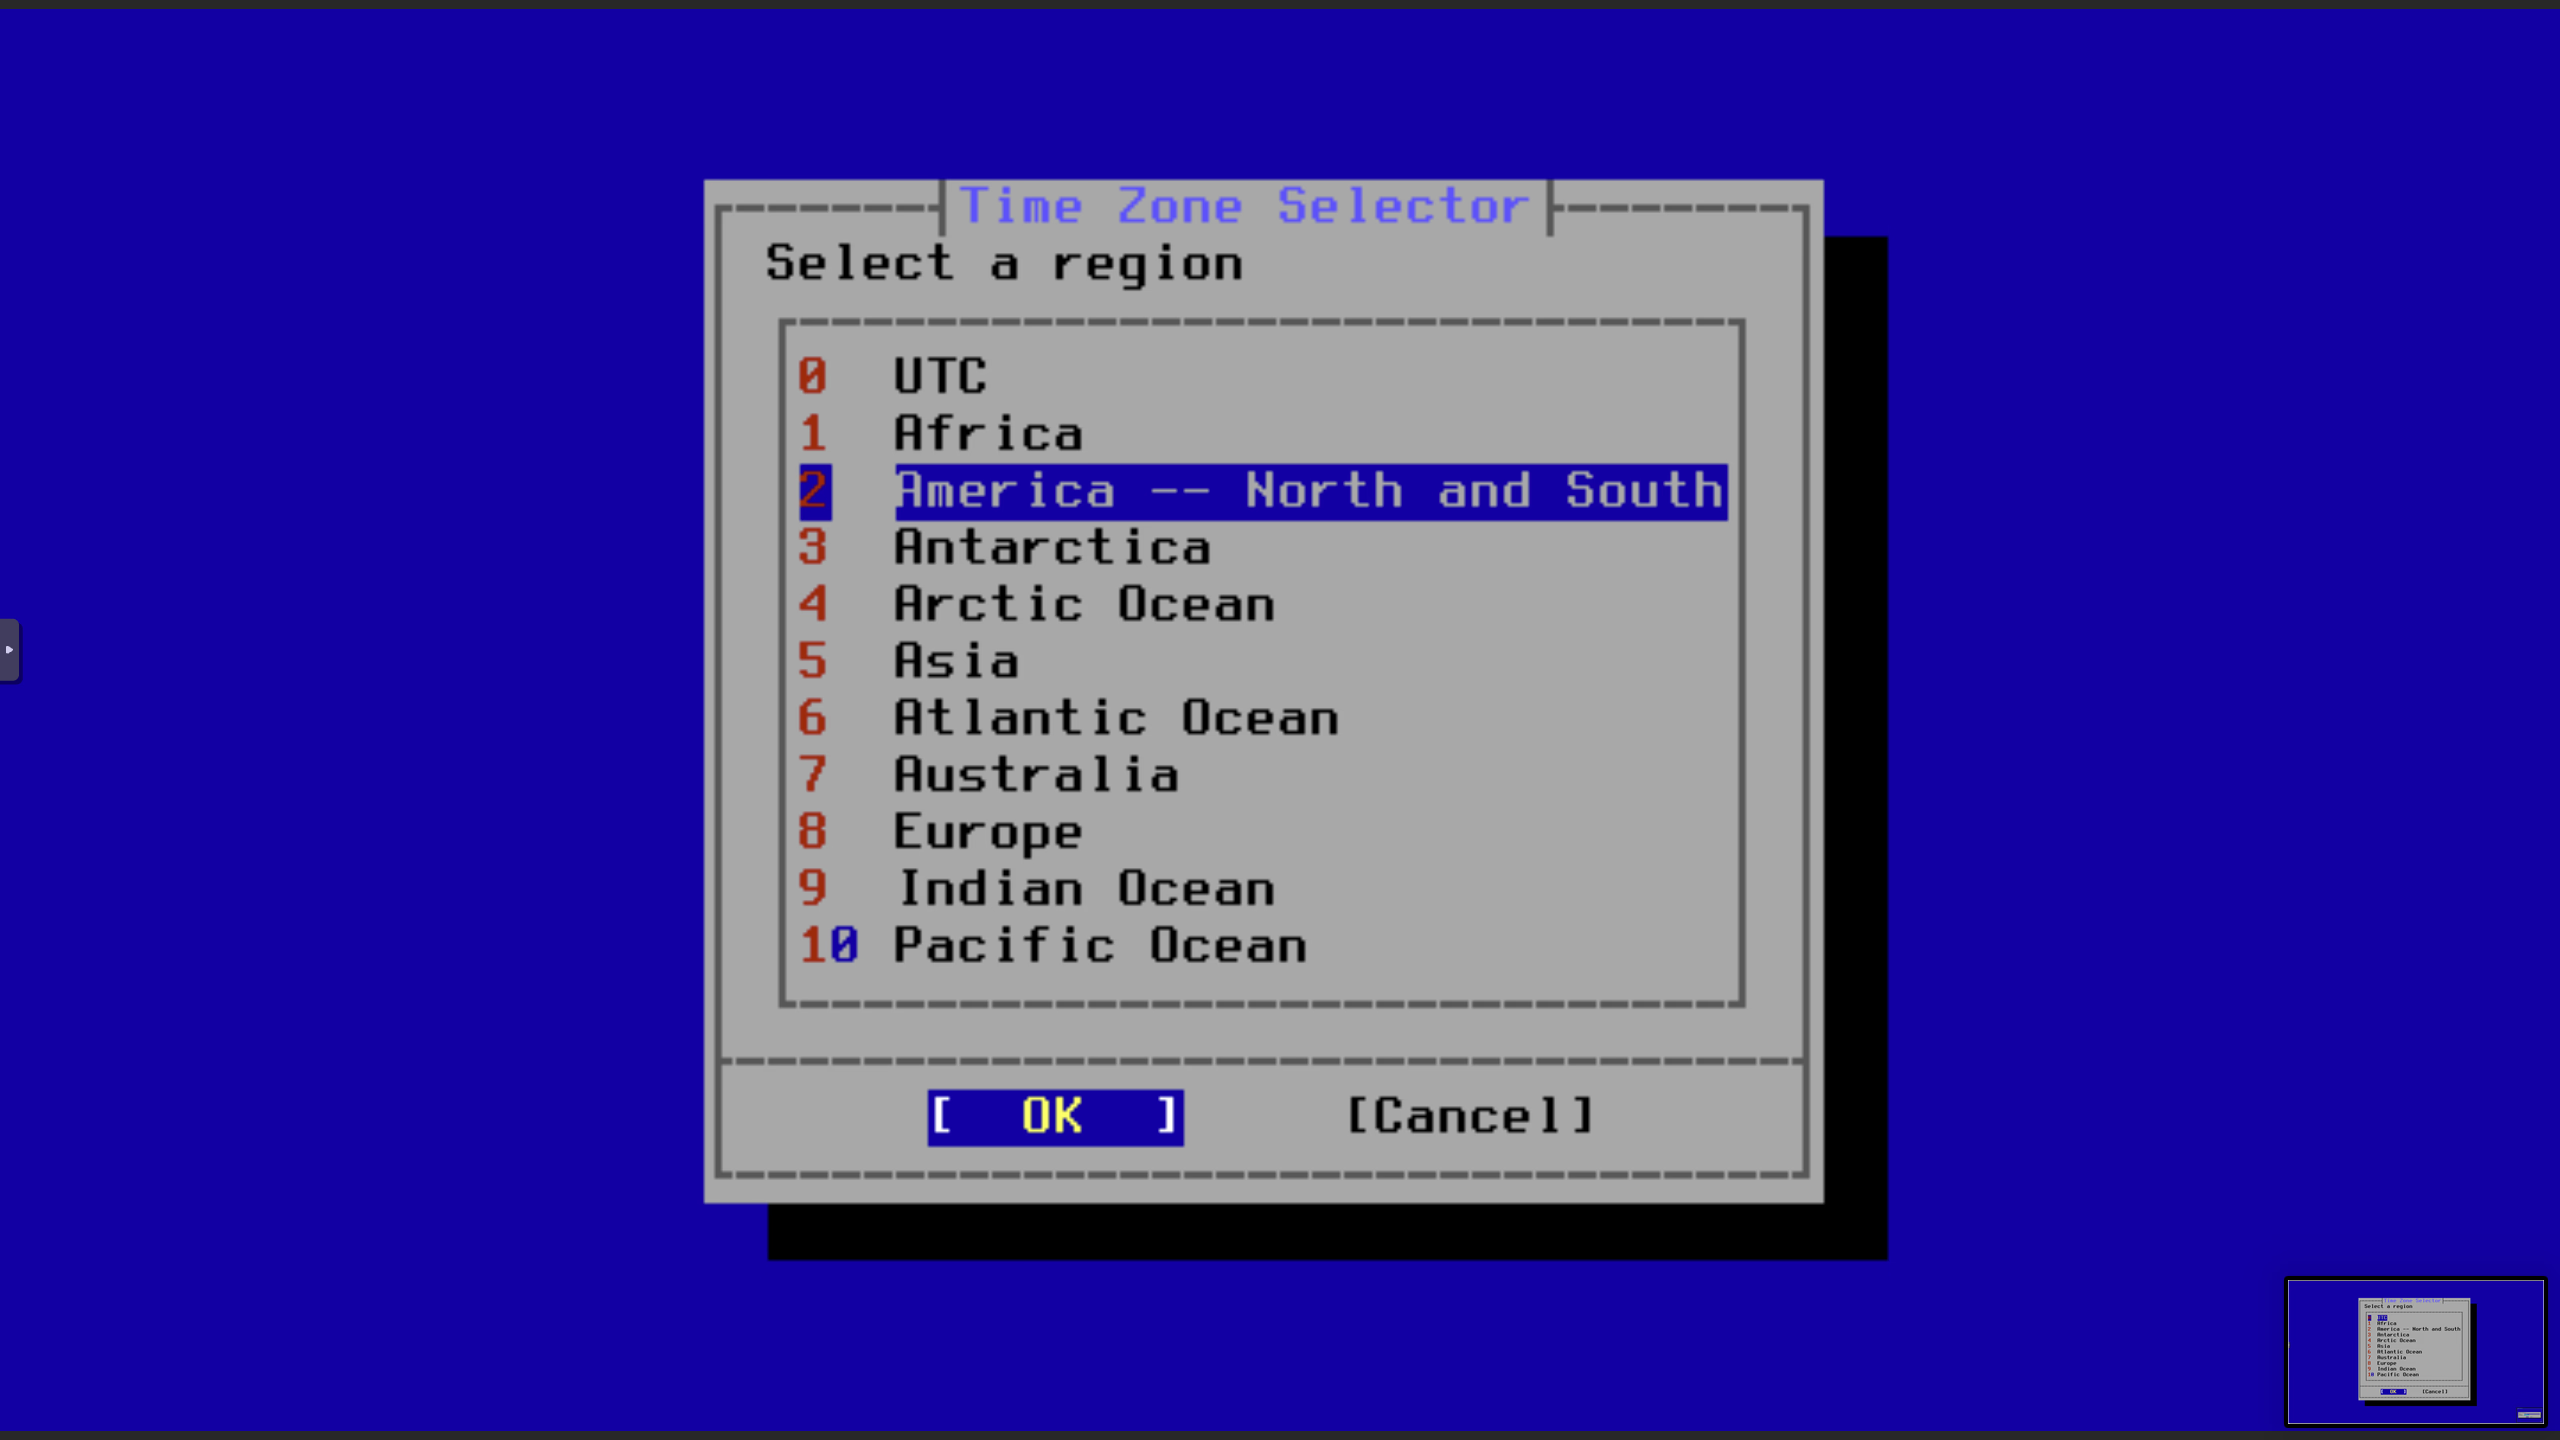
Select Timezone
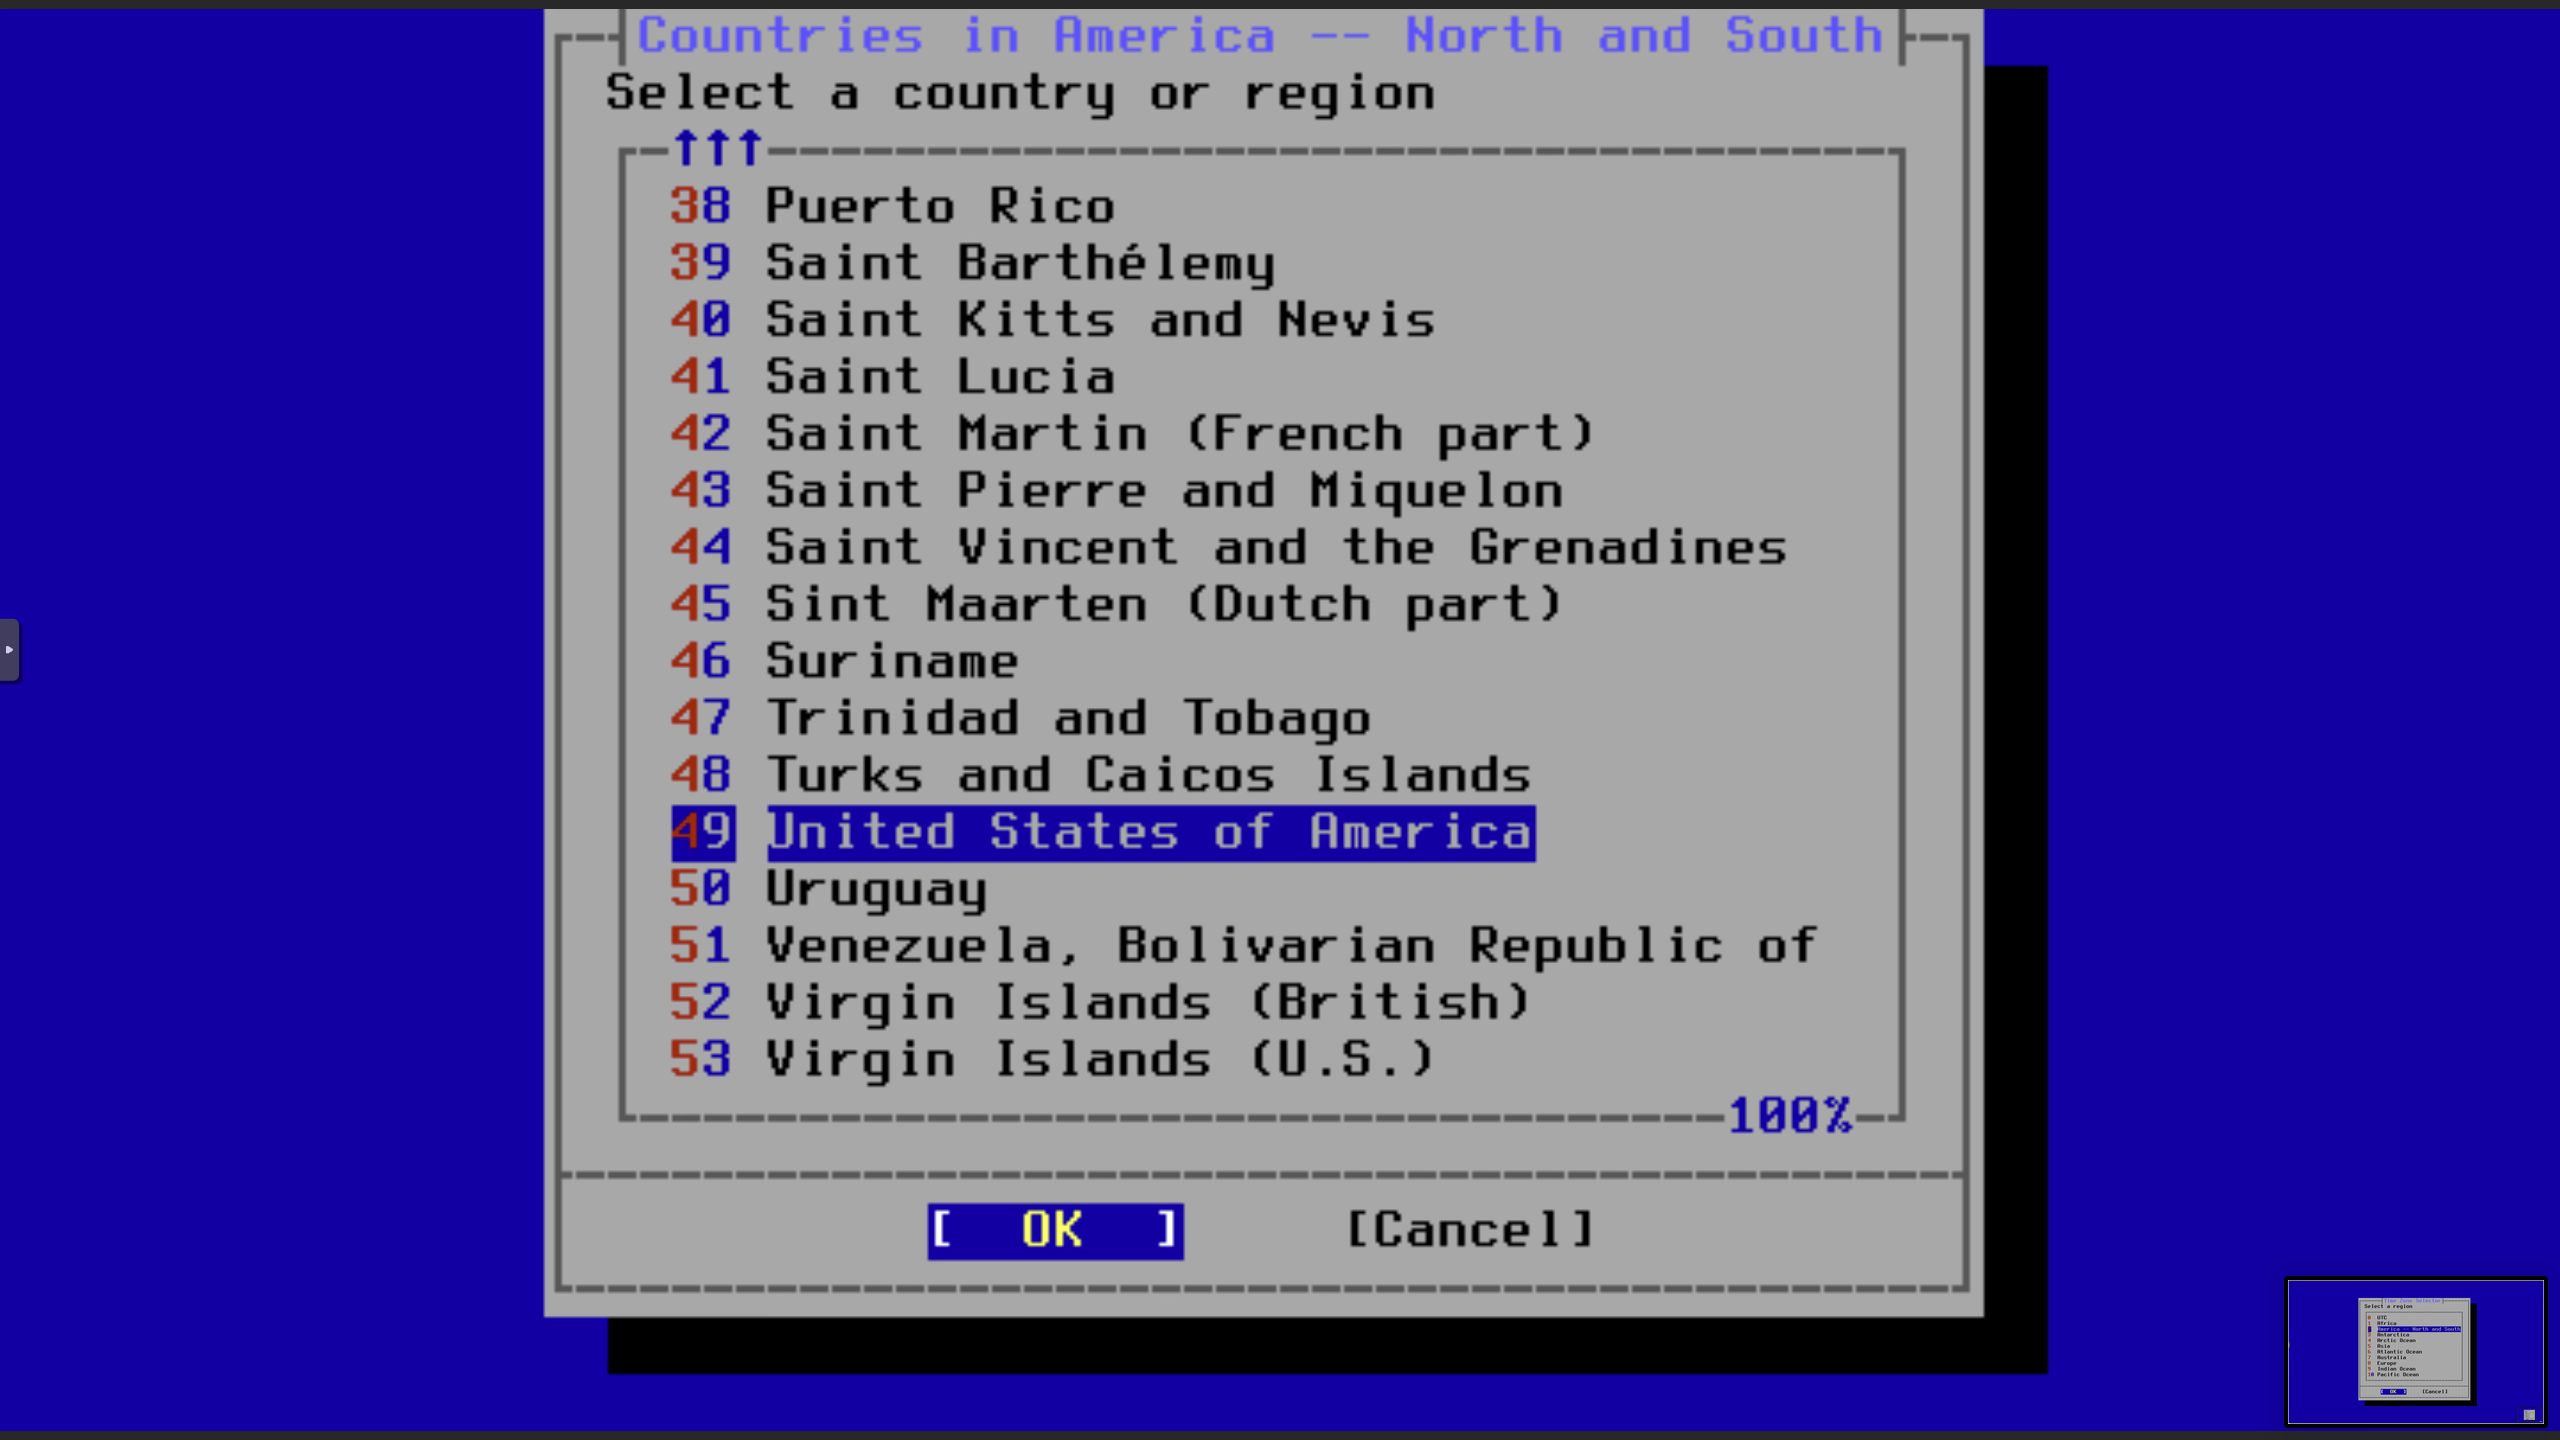
Select Country
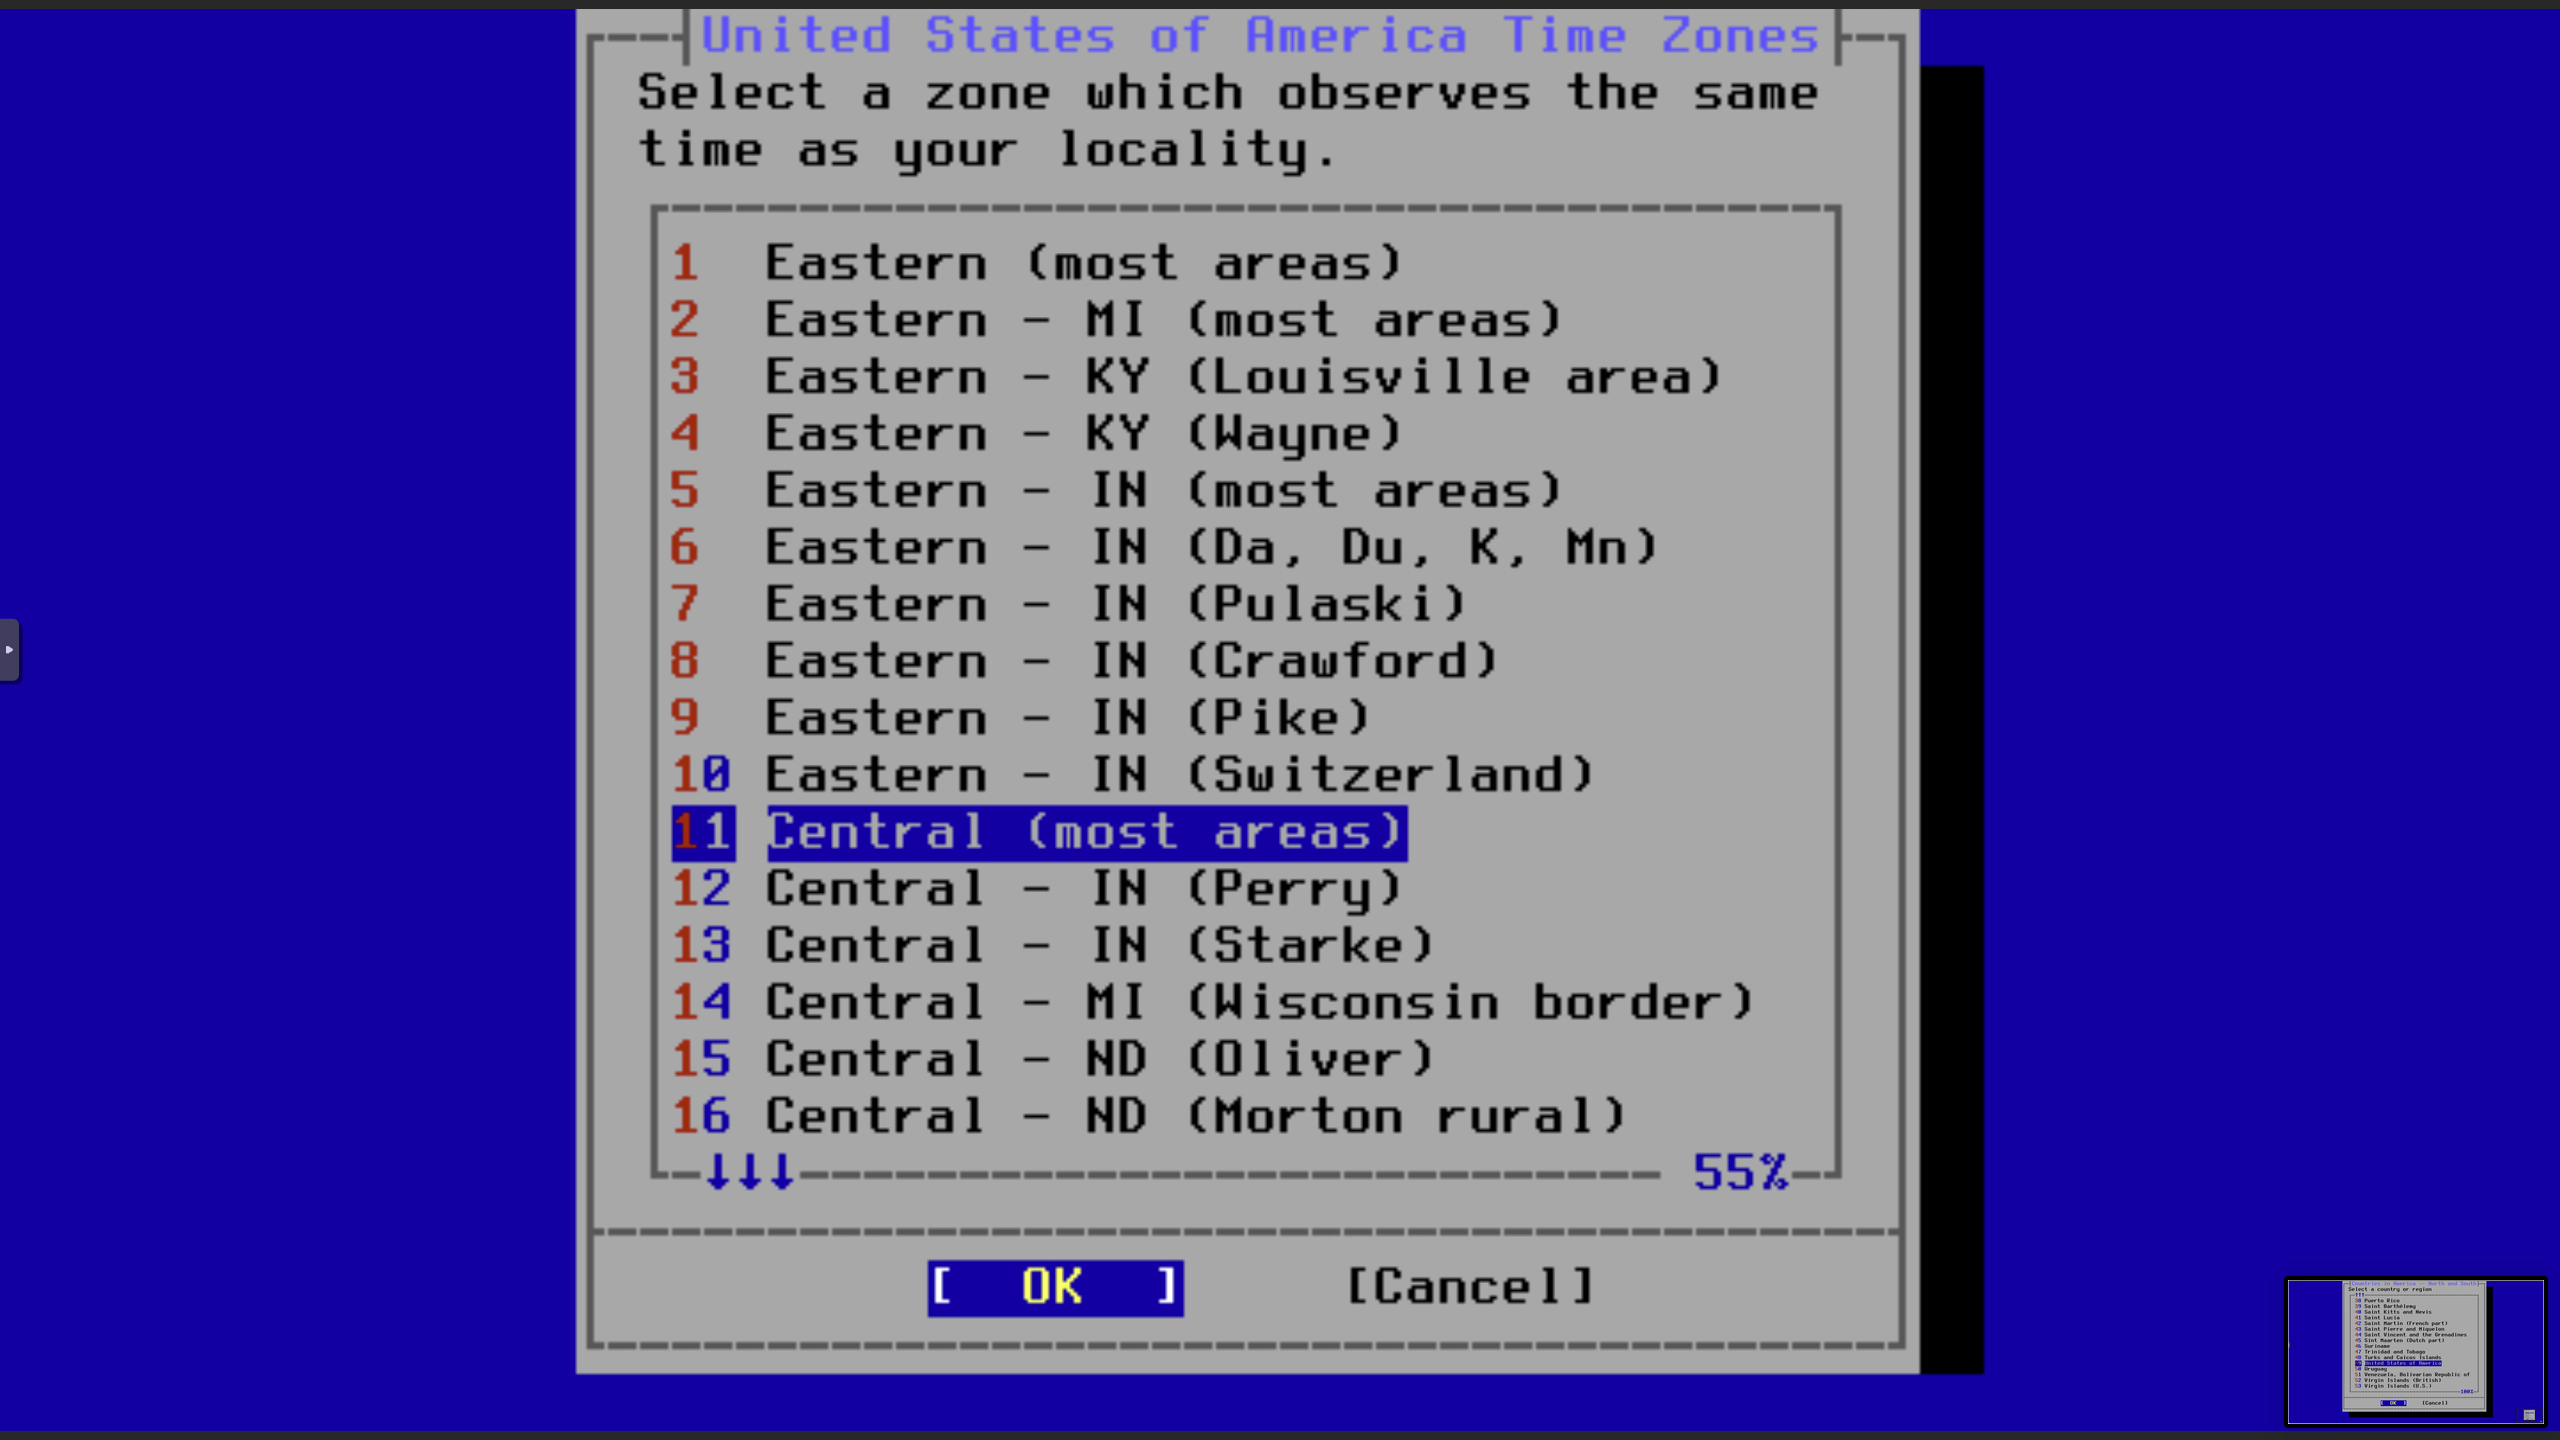
Select Locality
This is the city closest to your server. If you don't see your city, select the closest one.
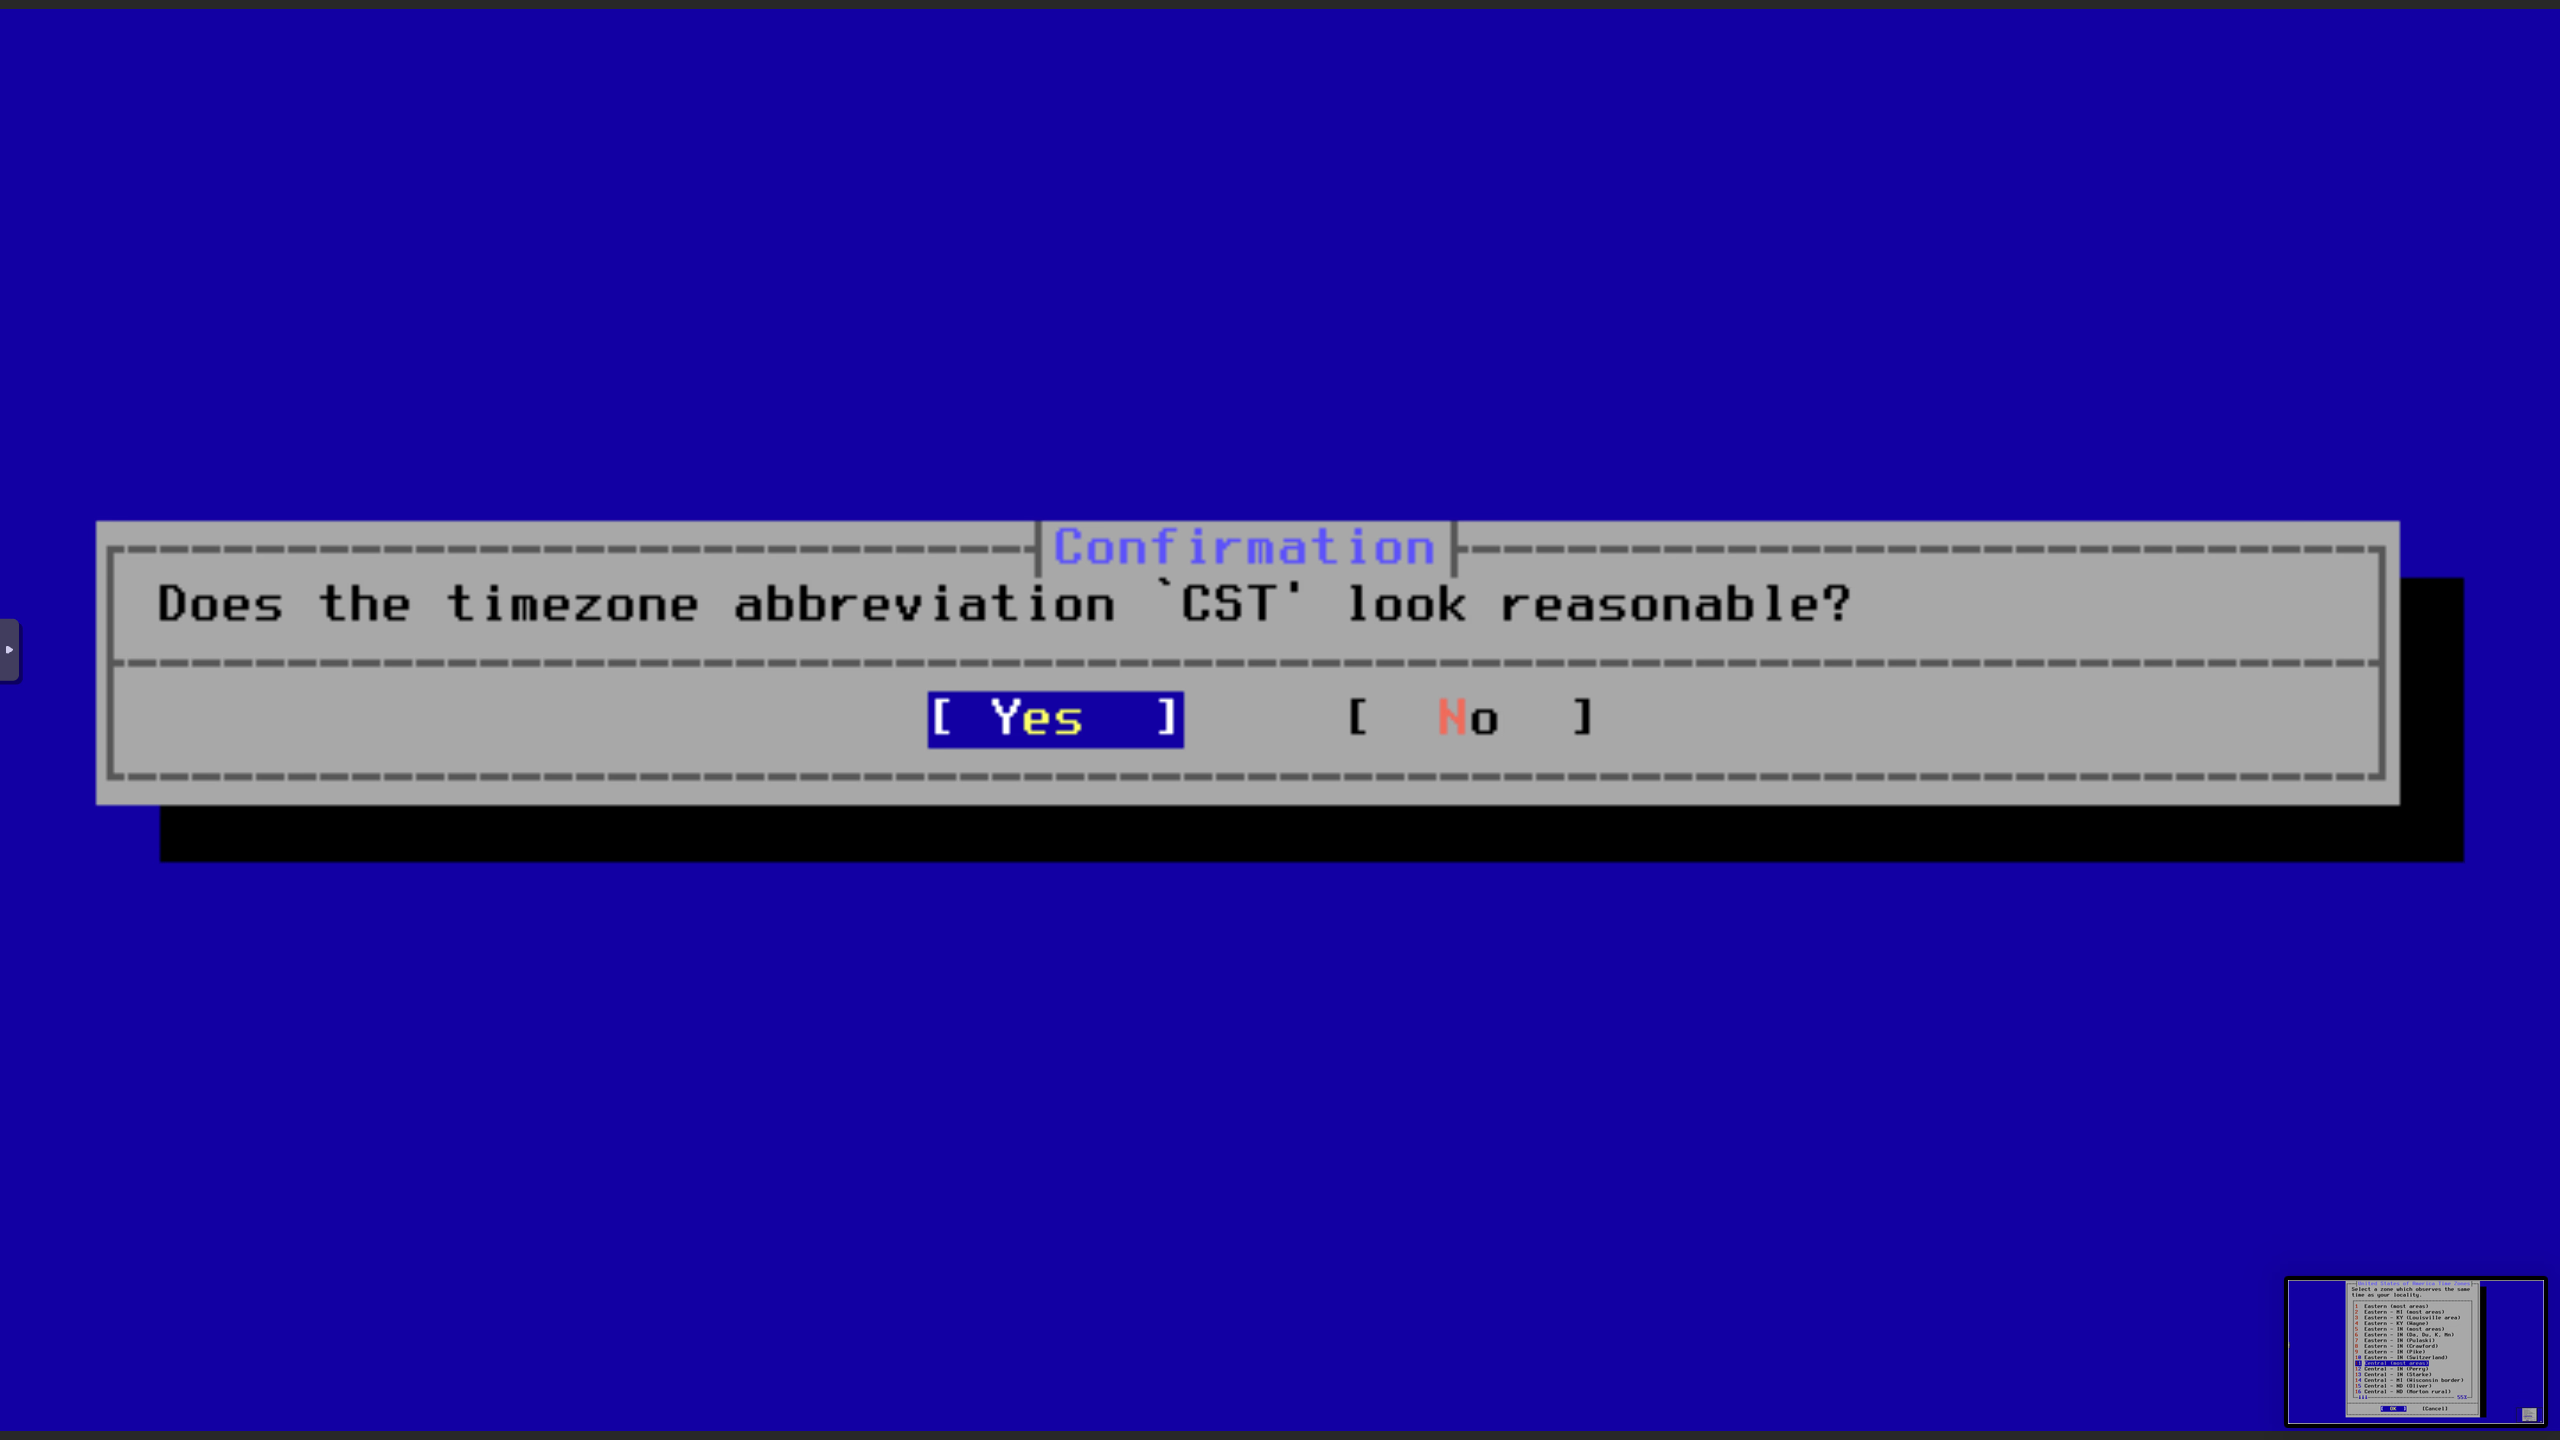
Confirm Timezone
 ]
]
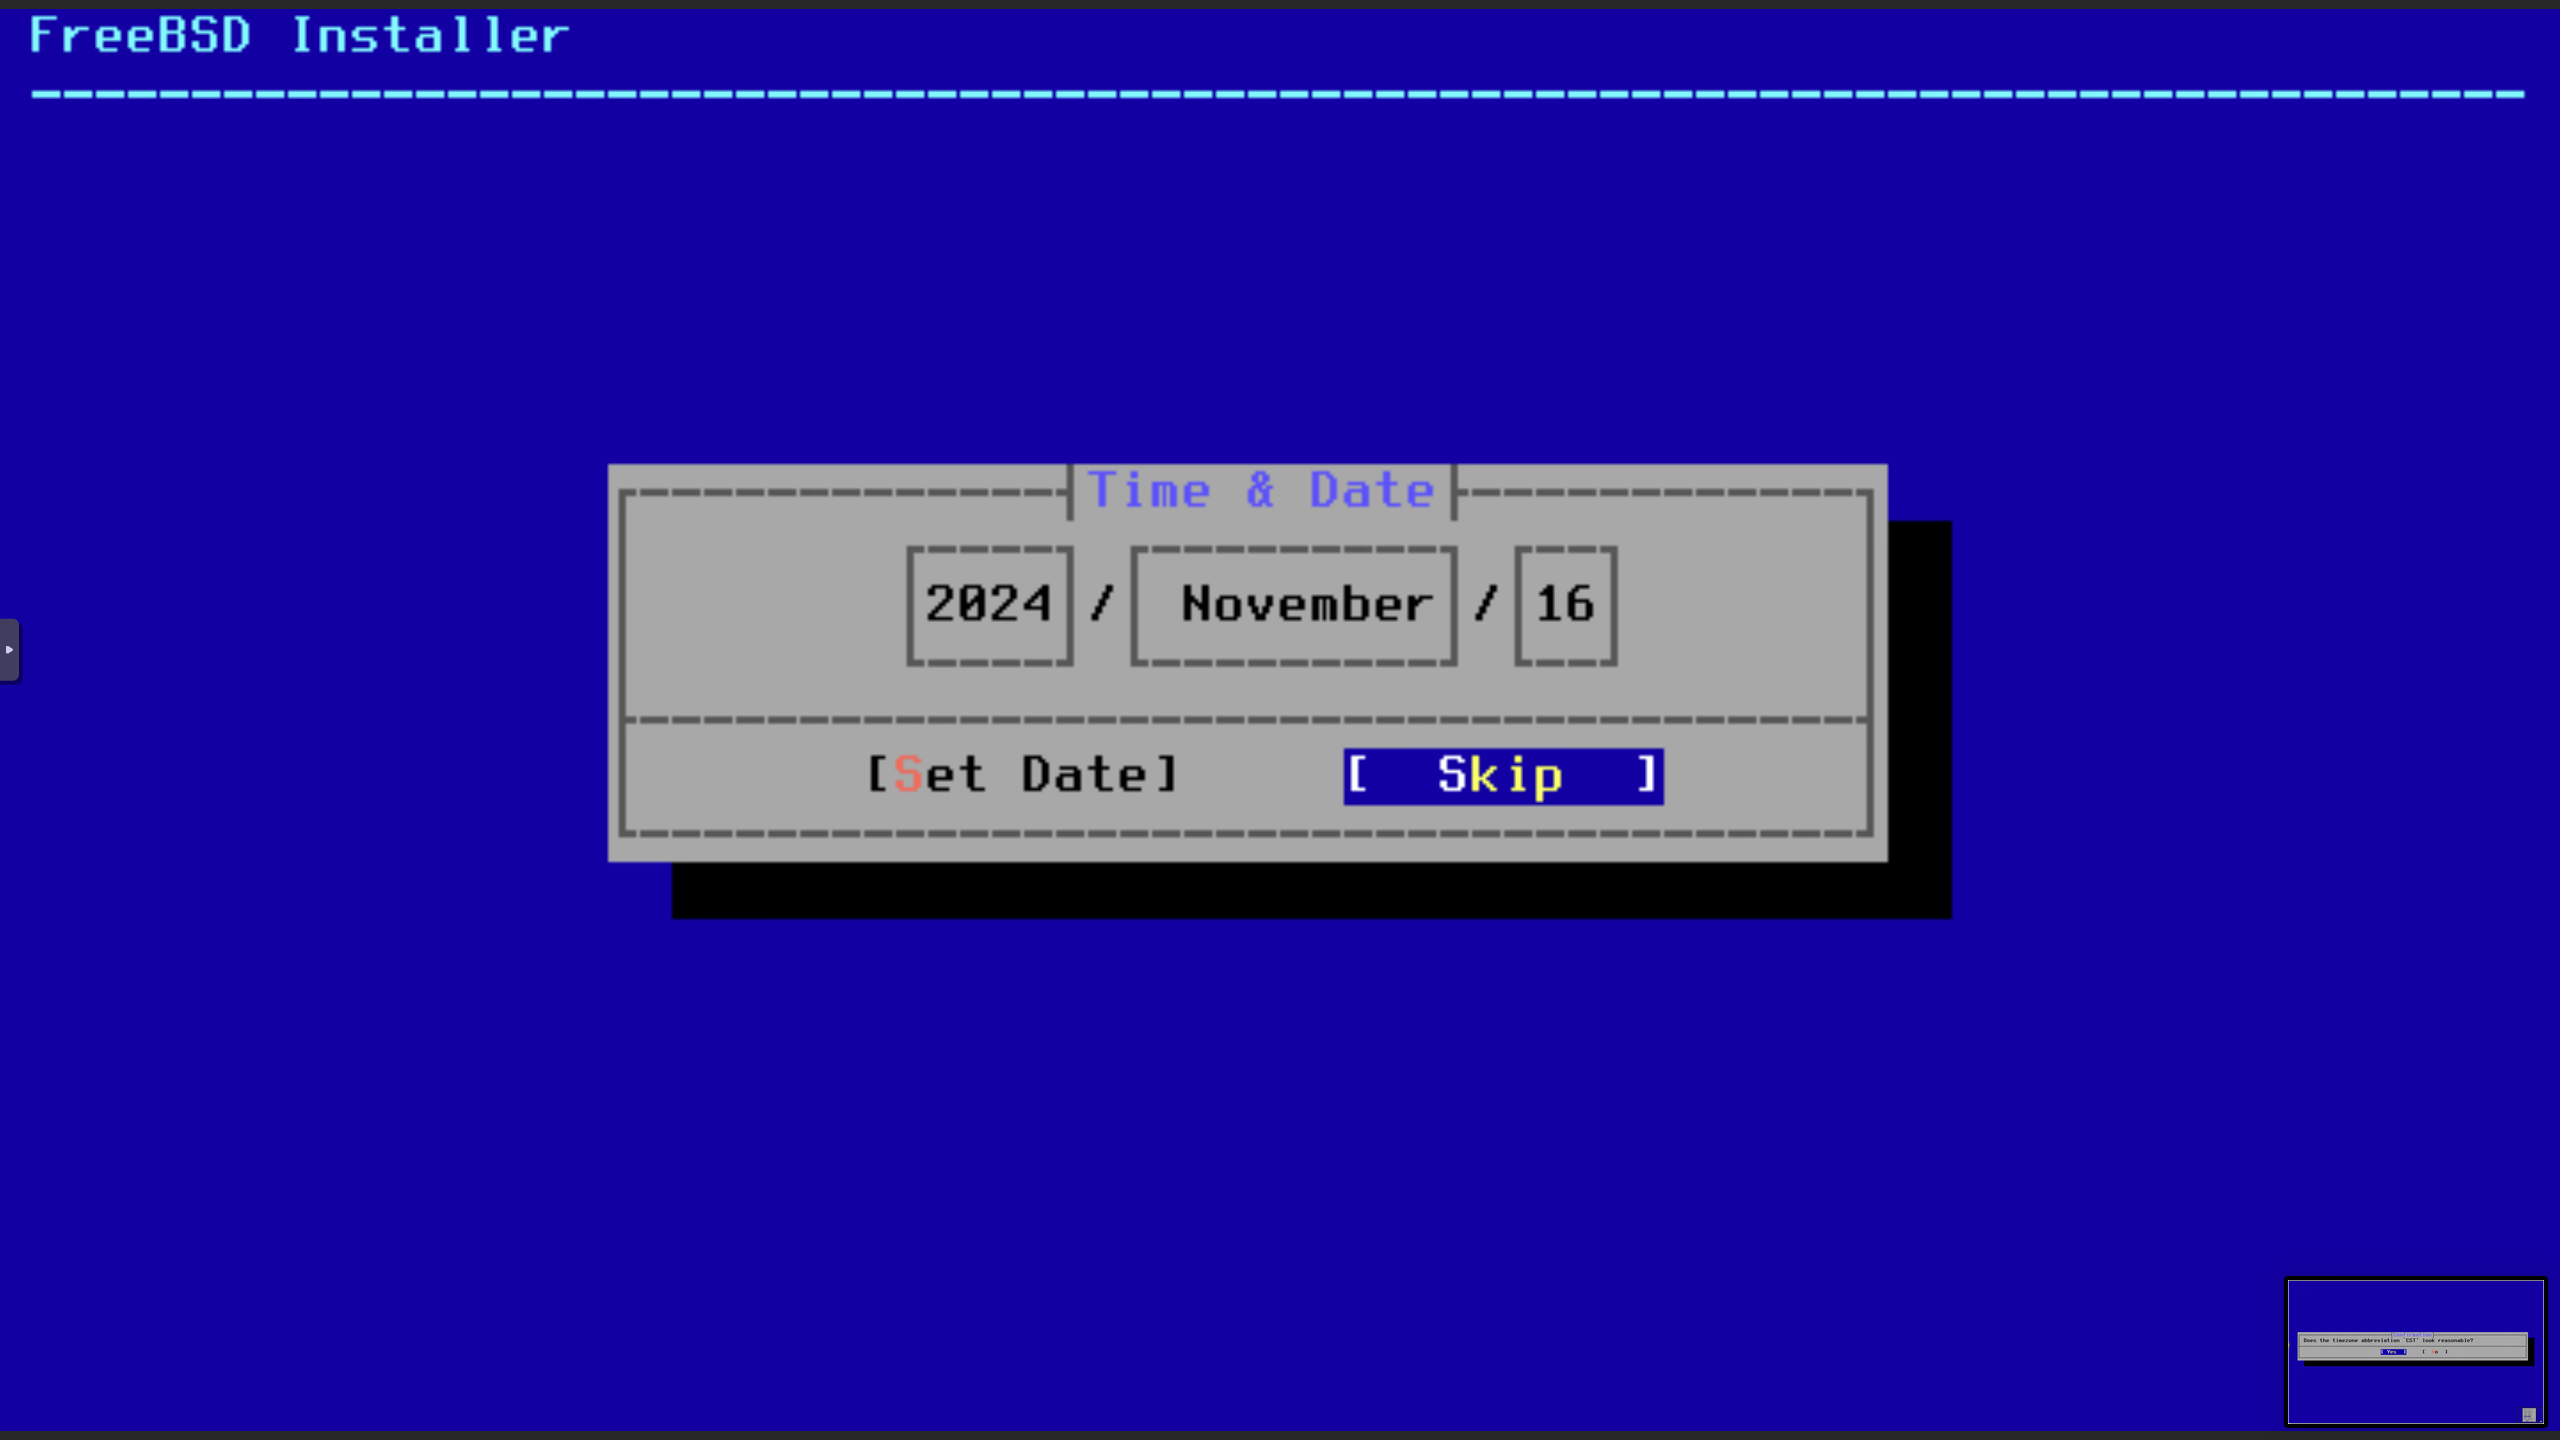
Skip Set Date
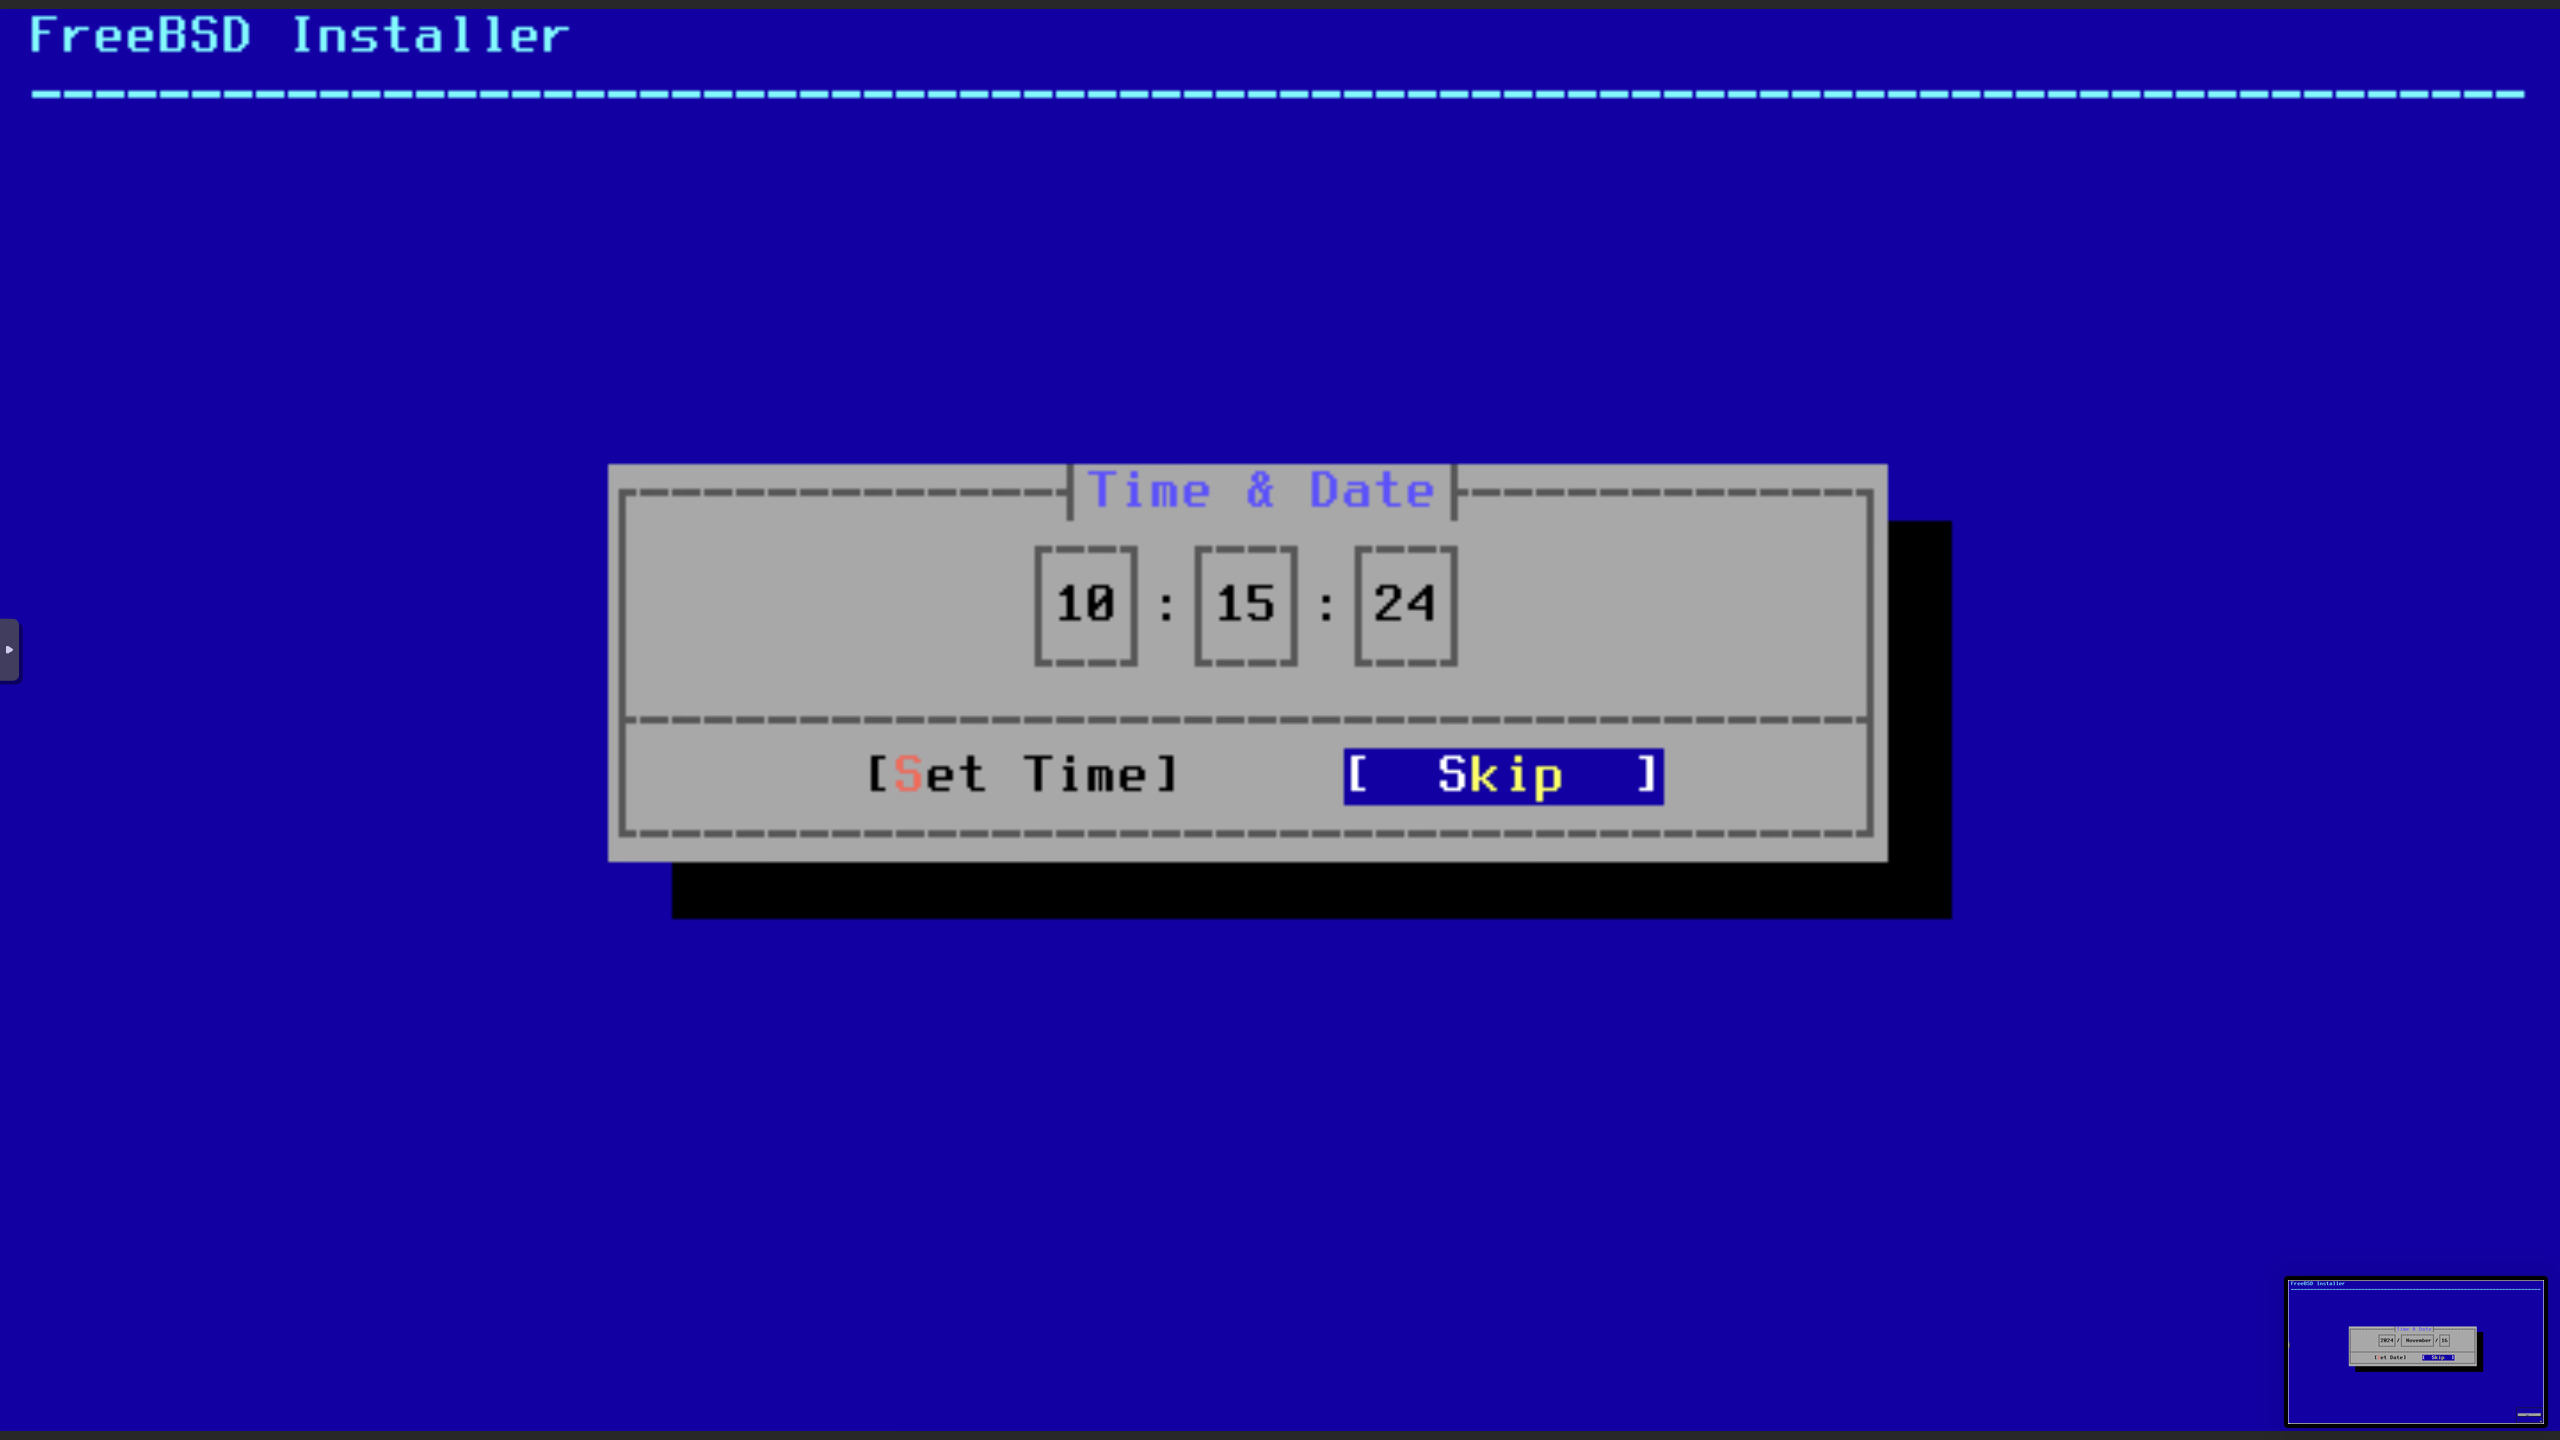
Skip Set Time
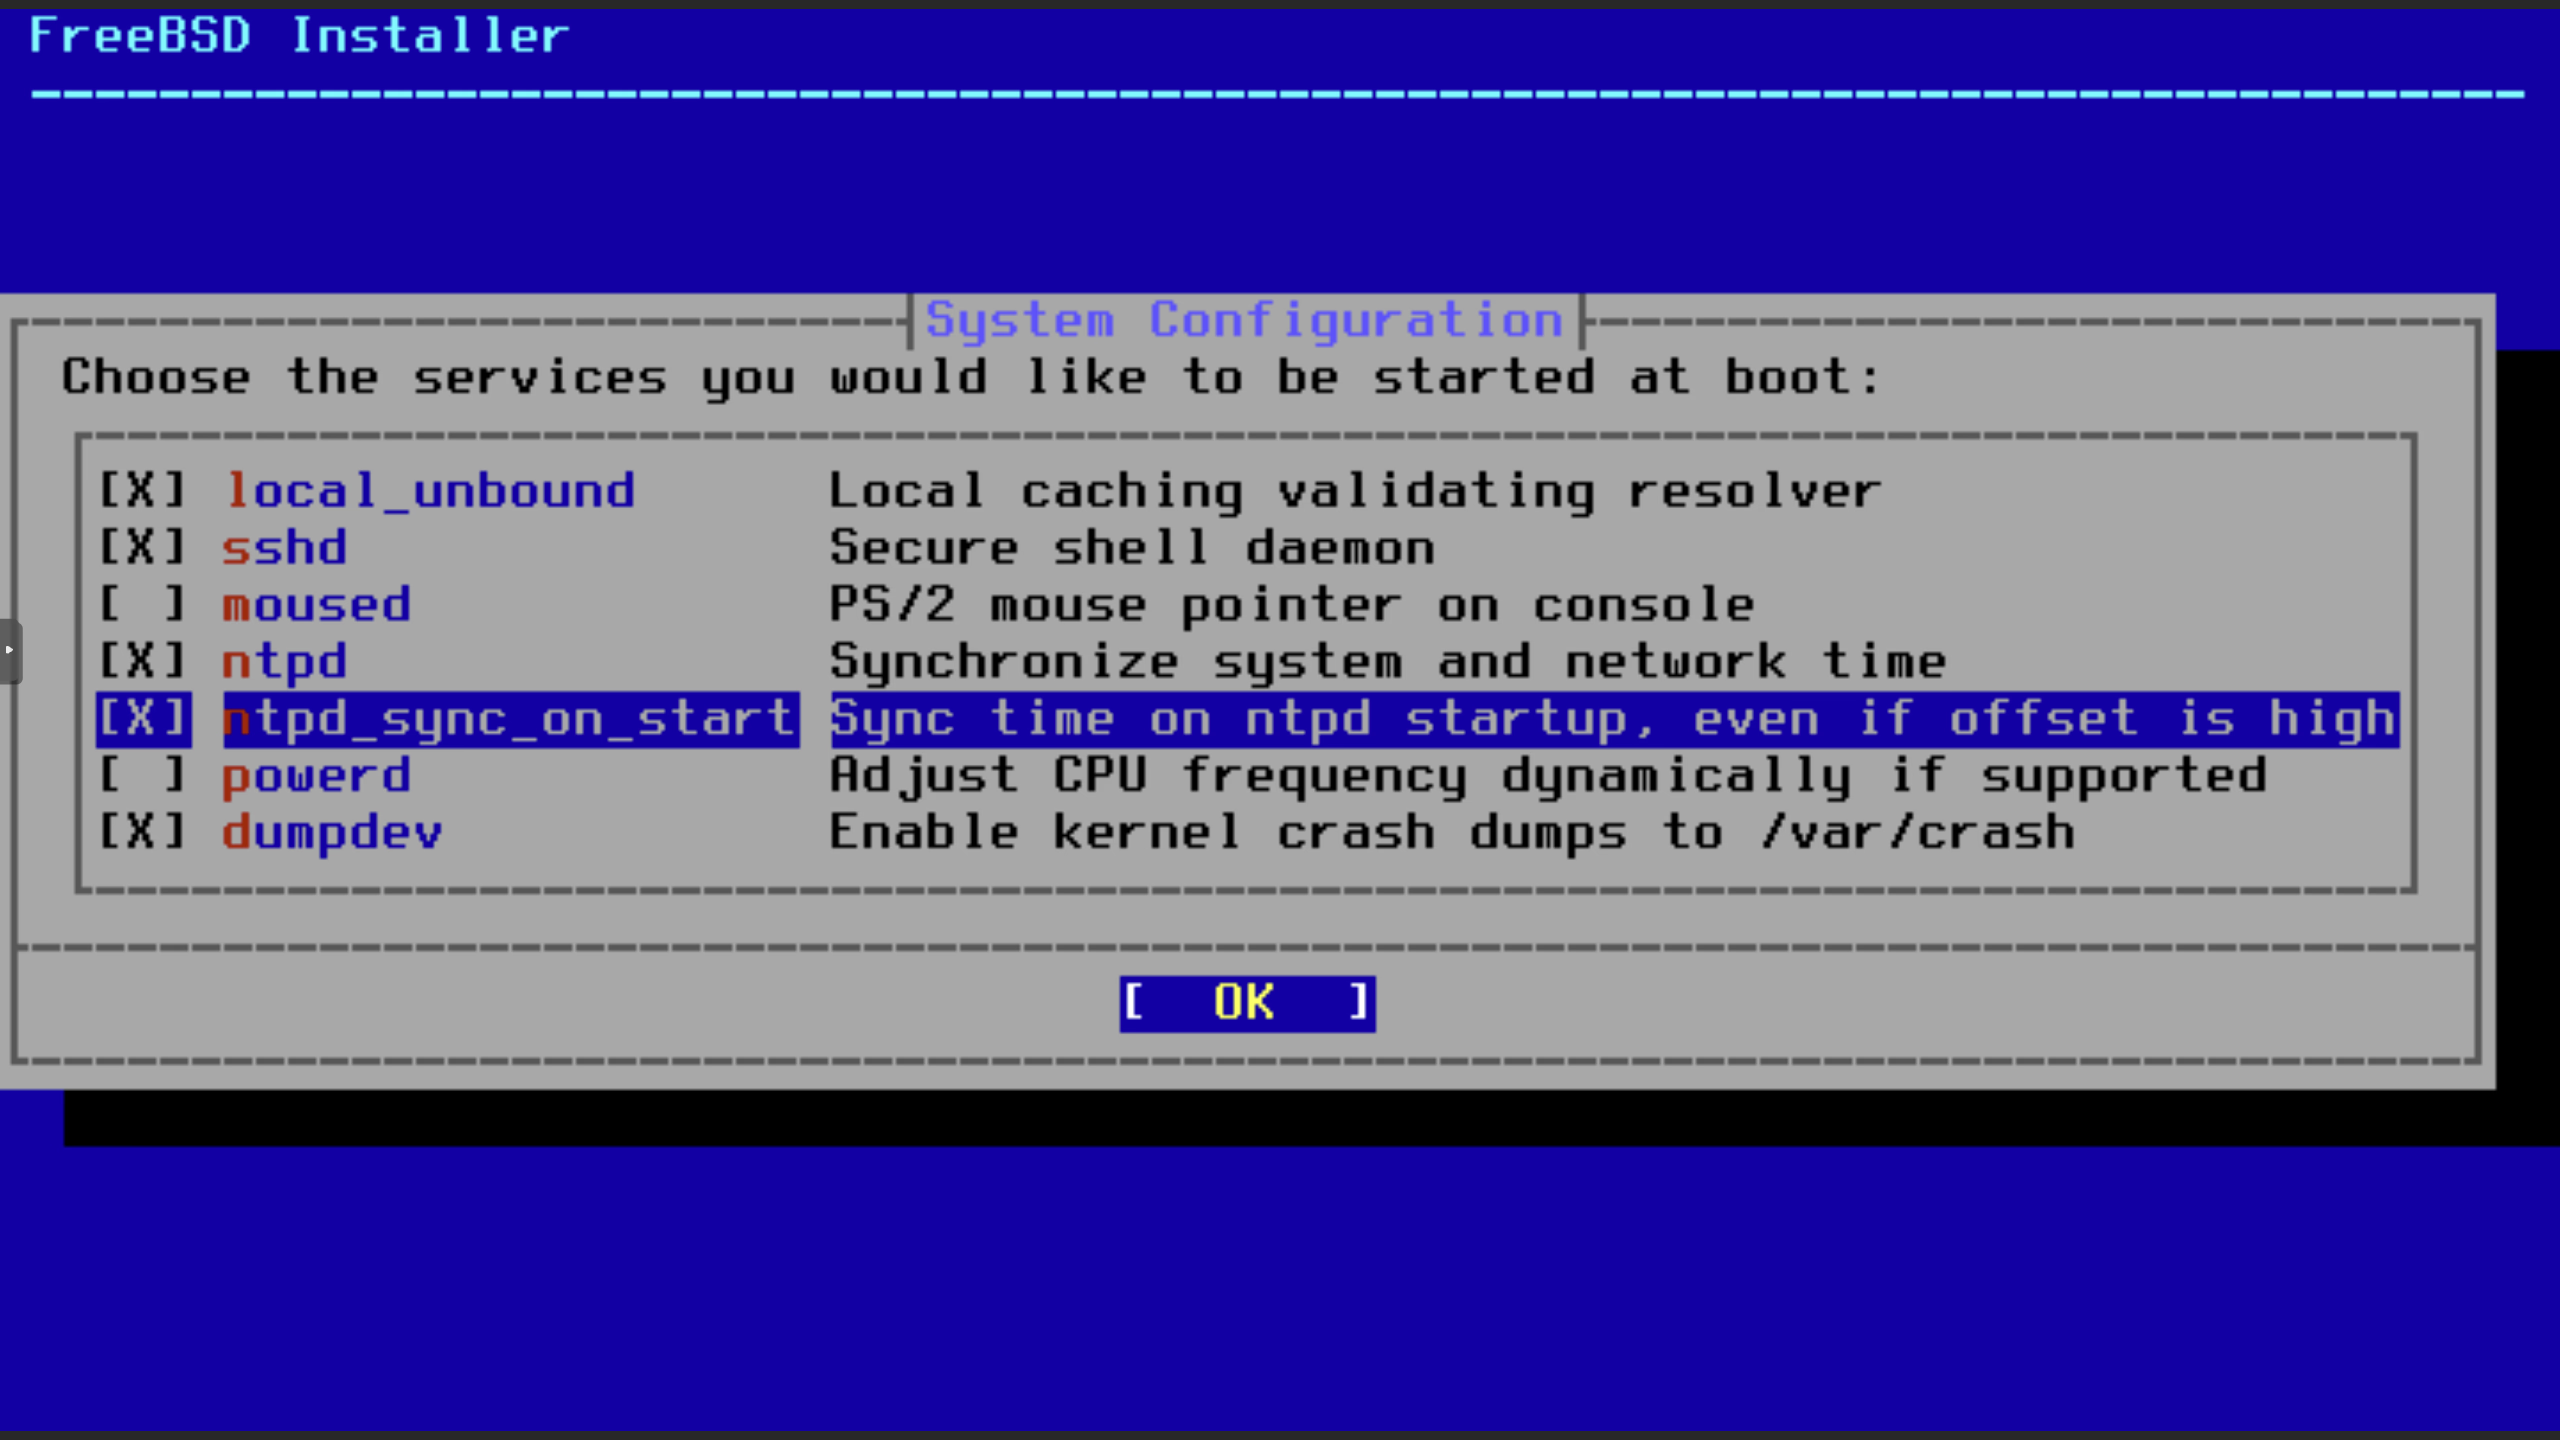
System Configuration
It's a good idea to add ntpd and ntpd_sync_on_start as VM clocks can drift significantly.
Adding local_unbound can speed up DNS lookups but is optional.
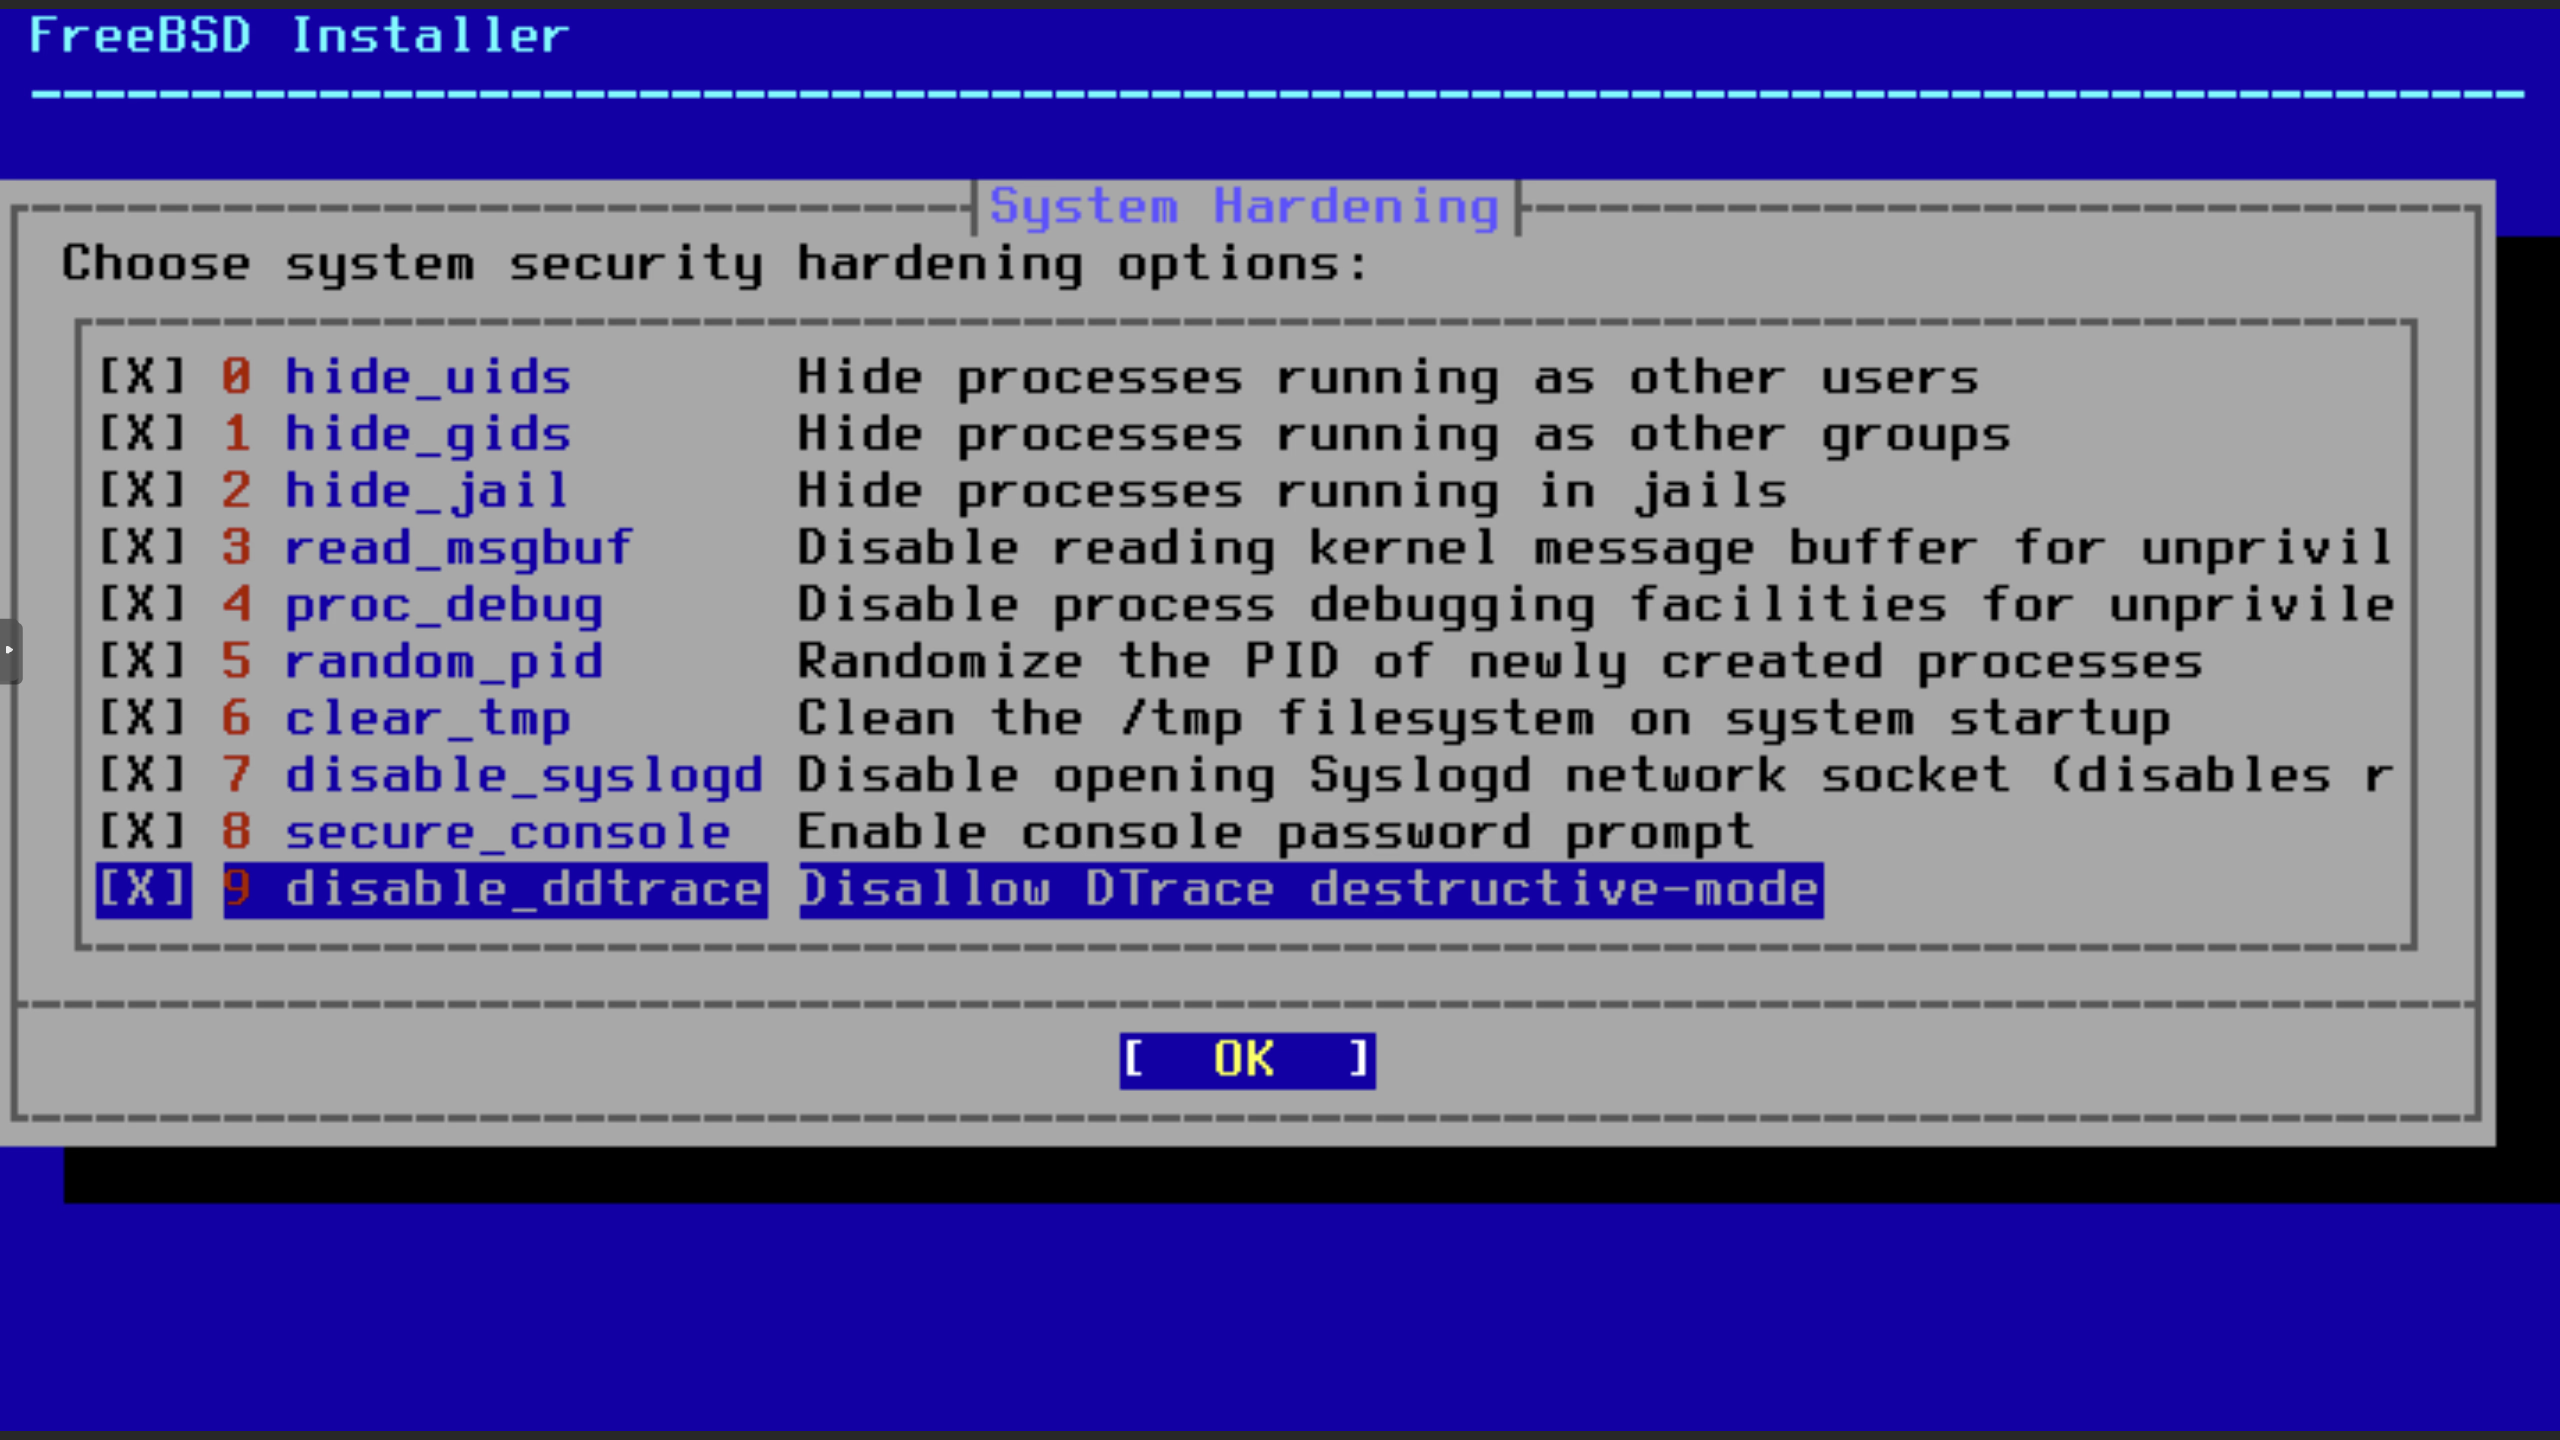
System Hardening
Select all the hardening options.
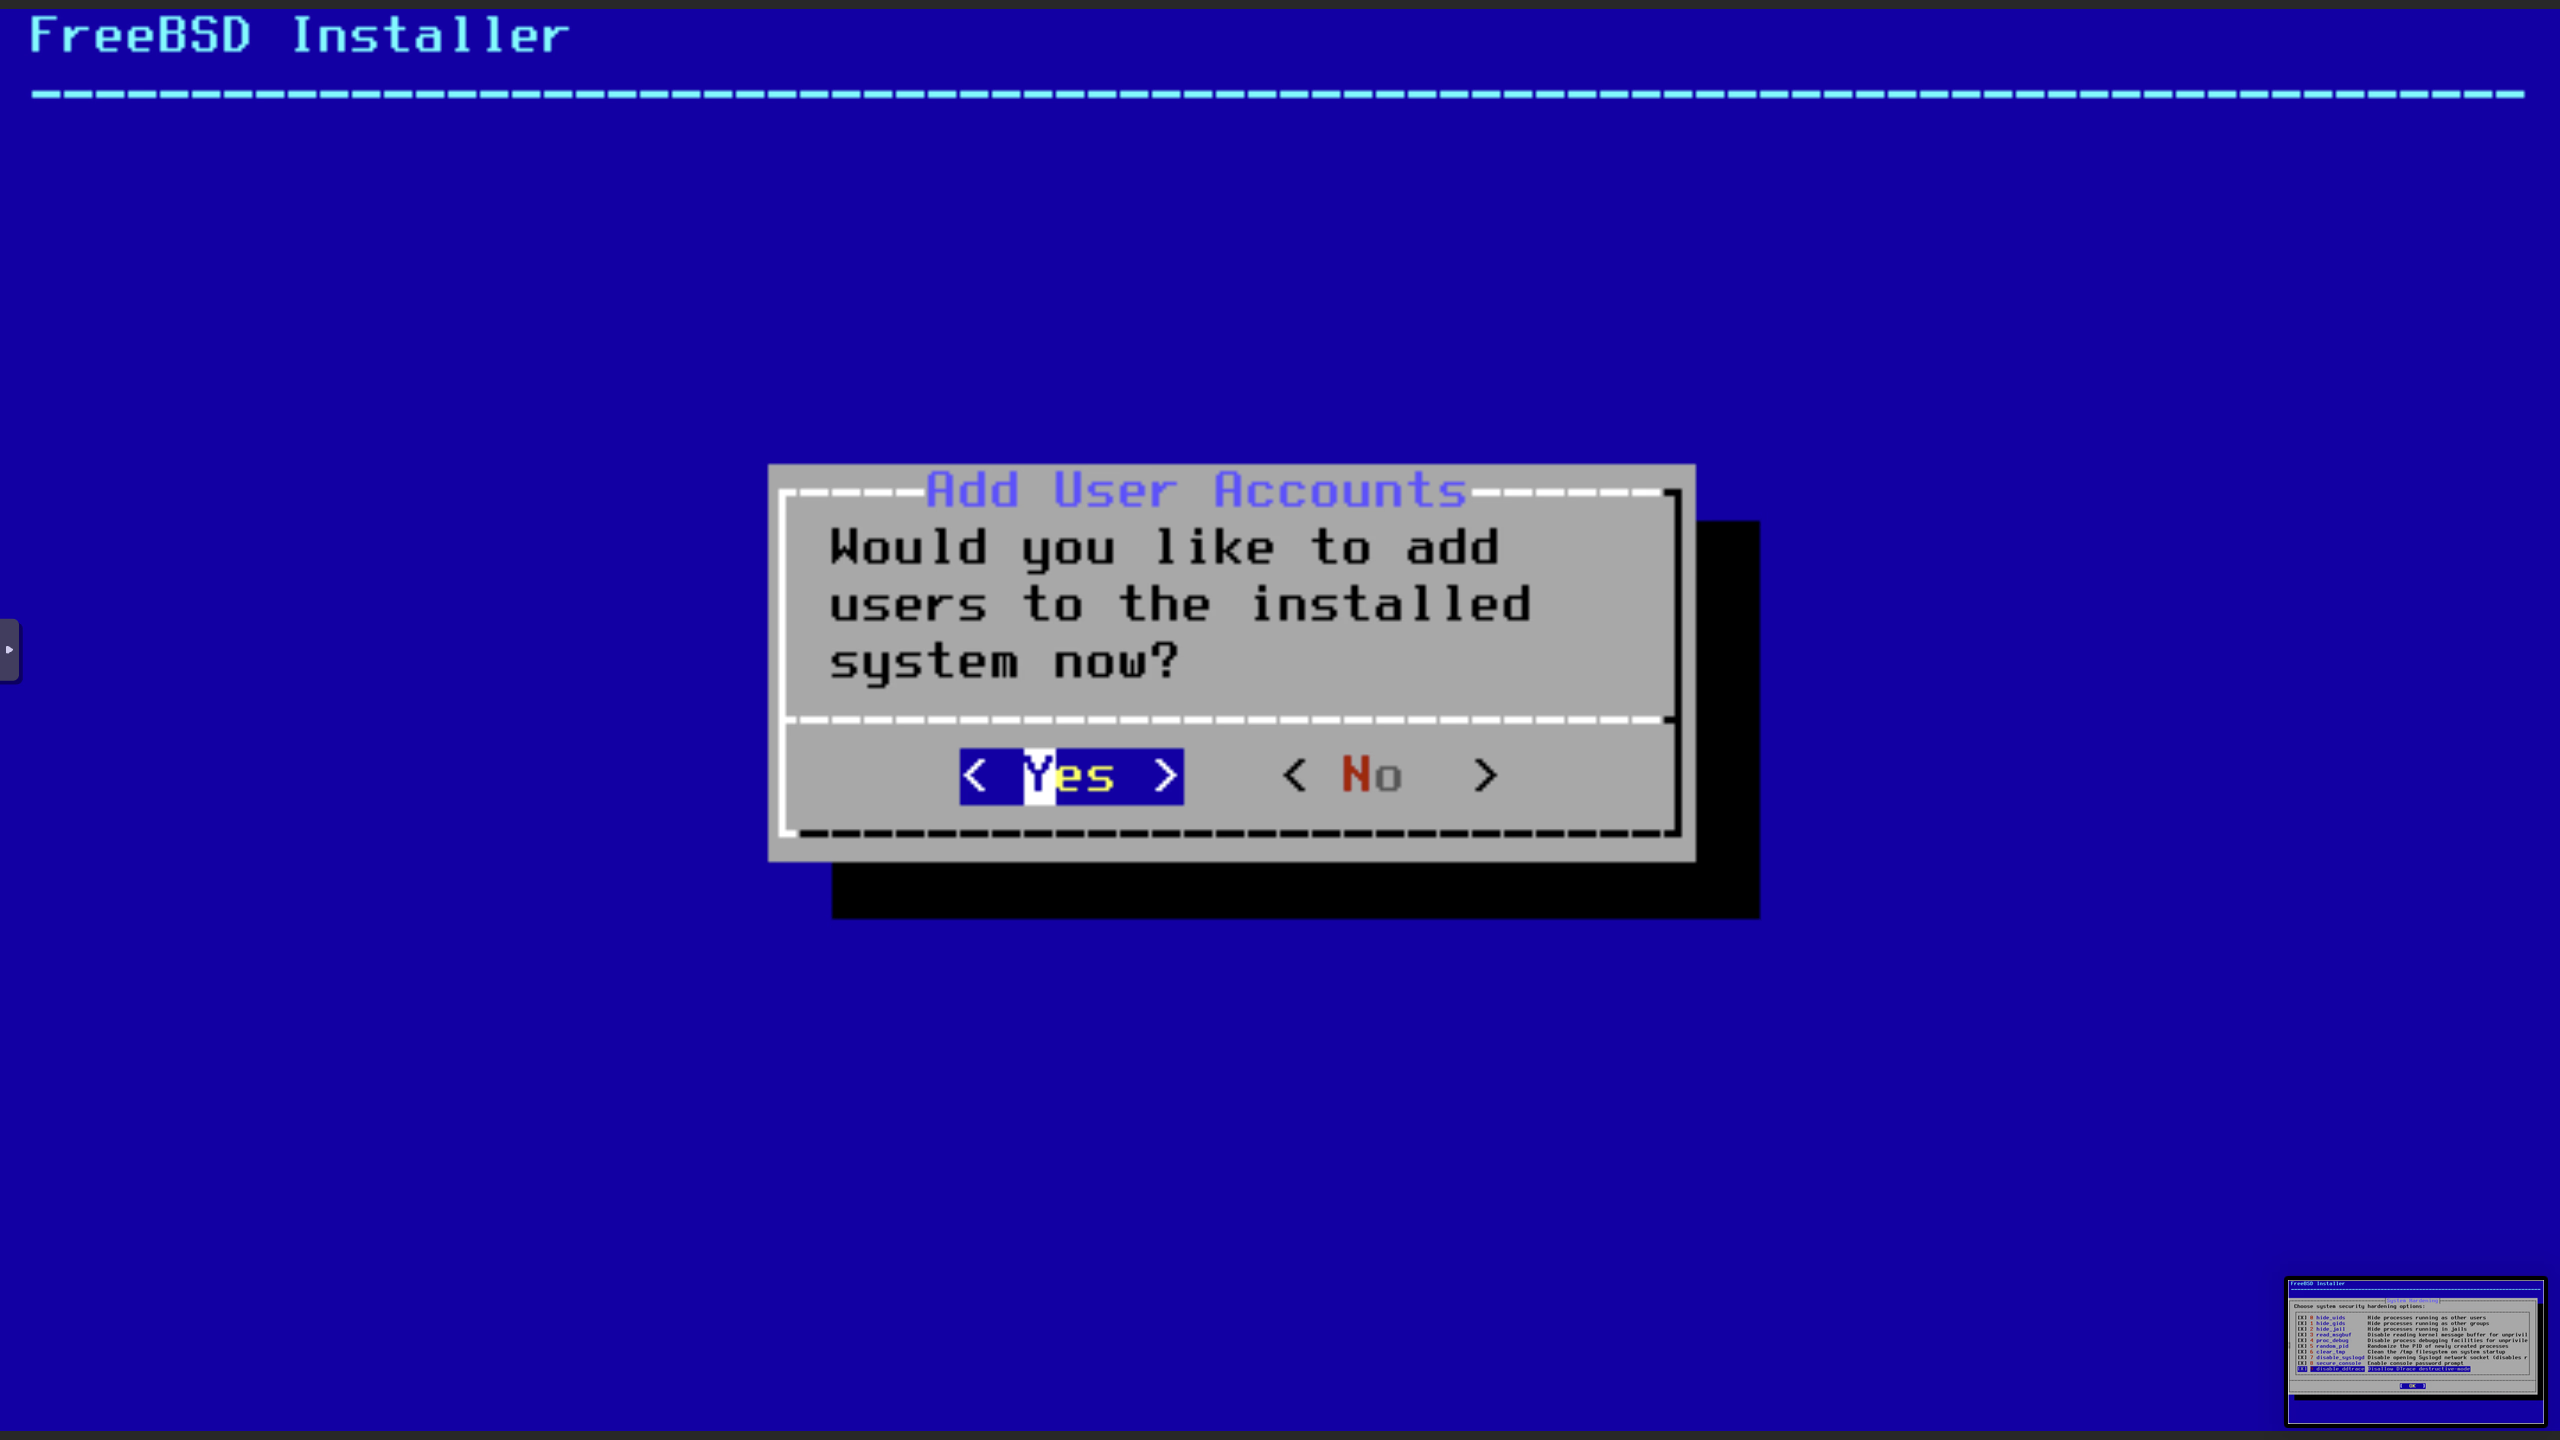
Add a User
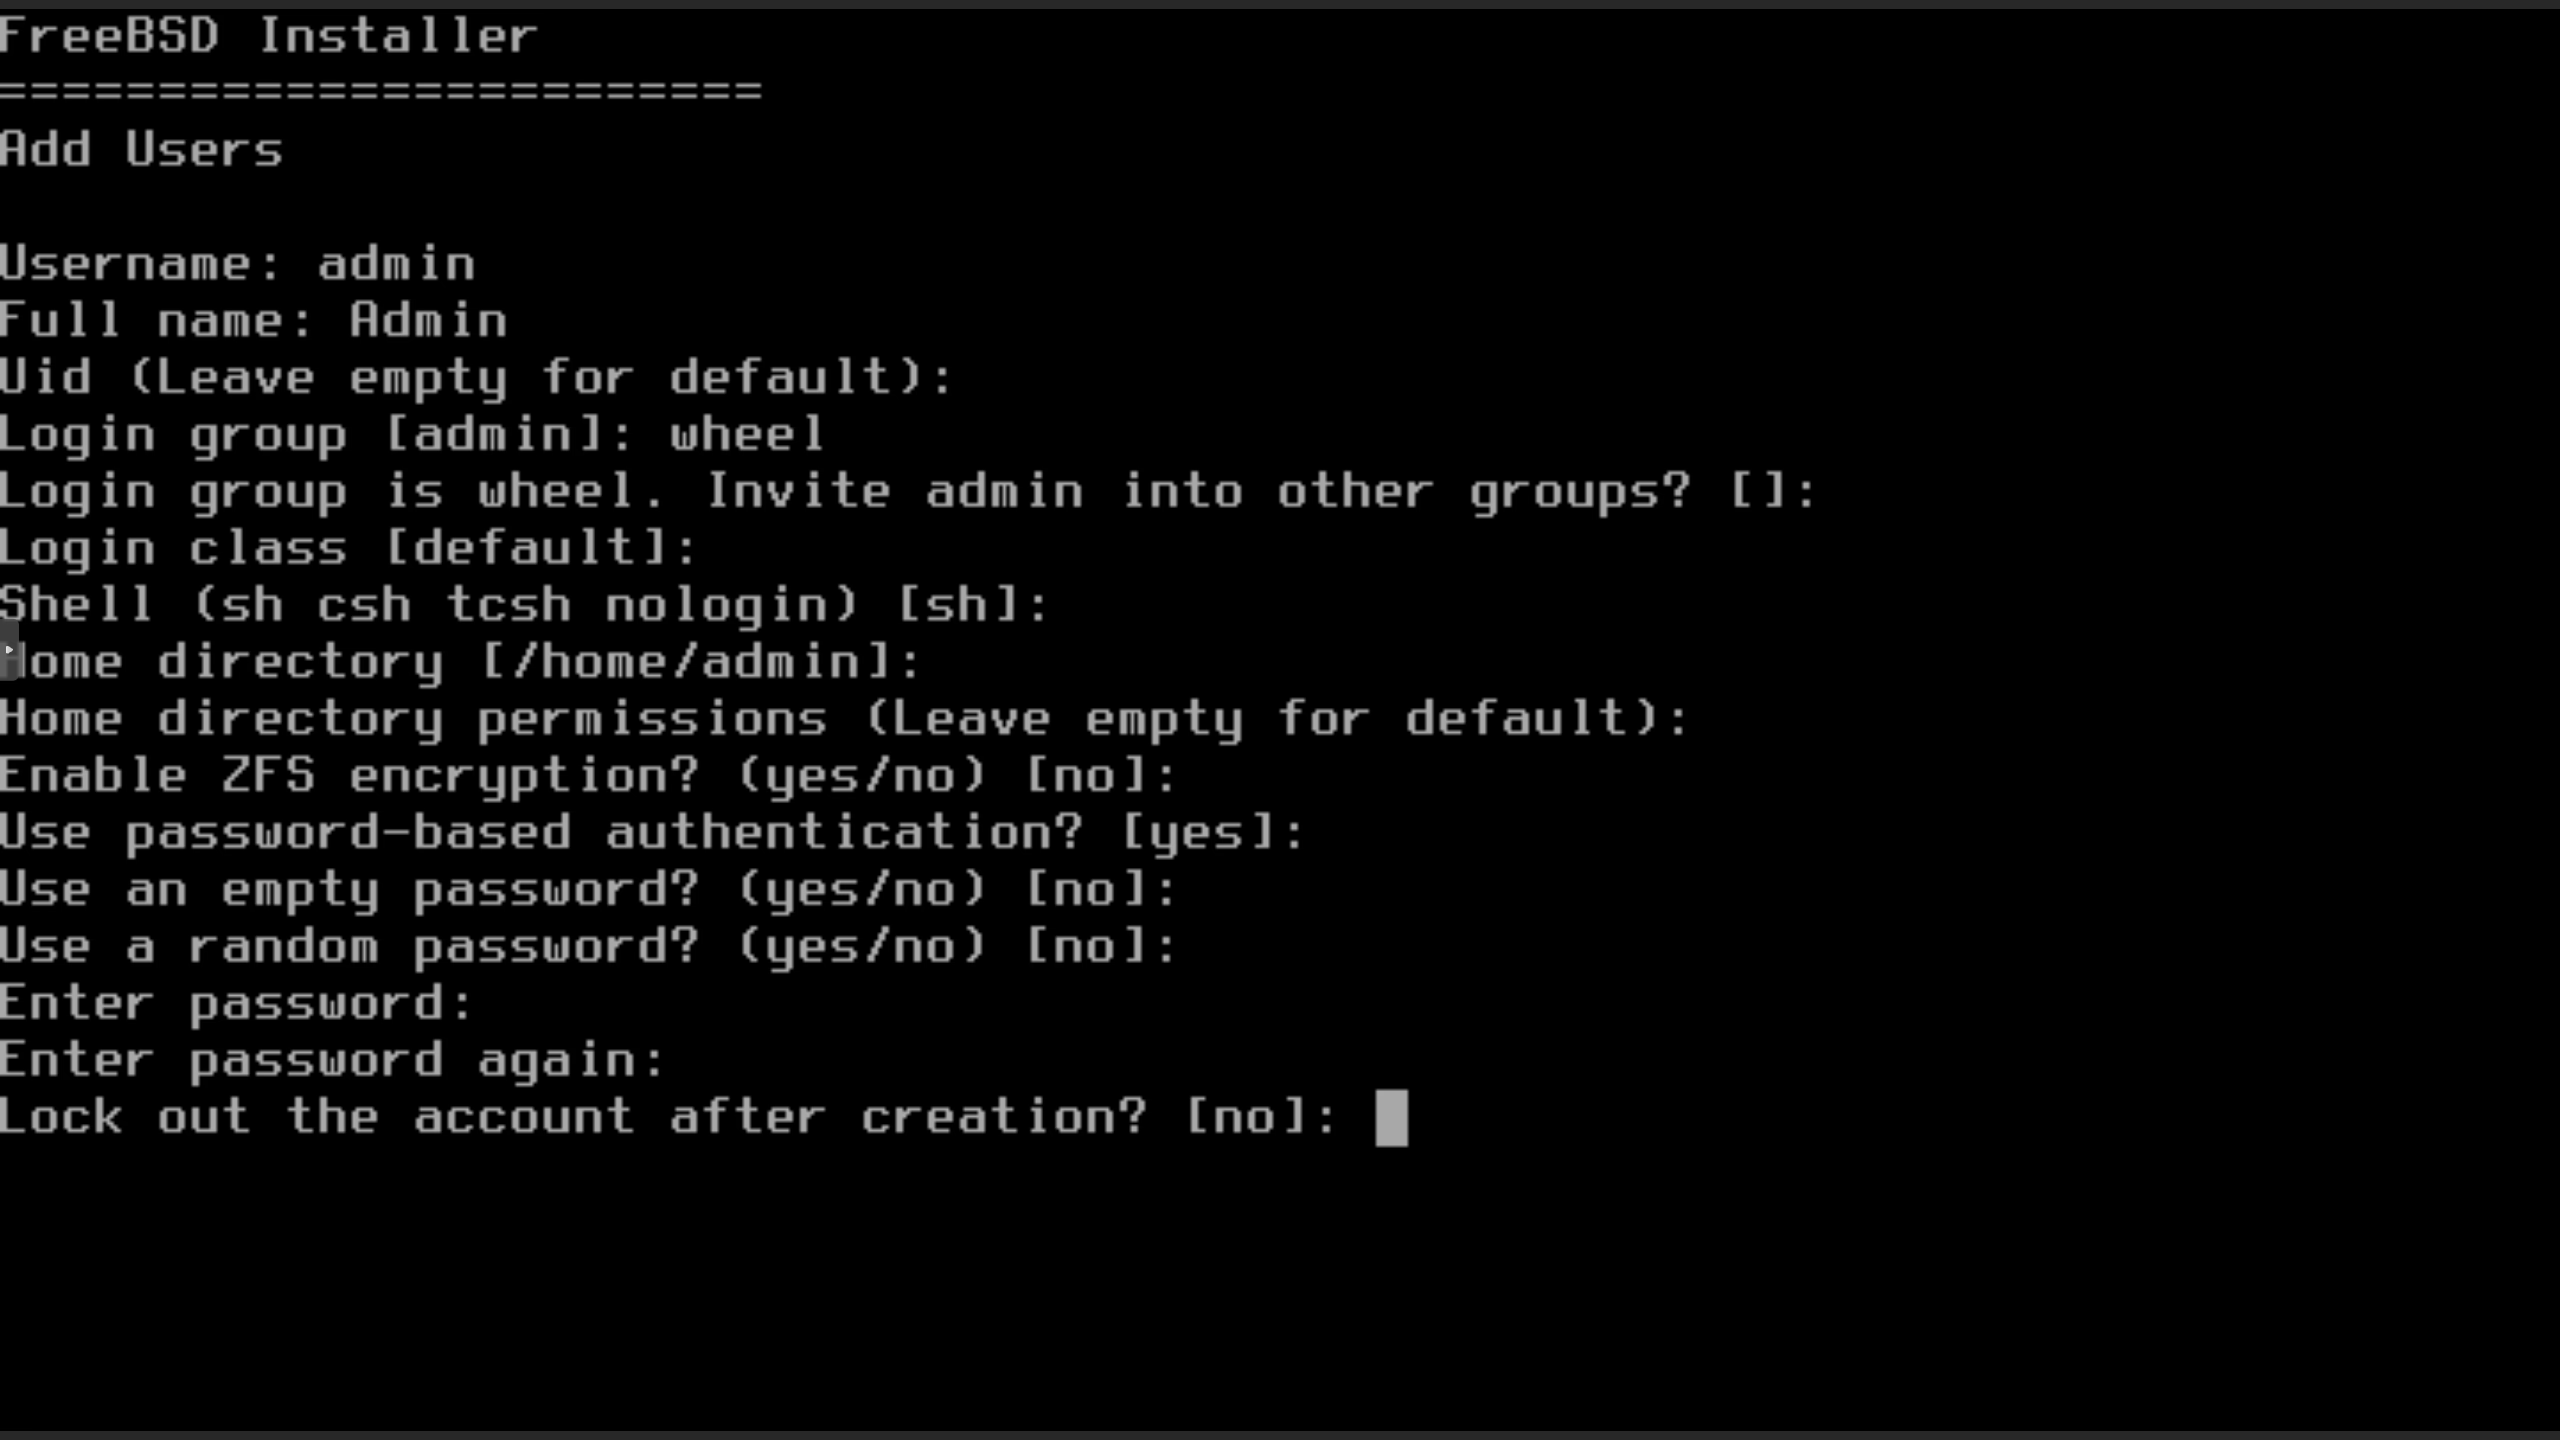
Add User Console
This example adds the admin user and sets their group to wheel.
Adding the user to the wheel group is required to give your user elevated privileges if using the freebsd_setup.sh script.
Exit Guided Install
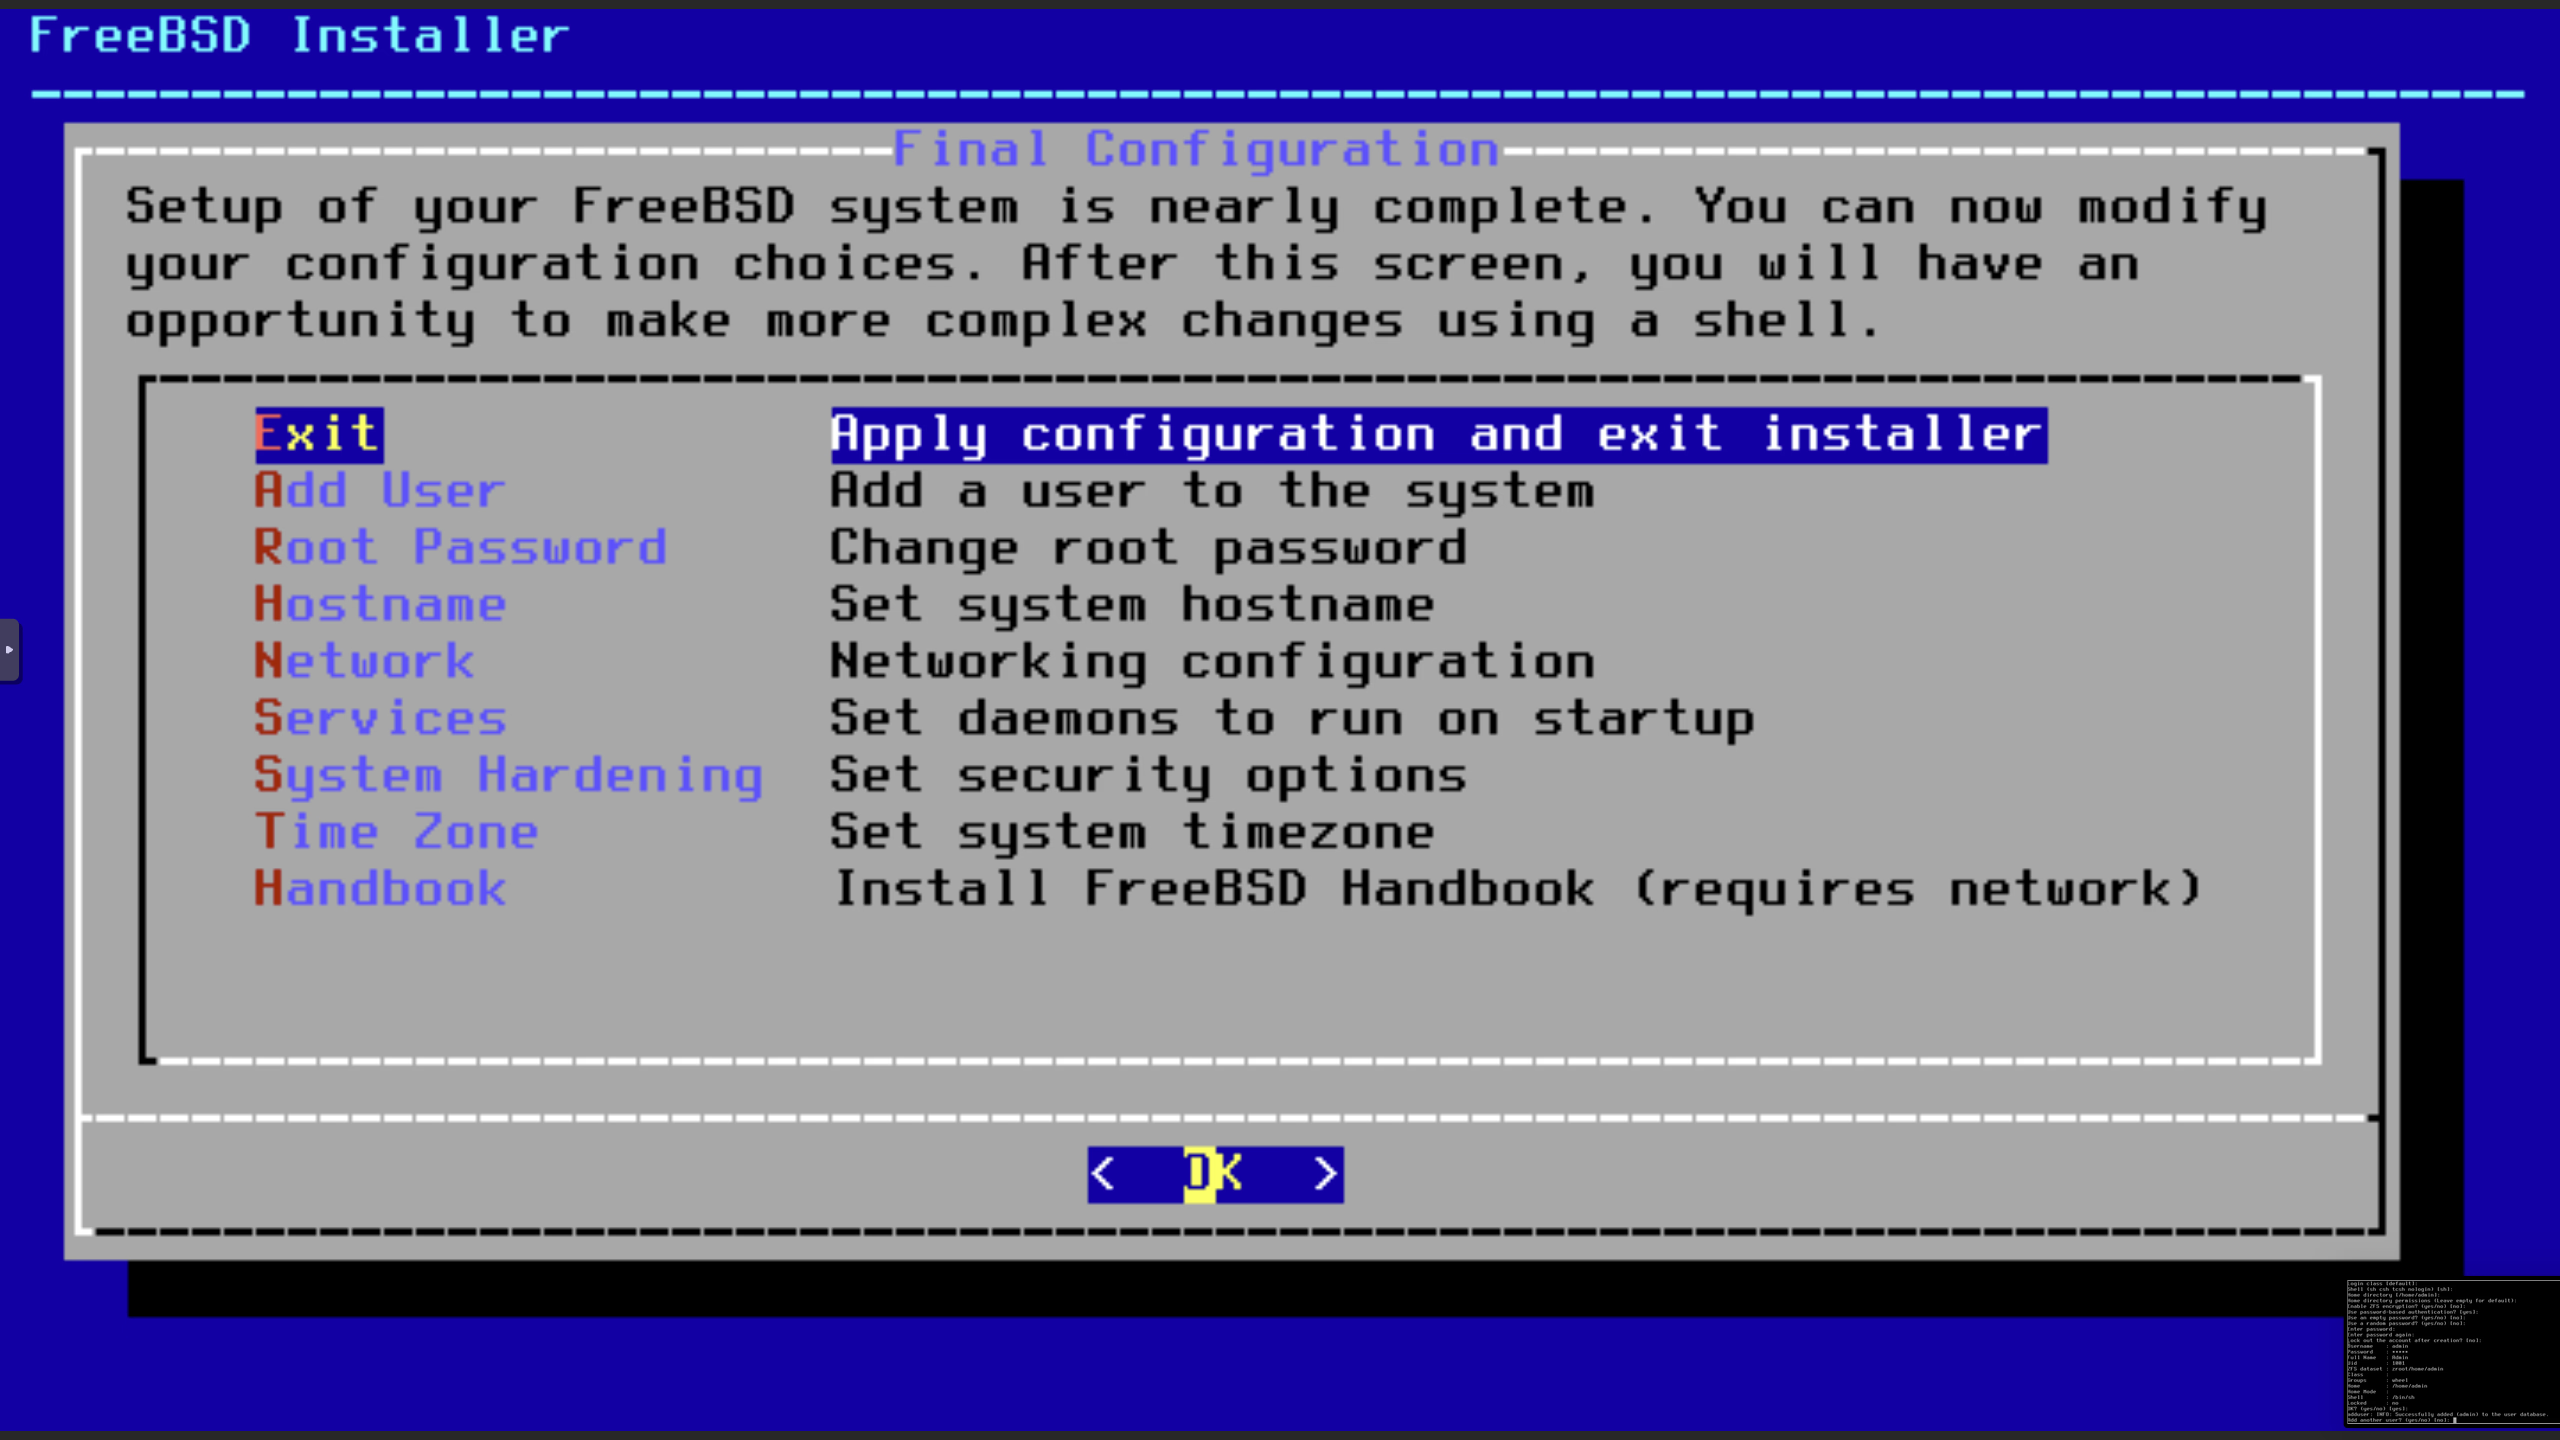
Manual Configuration
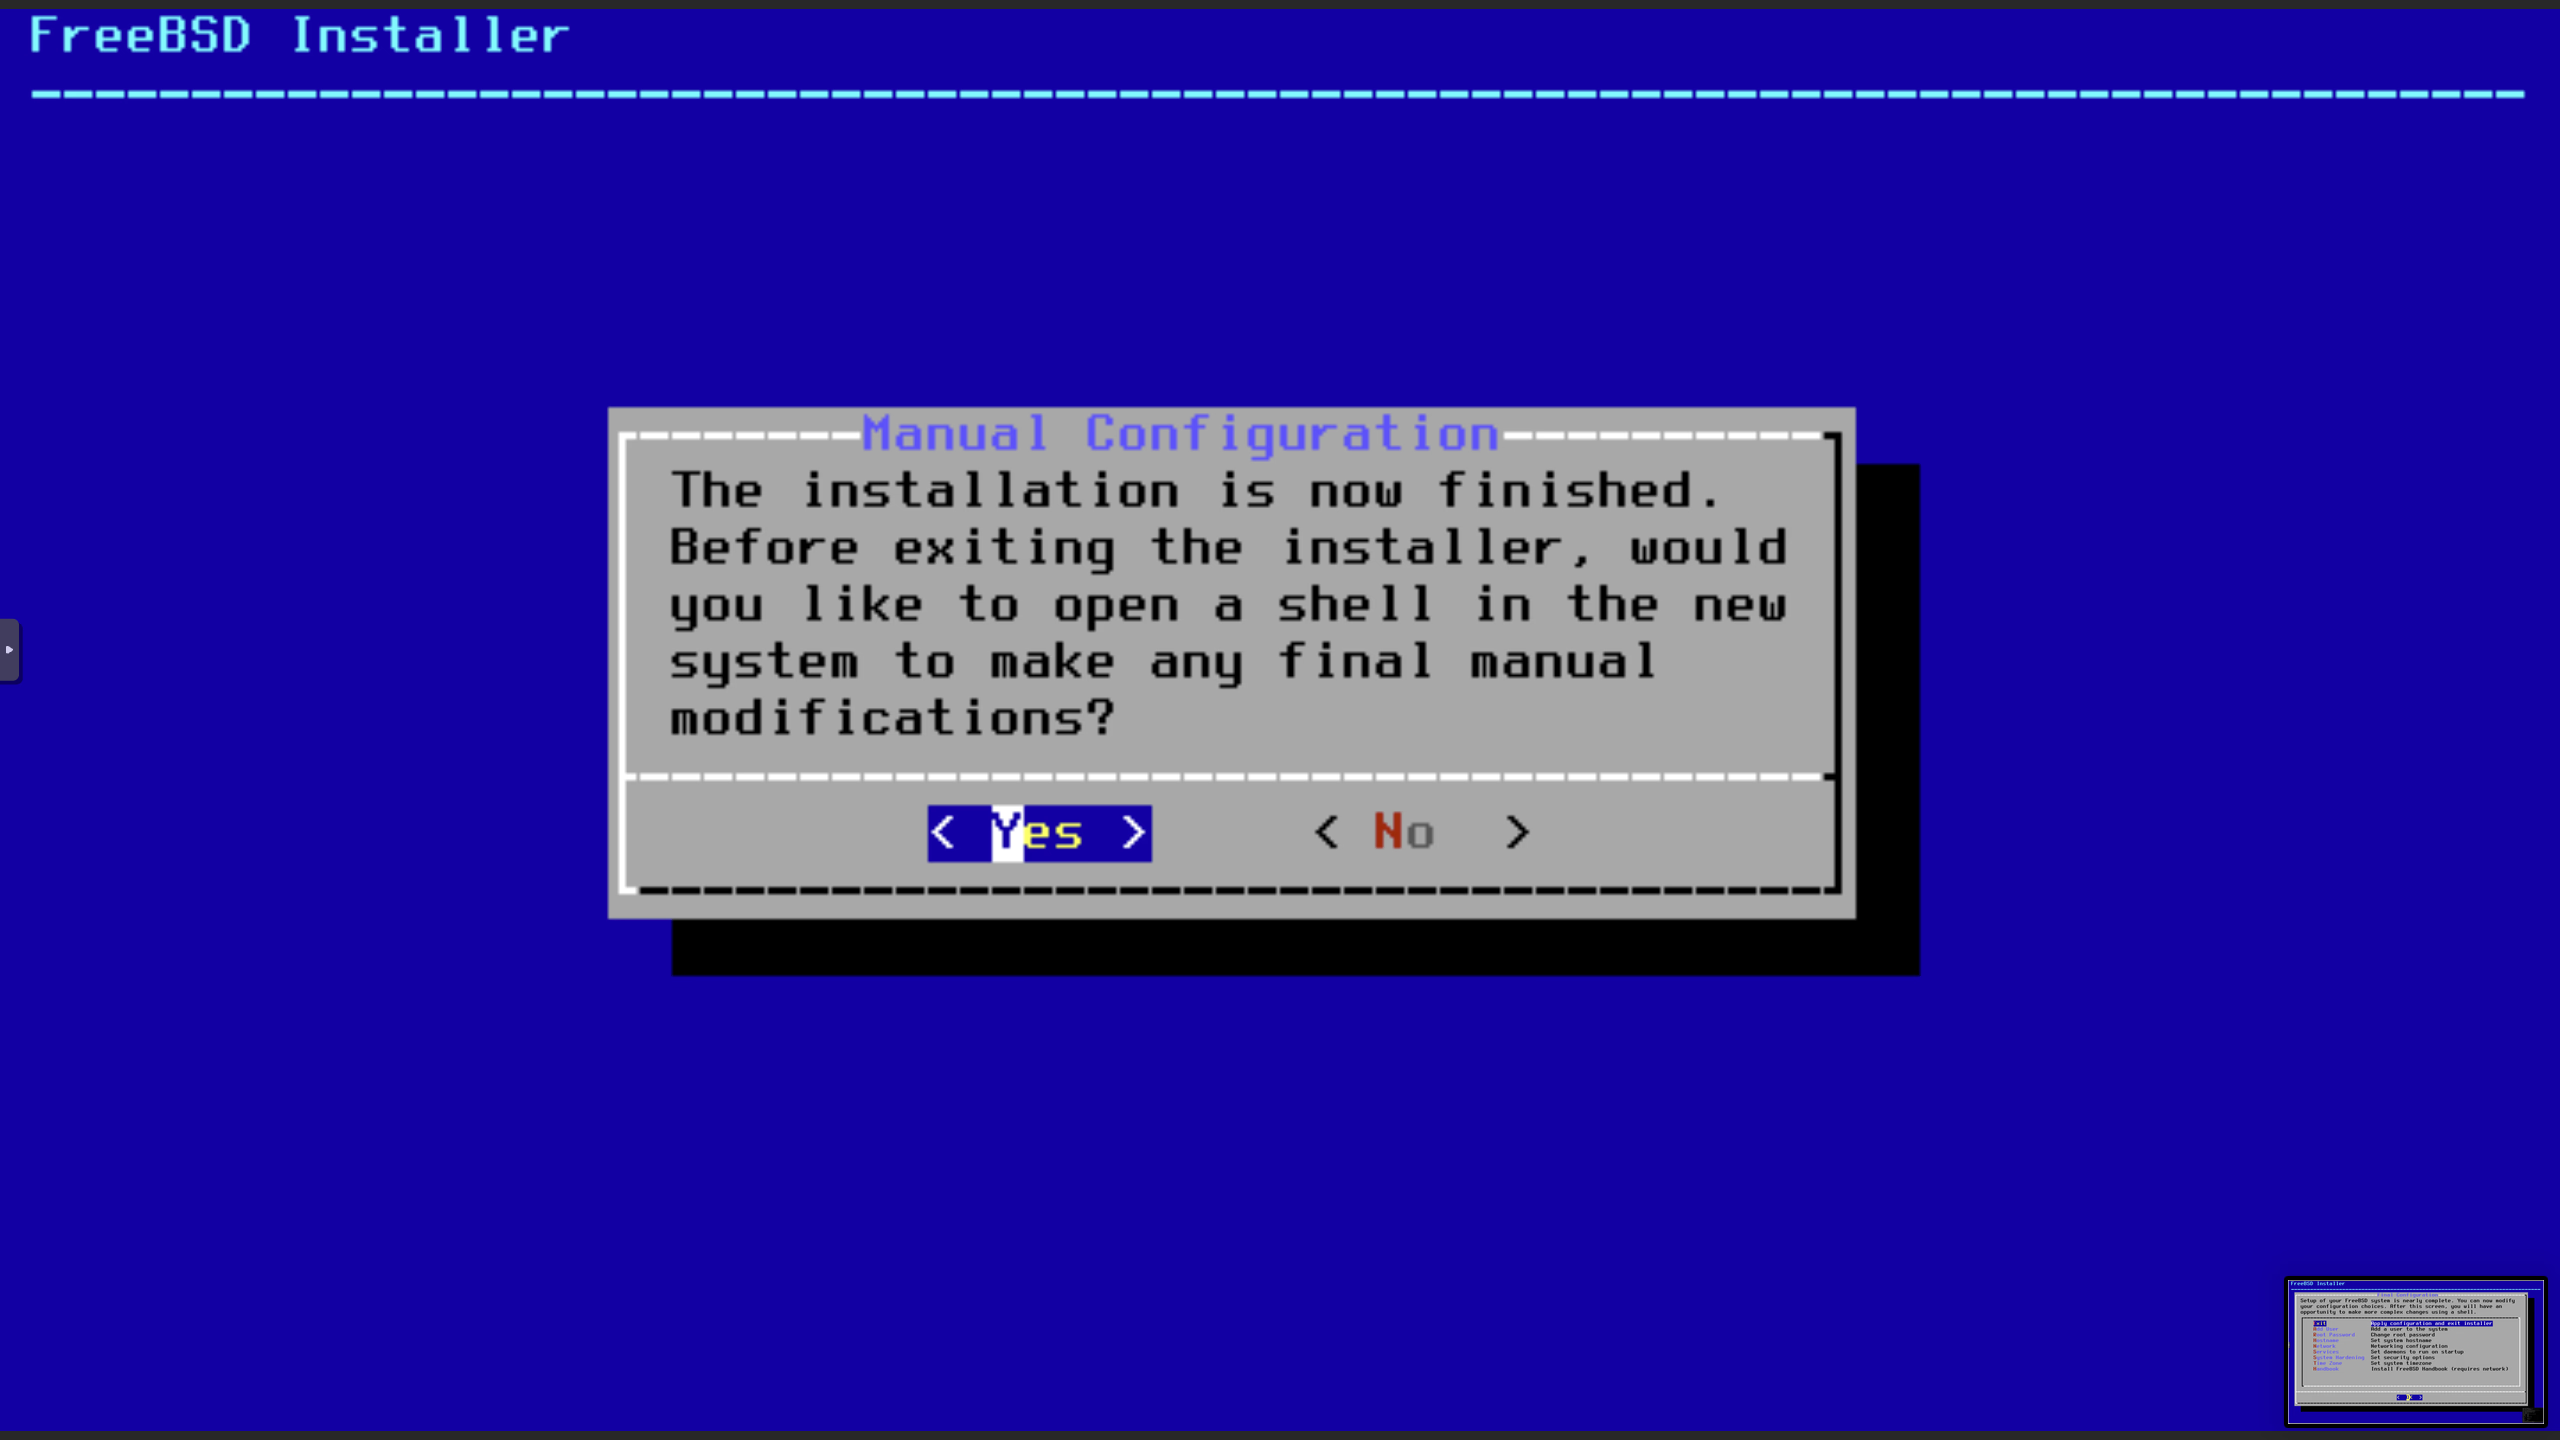
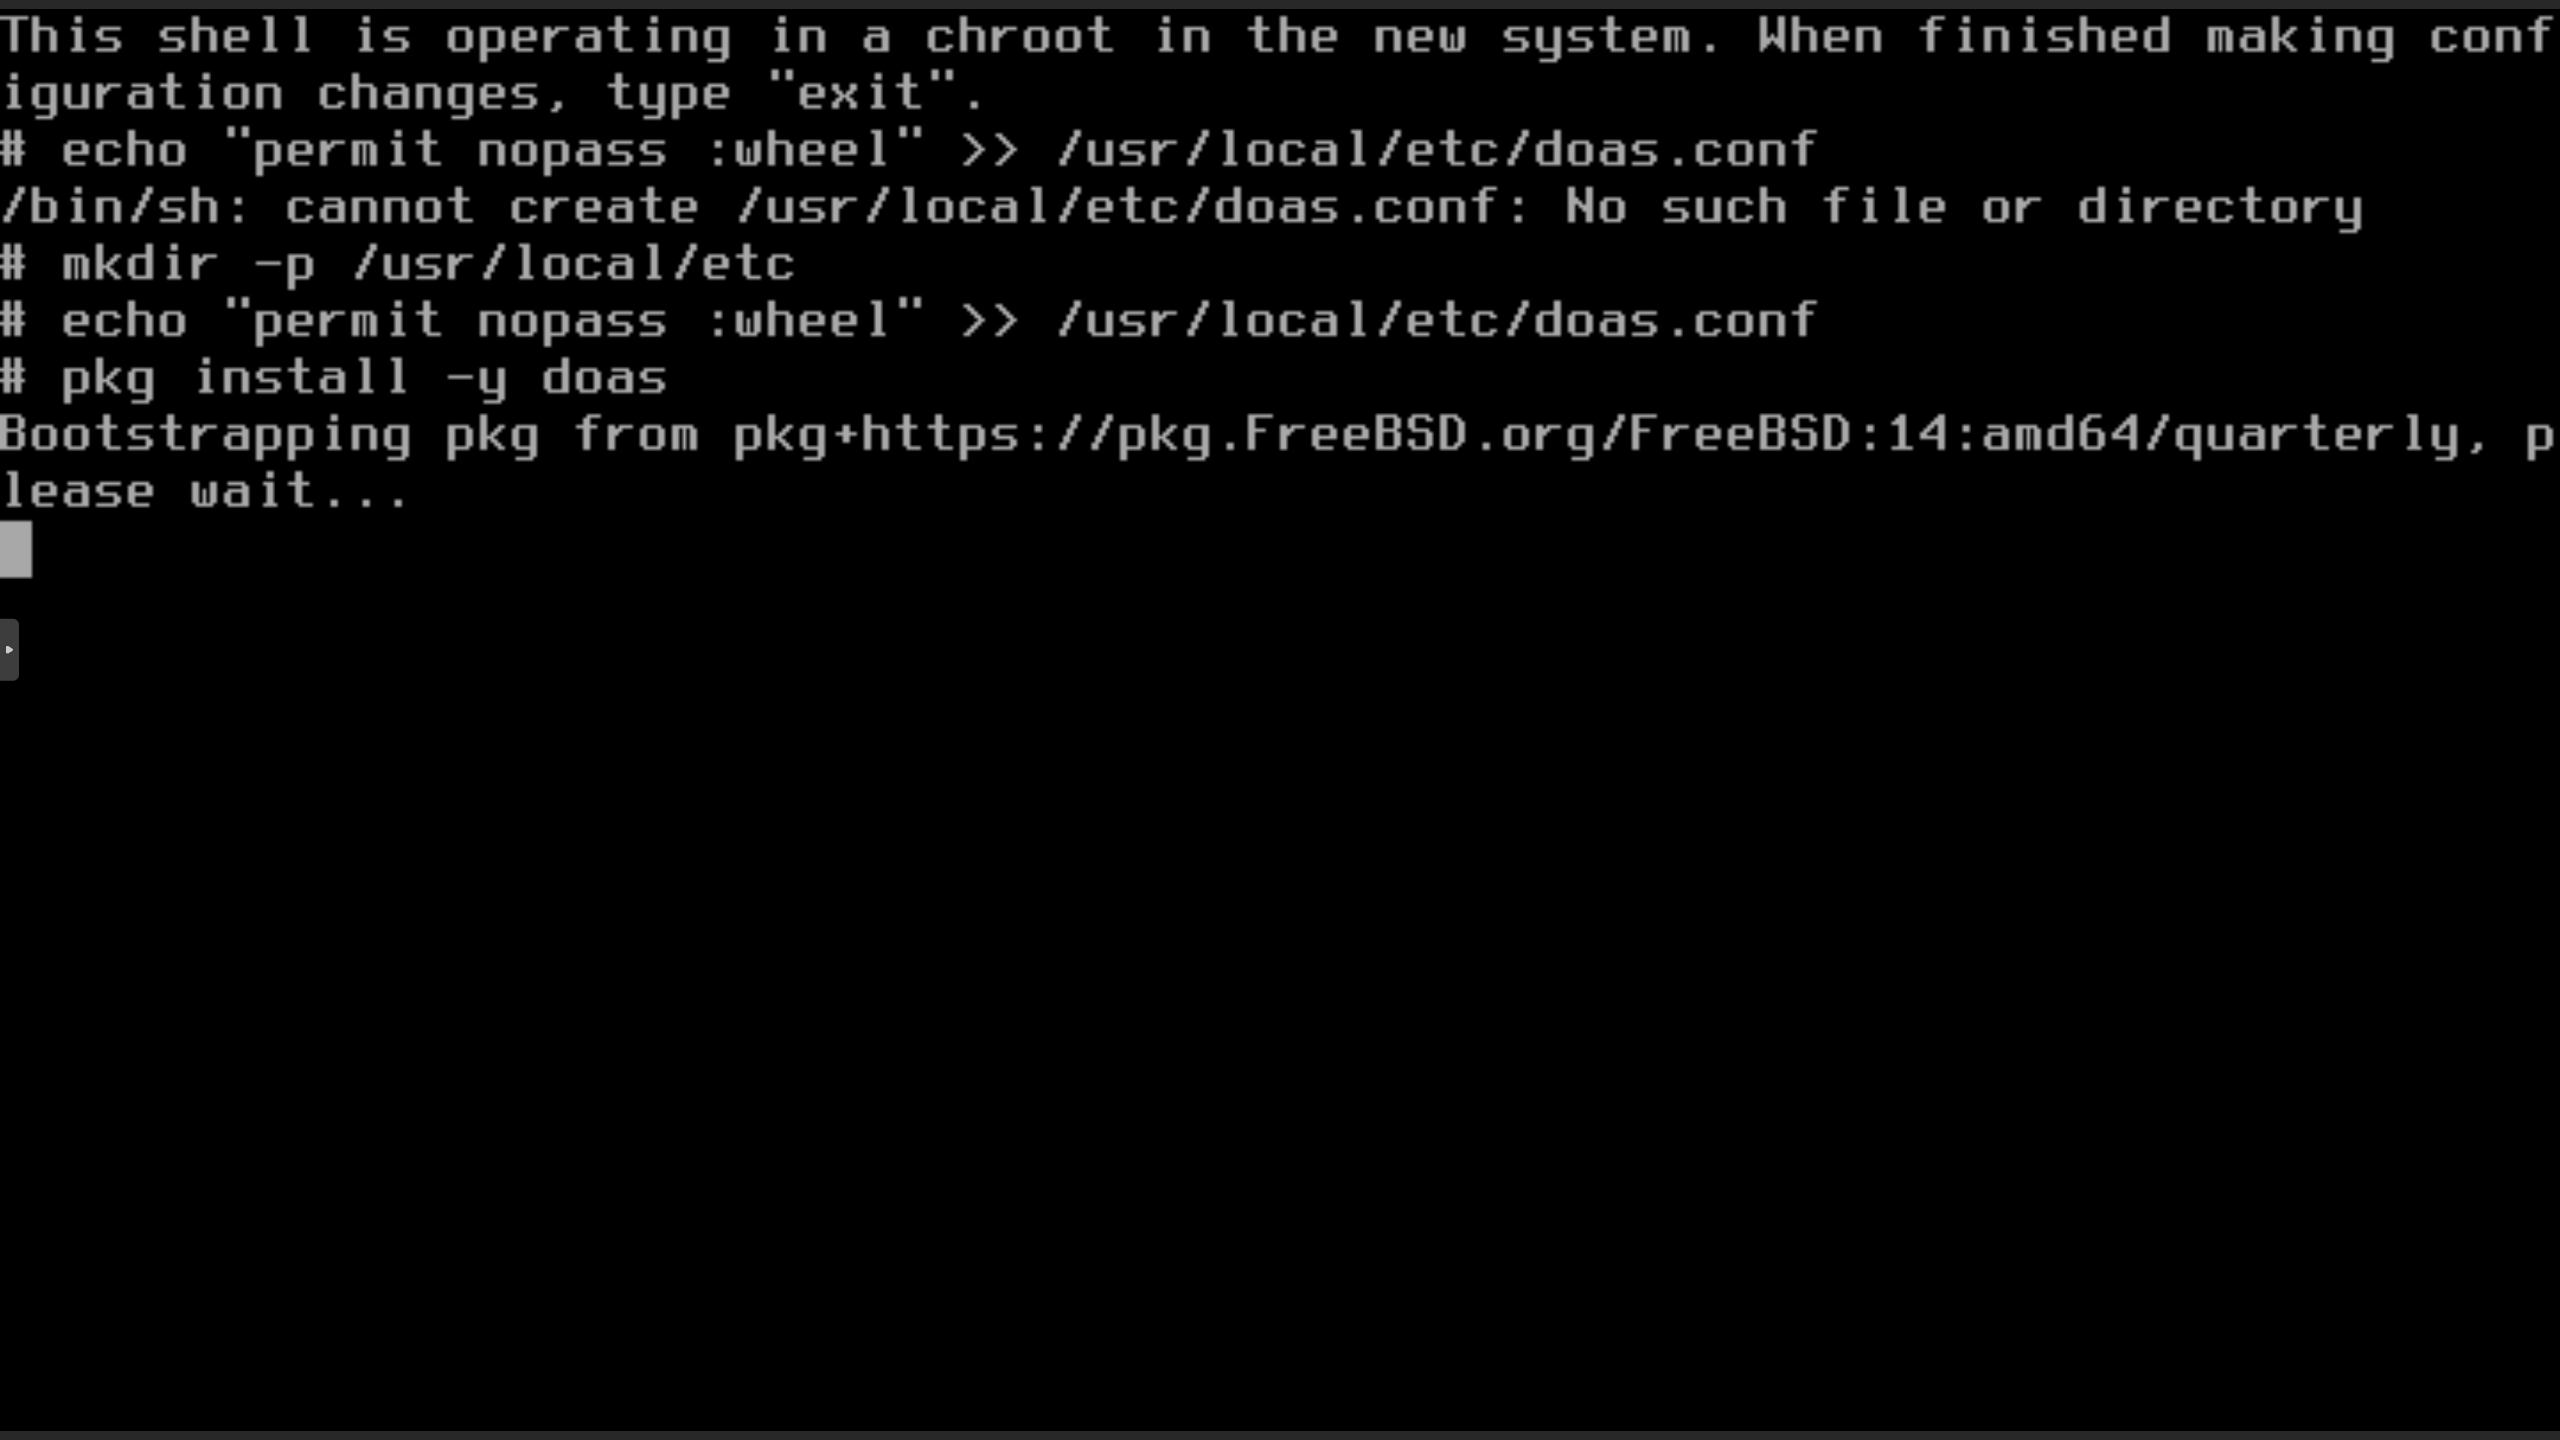
Add doas.conf
At the end of installation but before rebooting, add the doas package to your system
and configure privileges for the wheel group.
The simple doas configuration will allow you to run commands to setup your hosts.
When you run the freebsd_setup.sh script it will enhance doas.conf.
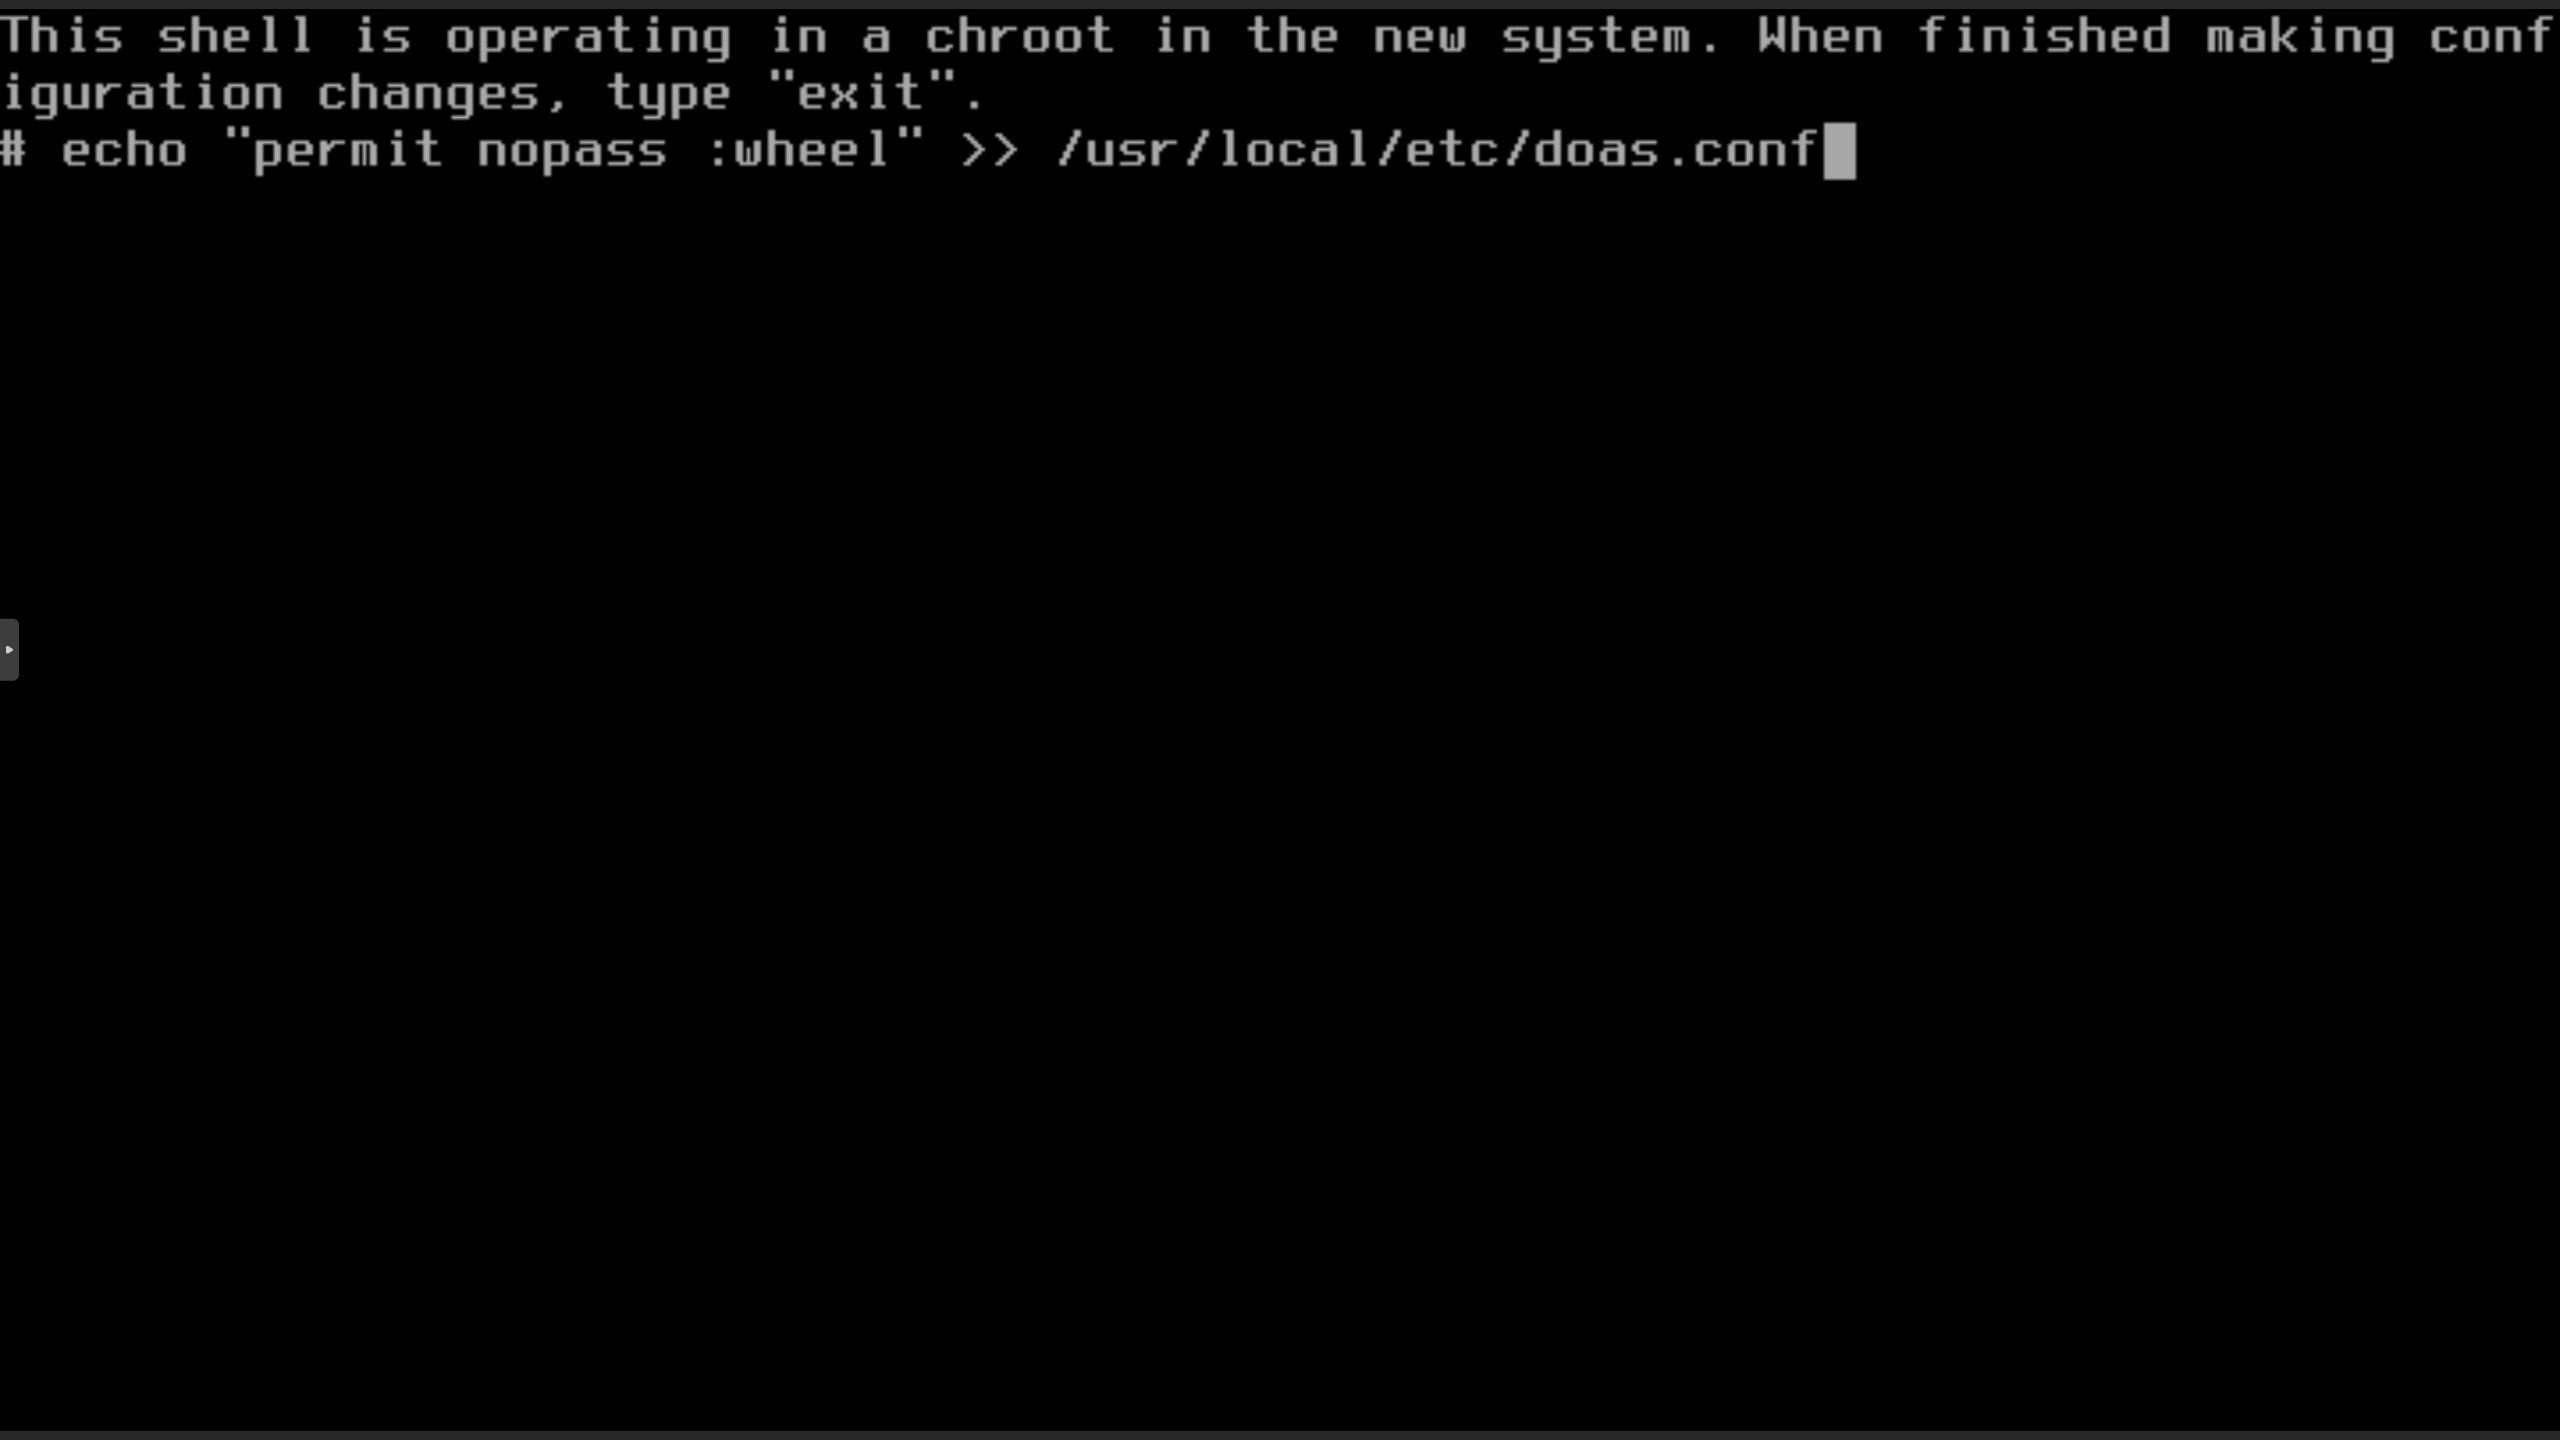
Oops. Create the directory first.
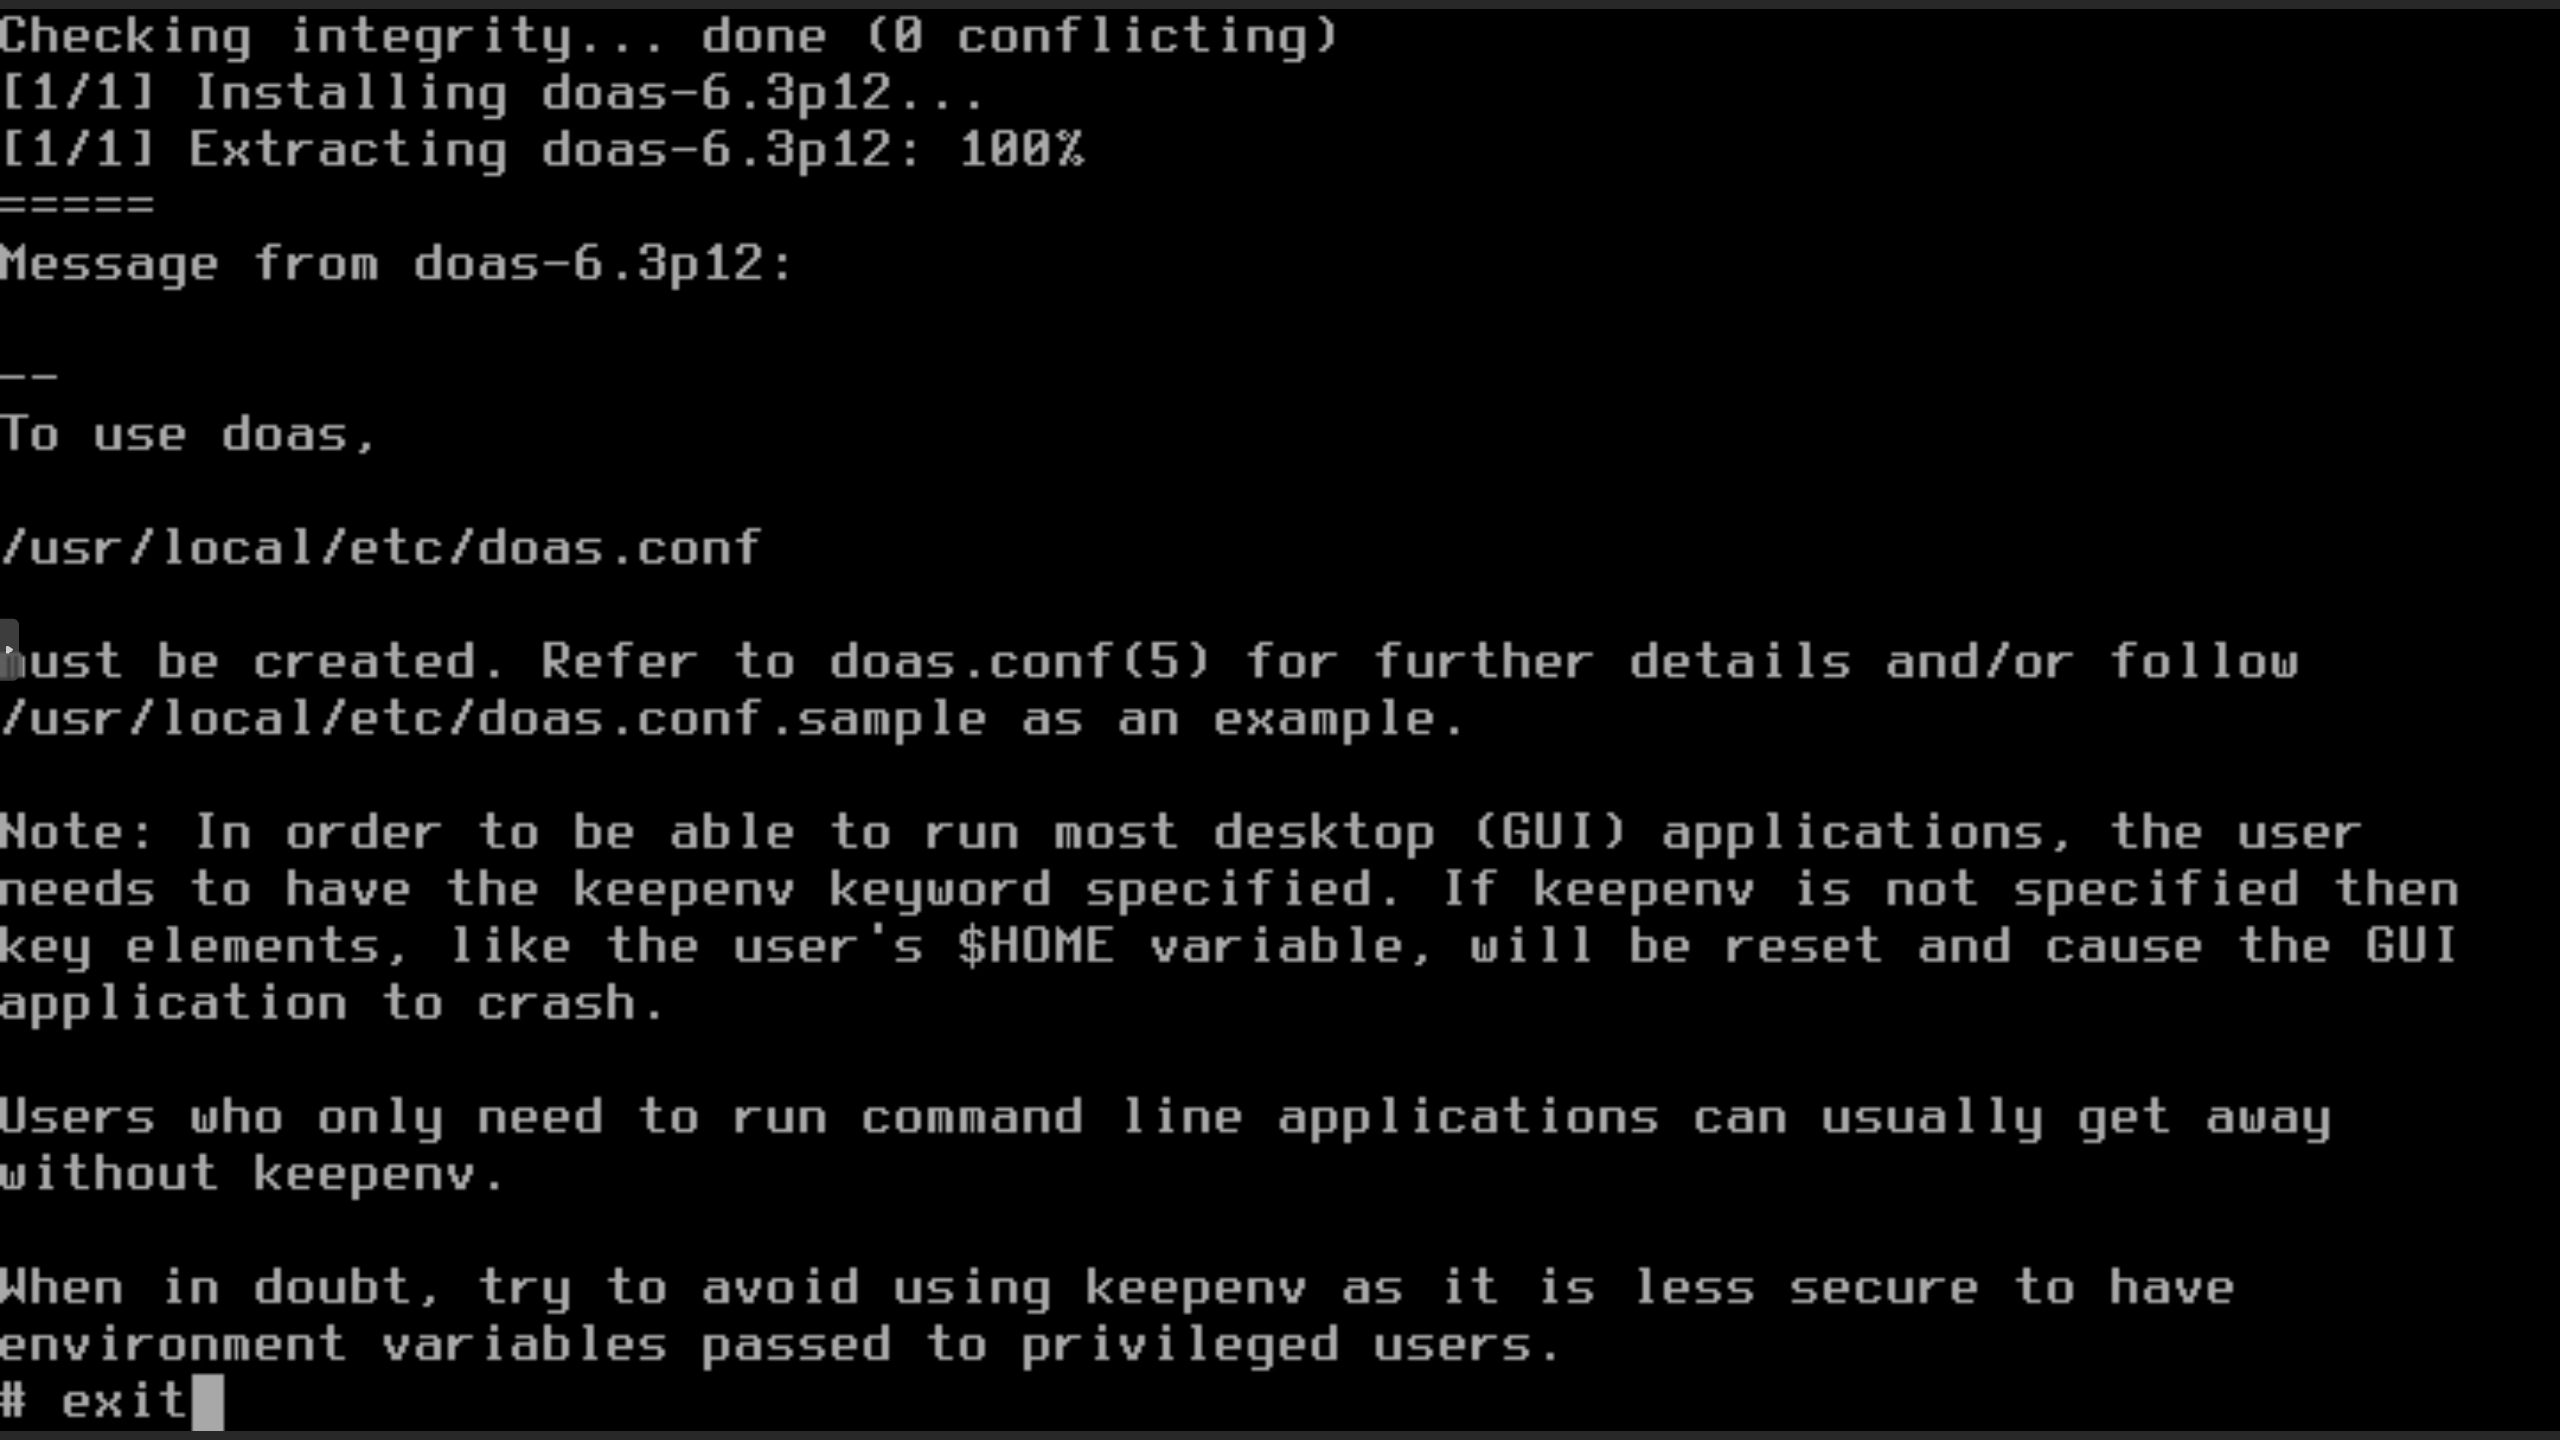
Add the pkg doas
Exit
Reboot
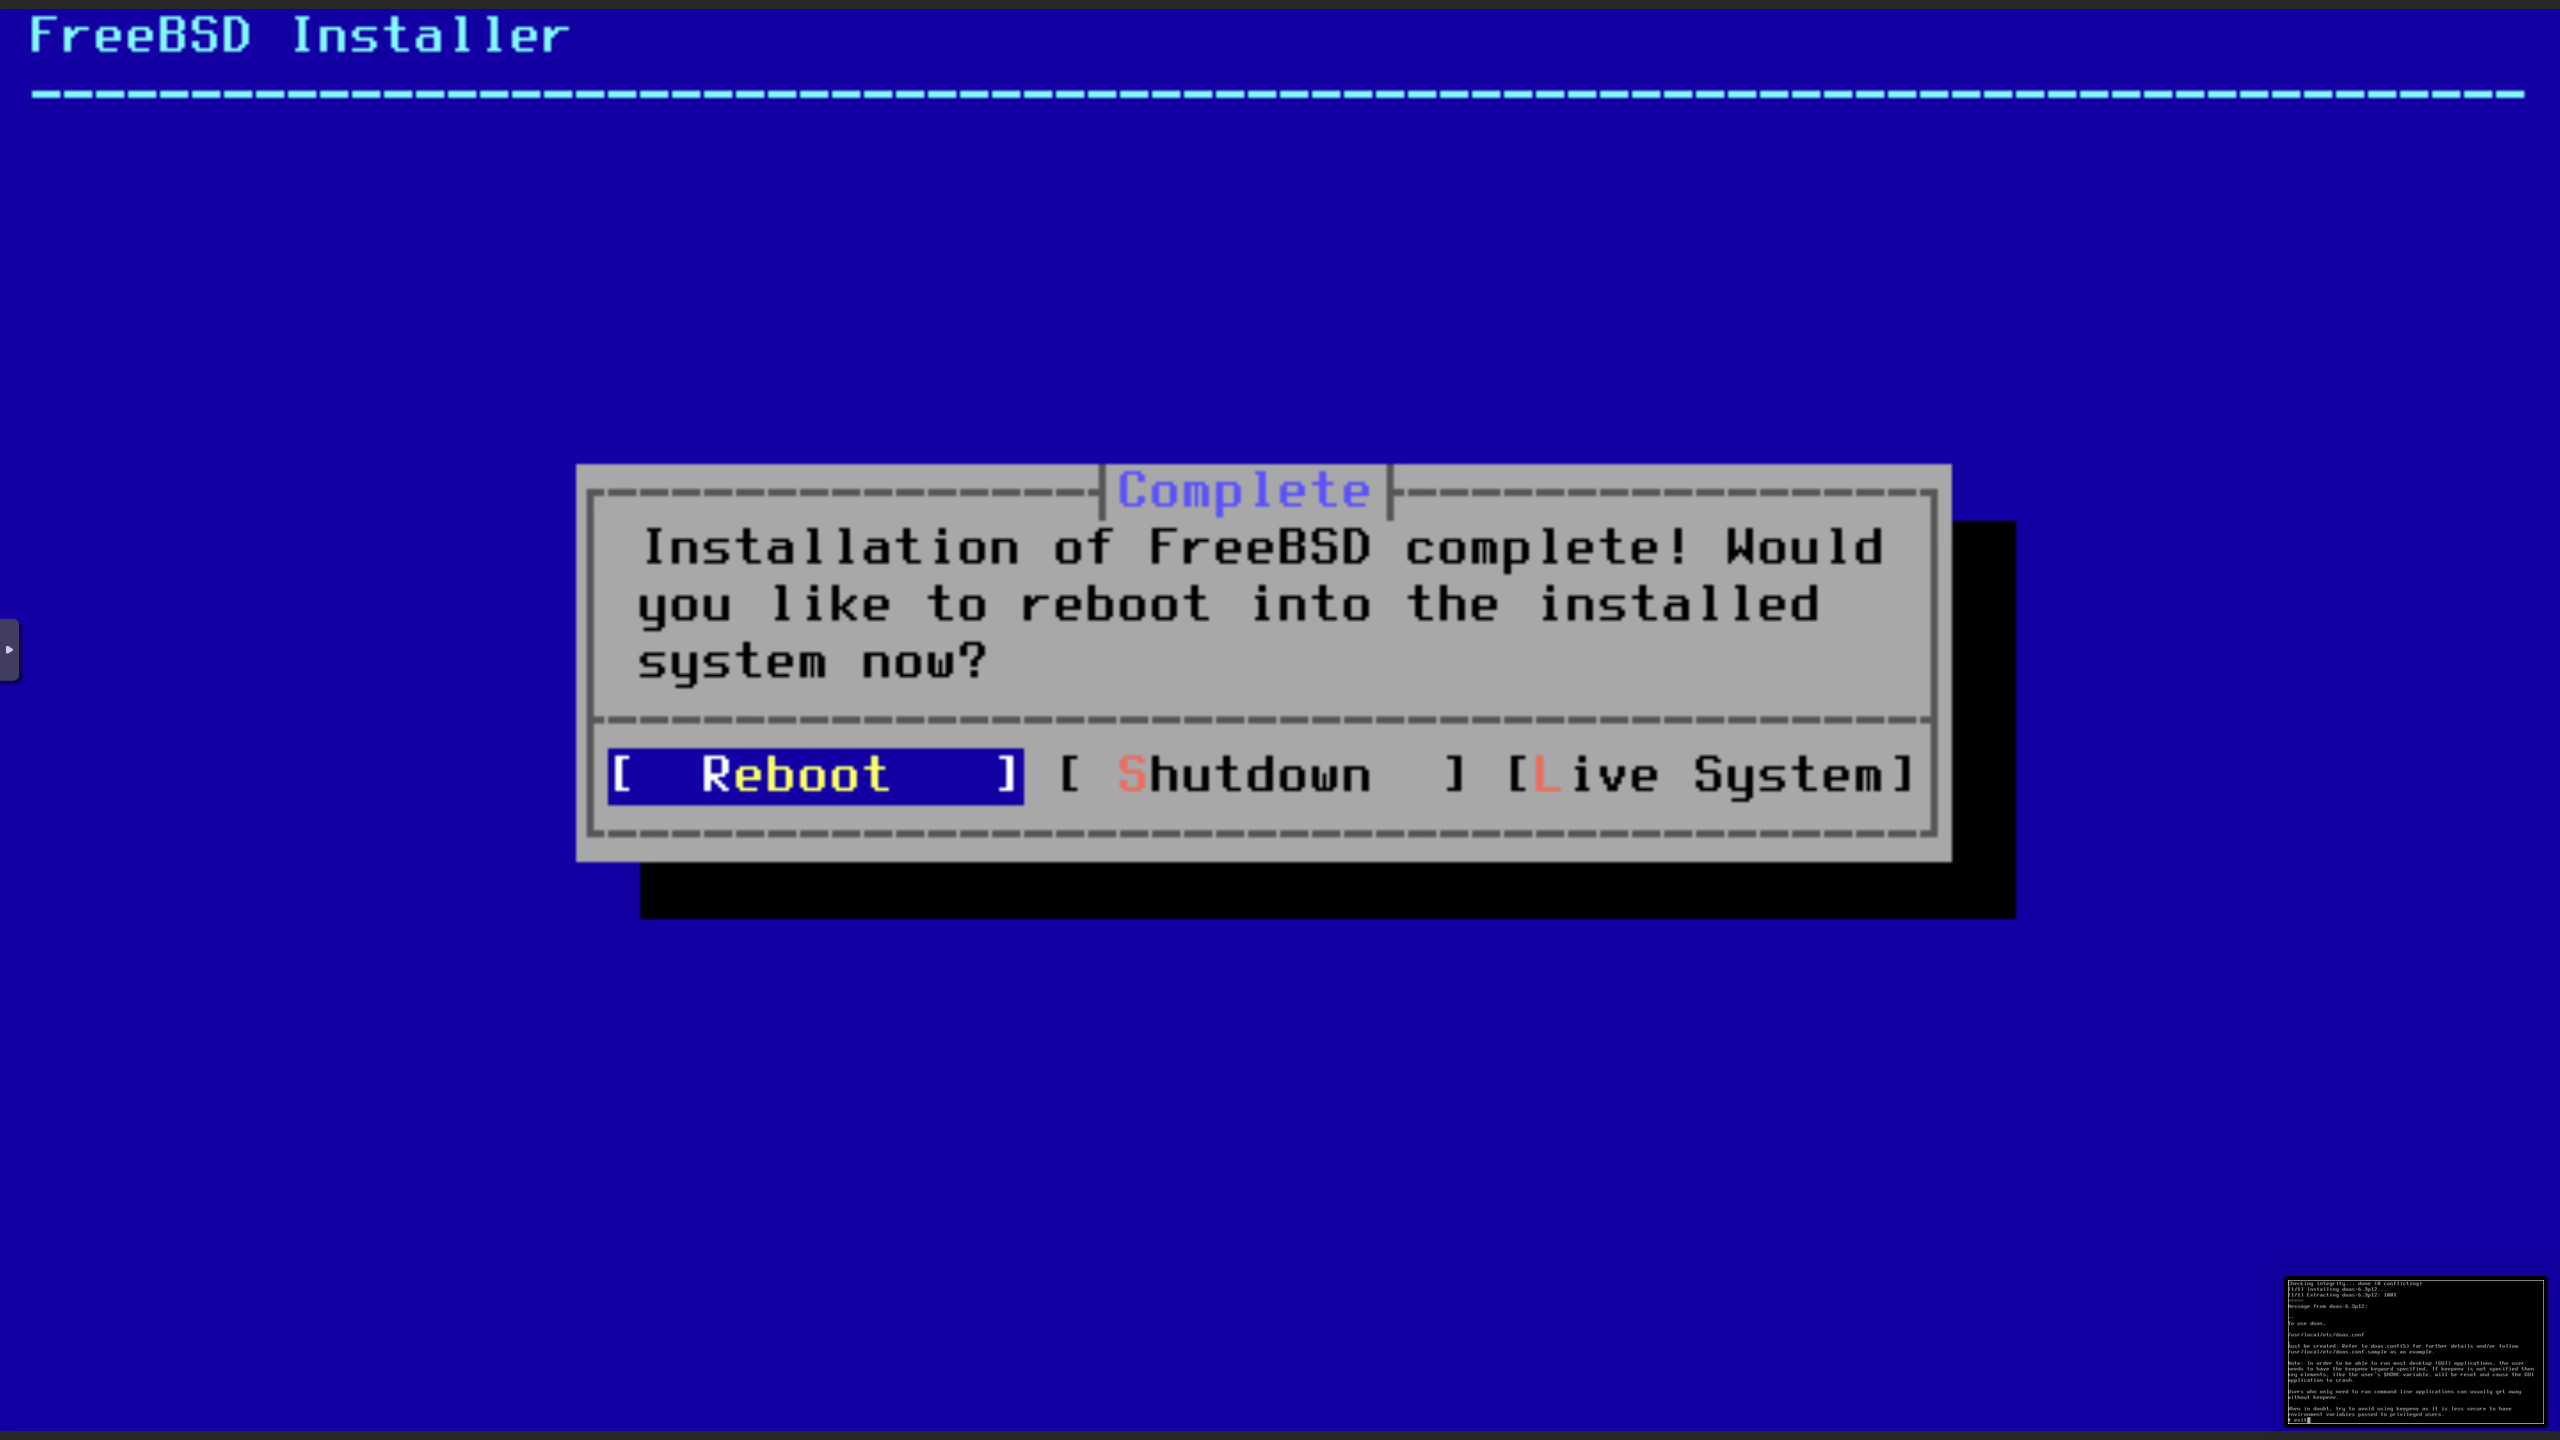
Your FreeBSD system is now installed and ready for the next steps.