Hetzner Cloud Setup Guide
View SourceA quick guide to creating a FreeBSD host template on Hetzner Cloud
This guide will walk you through setting up a new Hetzner Cloud project, creating a firewall, a network, and adding servers.
After creating a project, our strategy is to create network and firewall collateral first. Then we will add servers to the network and create a new server and save it as a template.
That template will be used to create new servers in the future.
FreeBSD Host Installation on Hetzner Cloud Summary
Create a new project
Browse to Hetzner Cloud and click "New project".
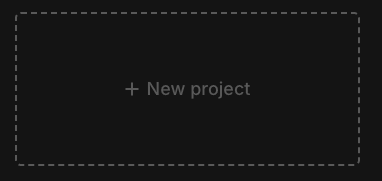
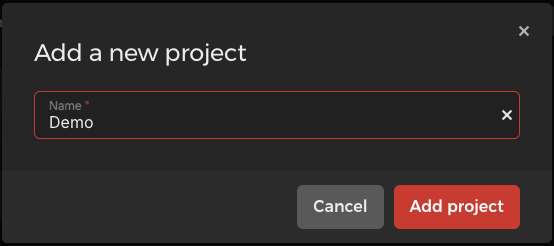
and add your project.
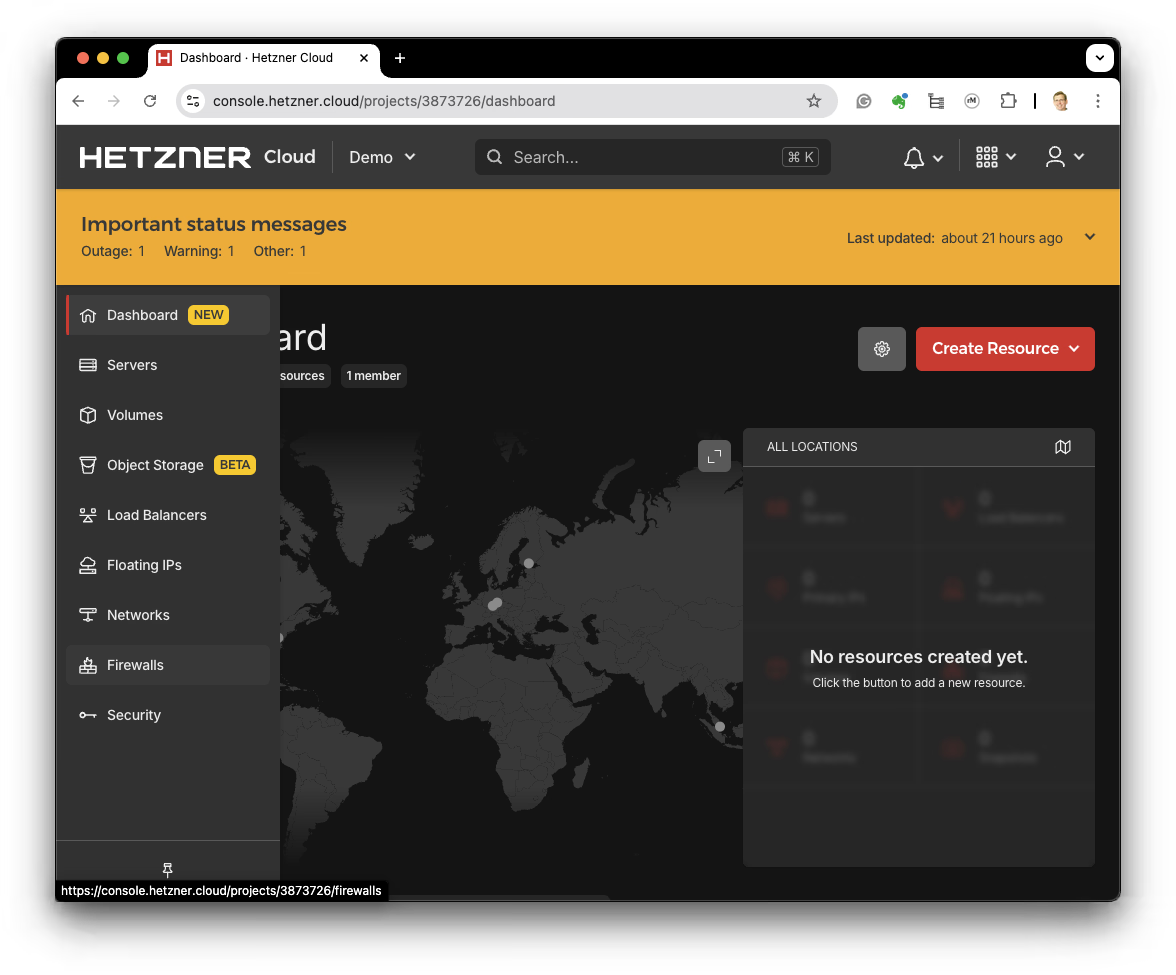
Project Overview
In the project page, you can configure networks, firewalls, and servers.
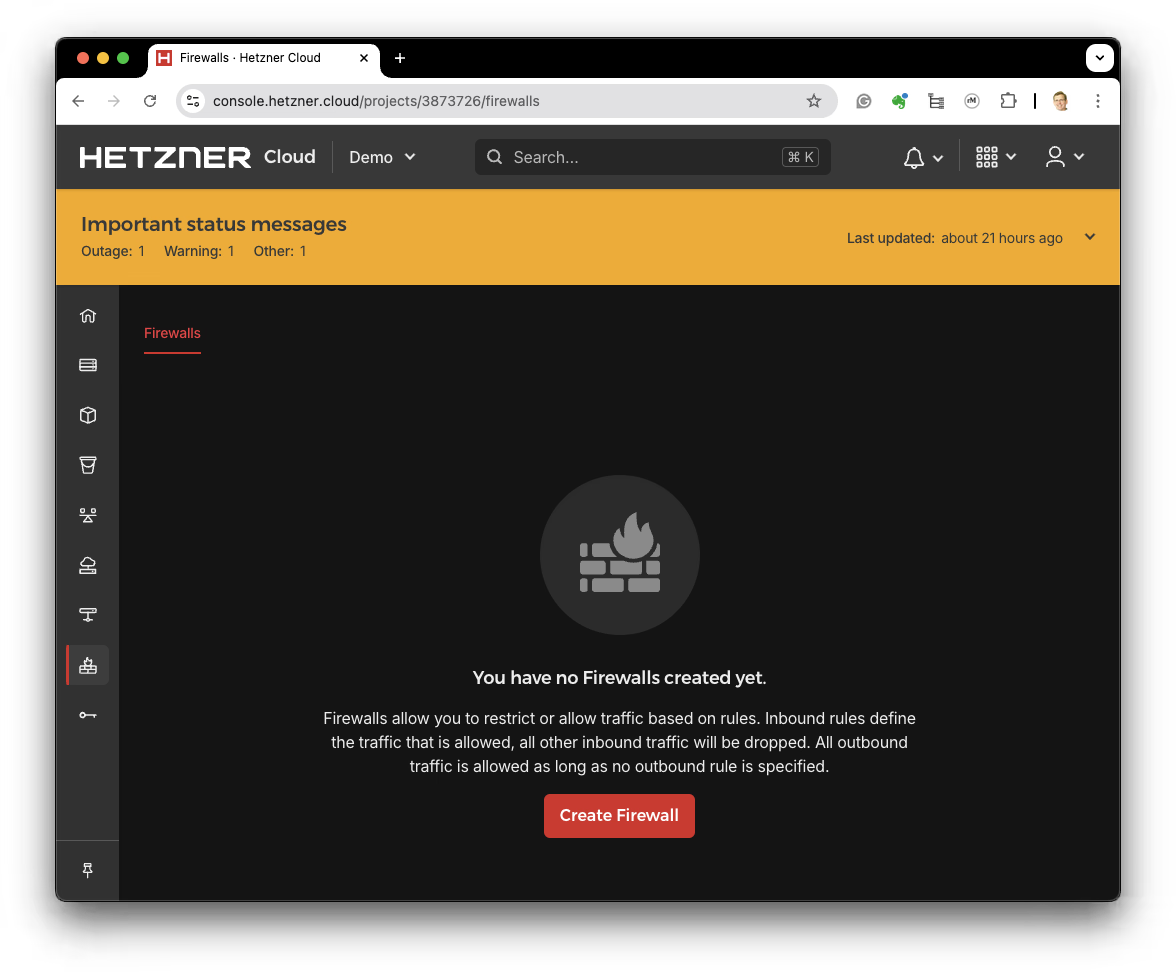
Create a Firewall
If you are using a Cloudflare Argo Tunnel or other service to expose your app to the internet, the following firewall rules may need to be adapted.
Click "Create Firewall" to create a new firewall.
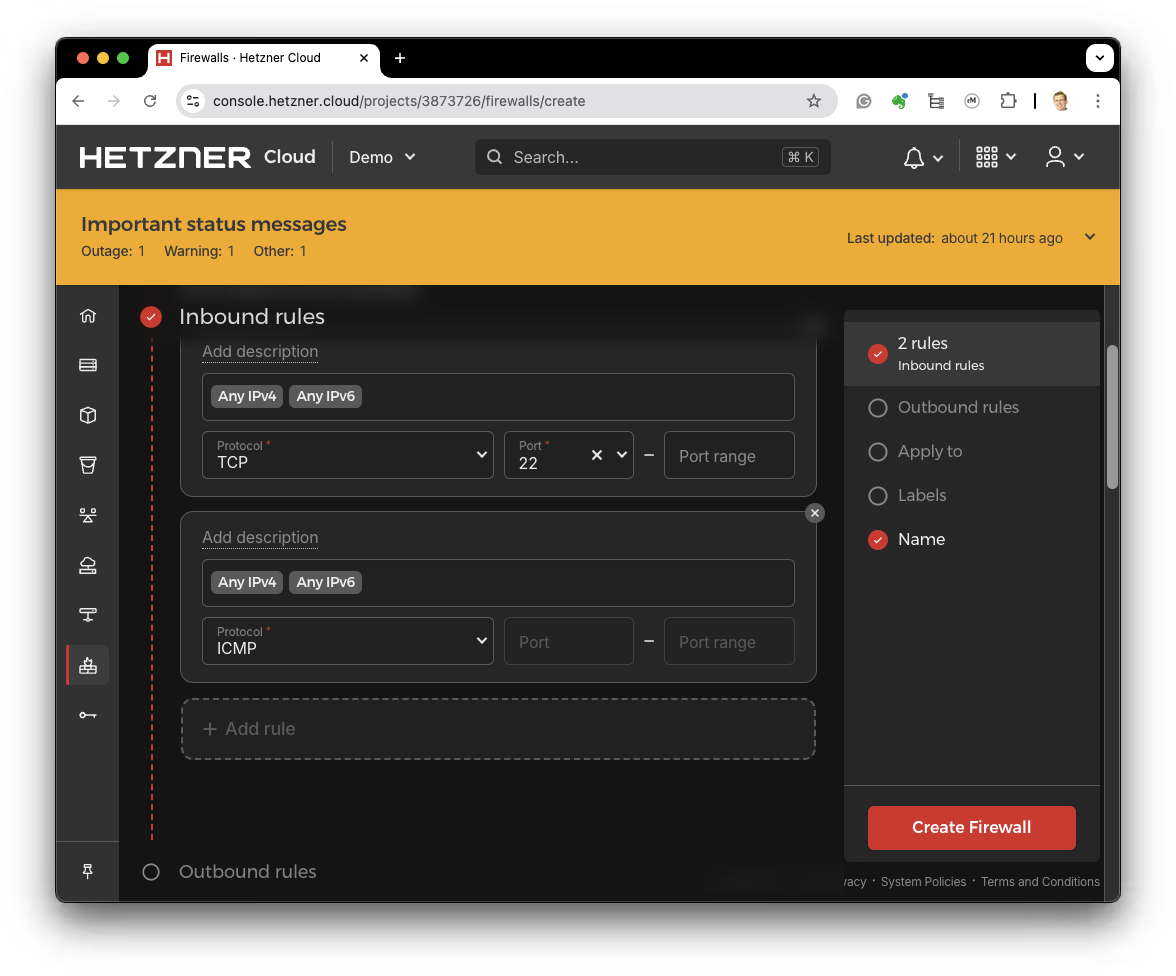
SSH and Ping Firewall Rules
Here we will create inbound rules and internal LAN rules.
Hetzner provides rules for ssh and ping but does not name them.
Feel free to add appropriate names to the rules.
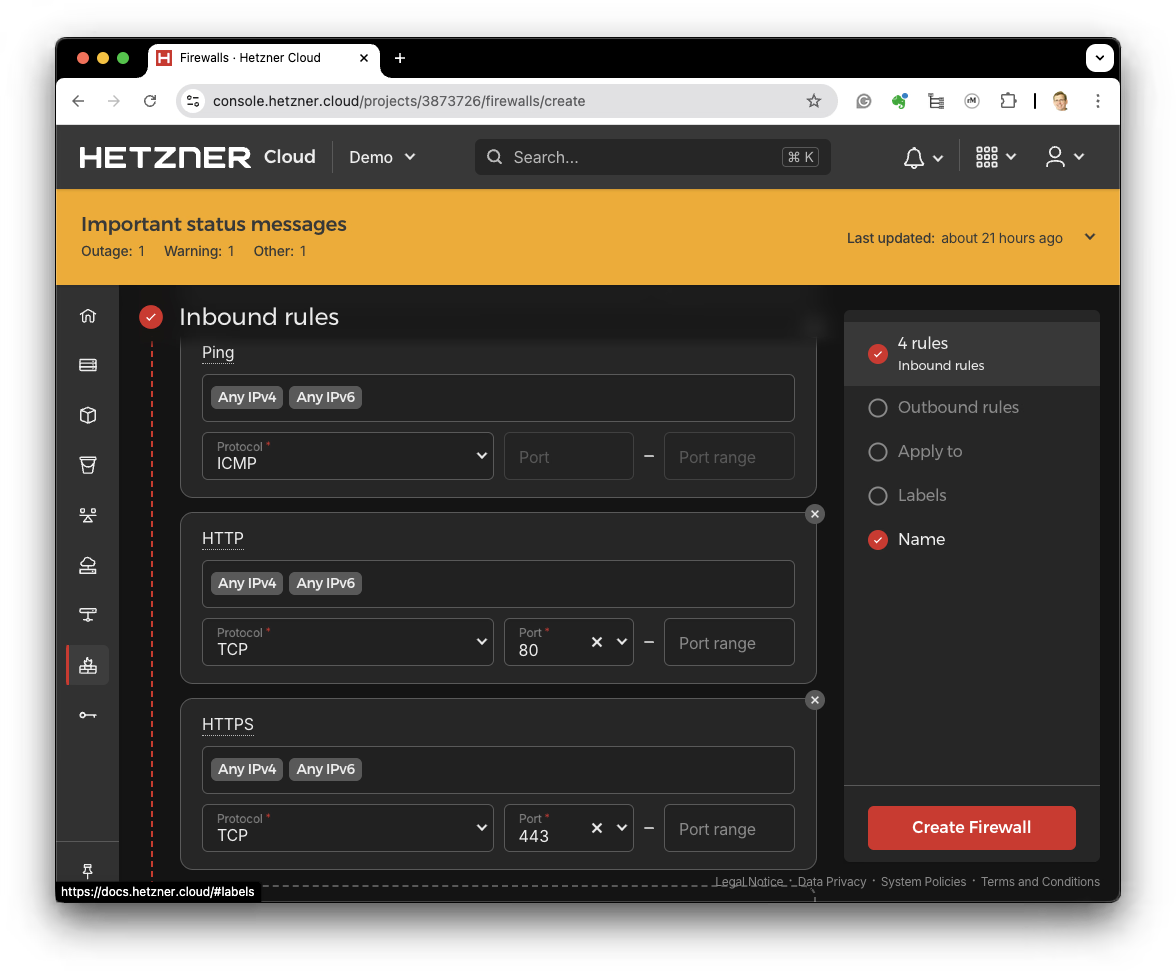
Web Server Rules
Next, add rules for HTTP and HTTPS.
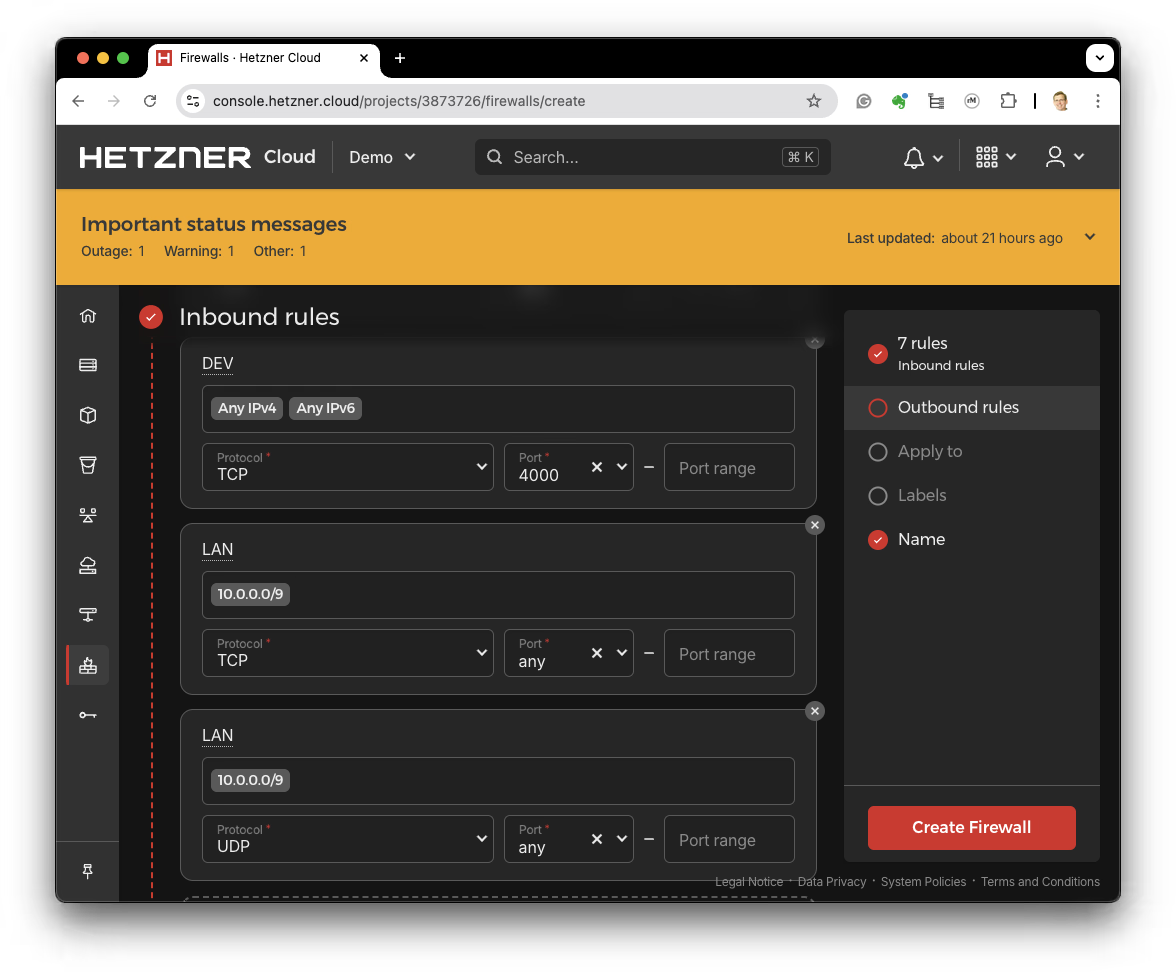
Phoenix Dev Rule and LAN Rules
Open port 4000 for the Phoenix server.
You can close this port in your production firewall.
Opening this port is helpful when testing deployment because
this can be accessed when nginx is running on port 80 and 443.
Also shown in the image below are the LAN rules that allow servers to talk to each other. The web hosts will need to access the postgres server on port 5432 and the postgres backup server will need to access the postgres server for backups.
We open all the ports for the LAN because the servers are in a private network.
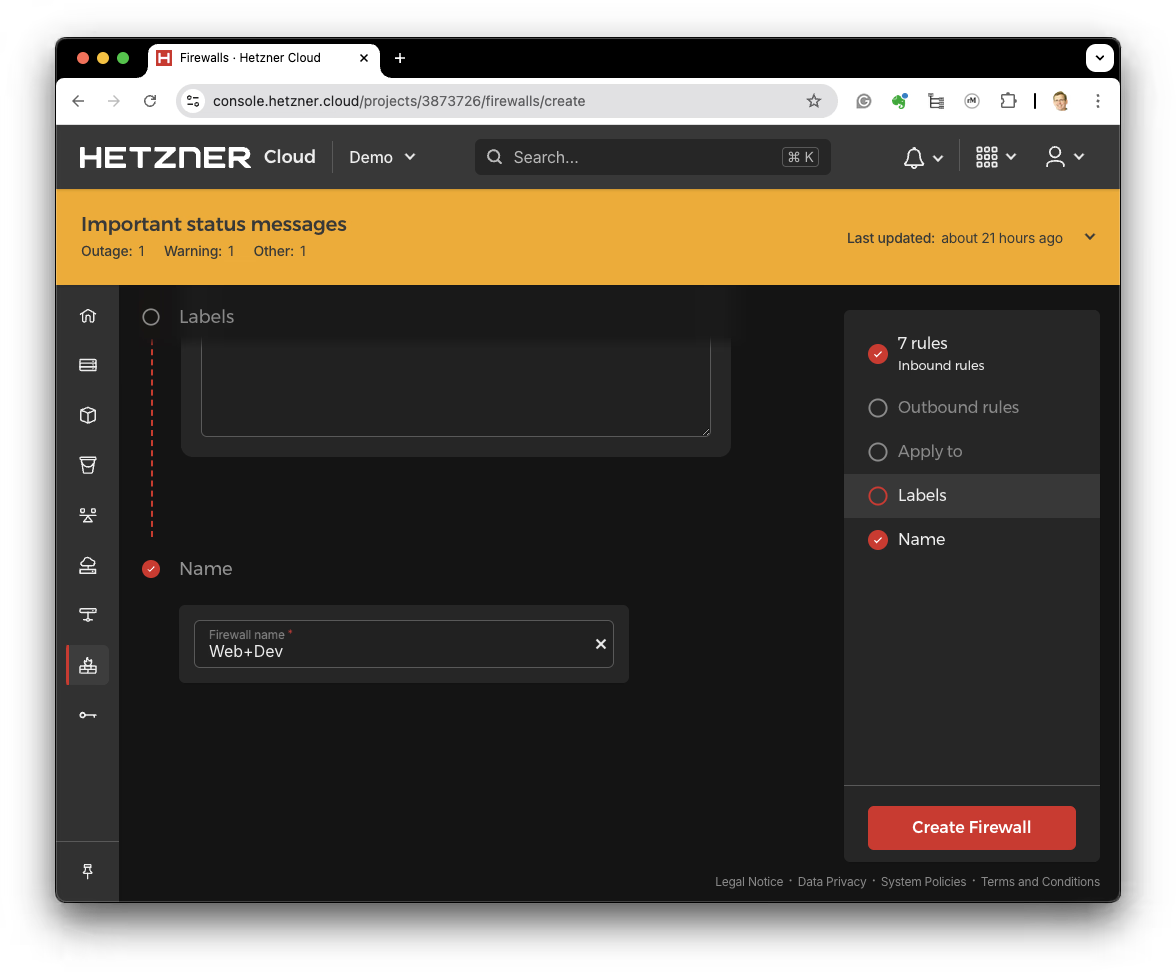
Name the Firewall
Create a Network
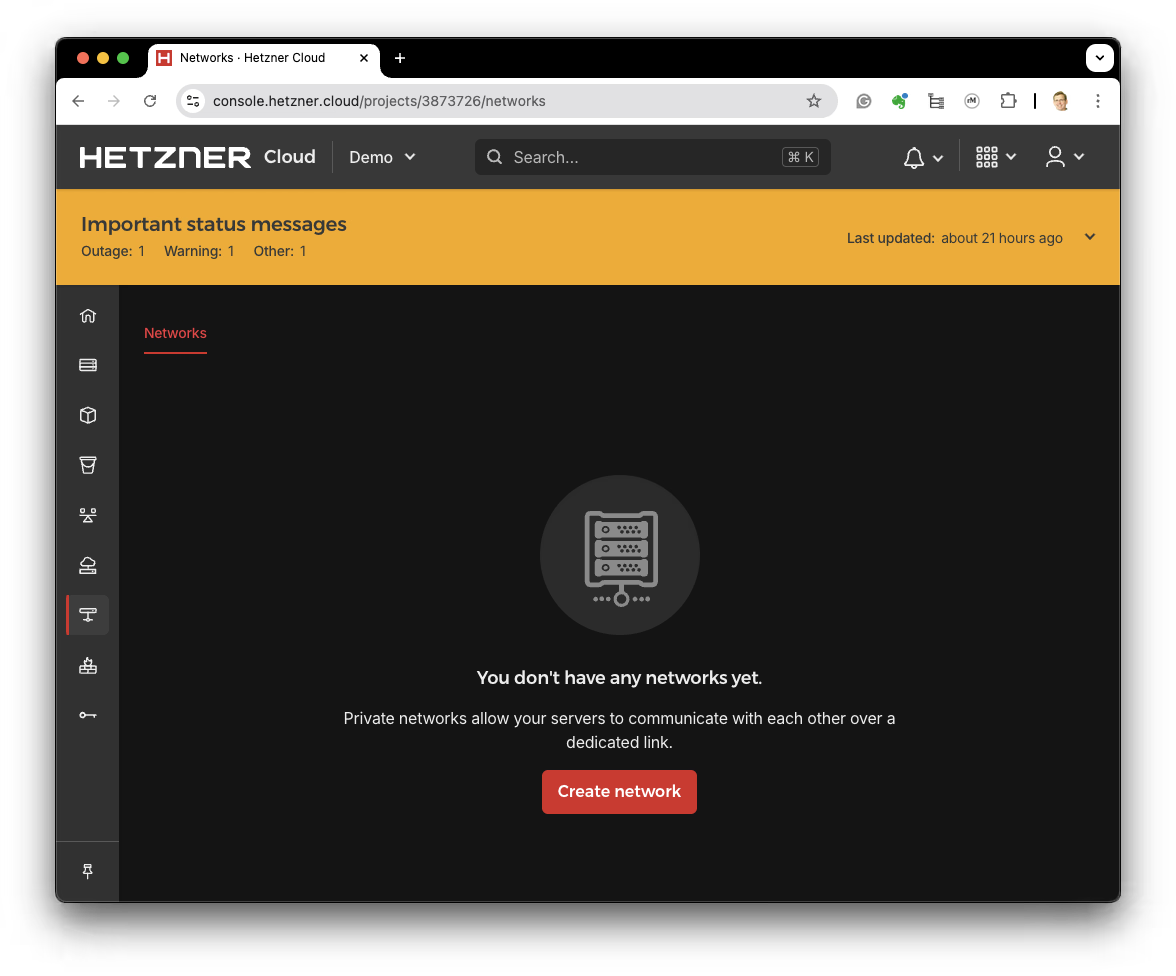
Move next to the network tab and create a new network.
Network Zone
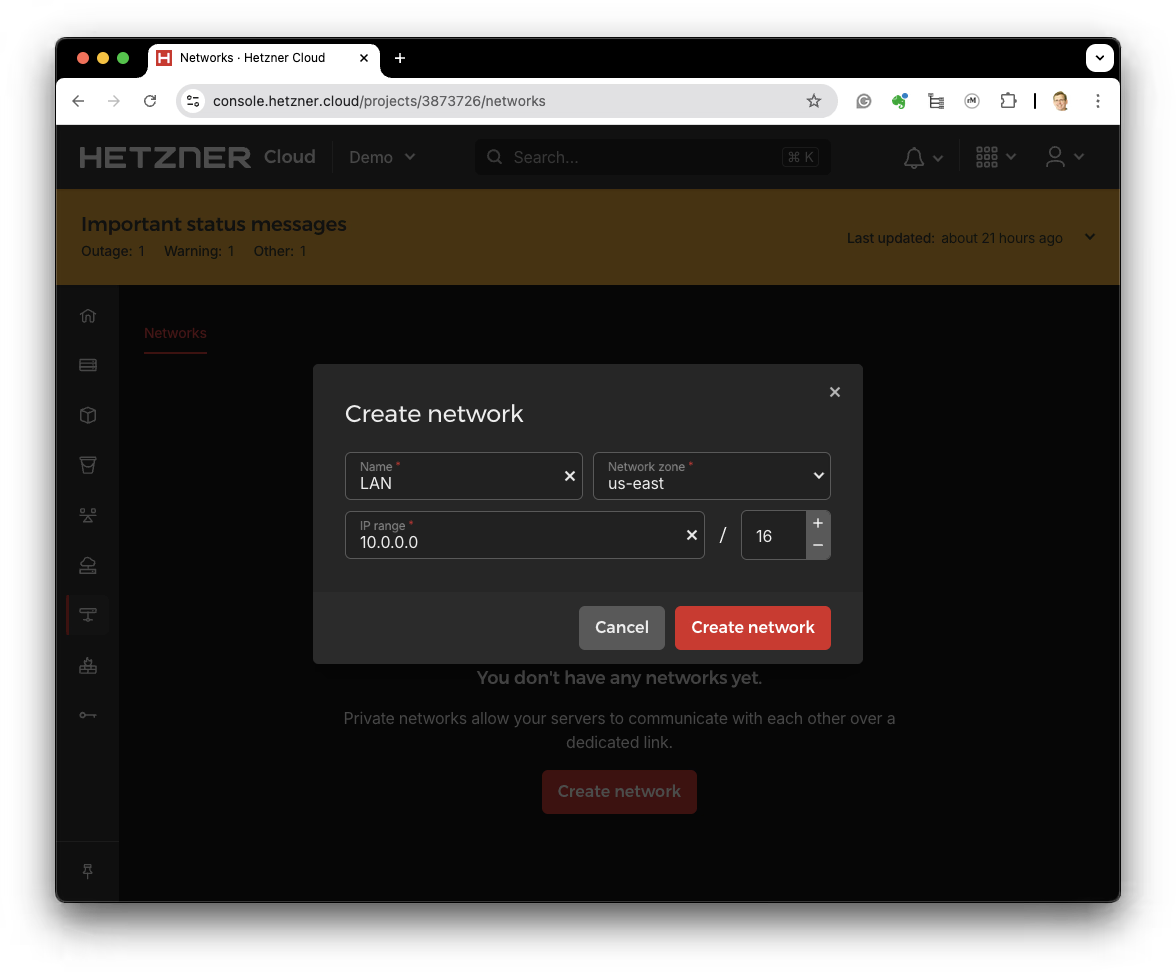
Select the network zone that matches where your servers are located.
The default IP range is usually sufficient.
Add Servers
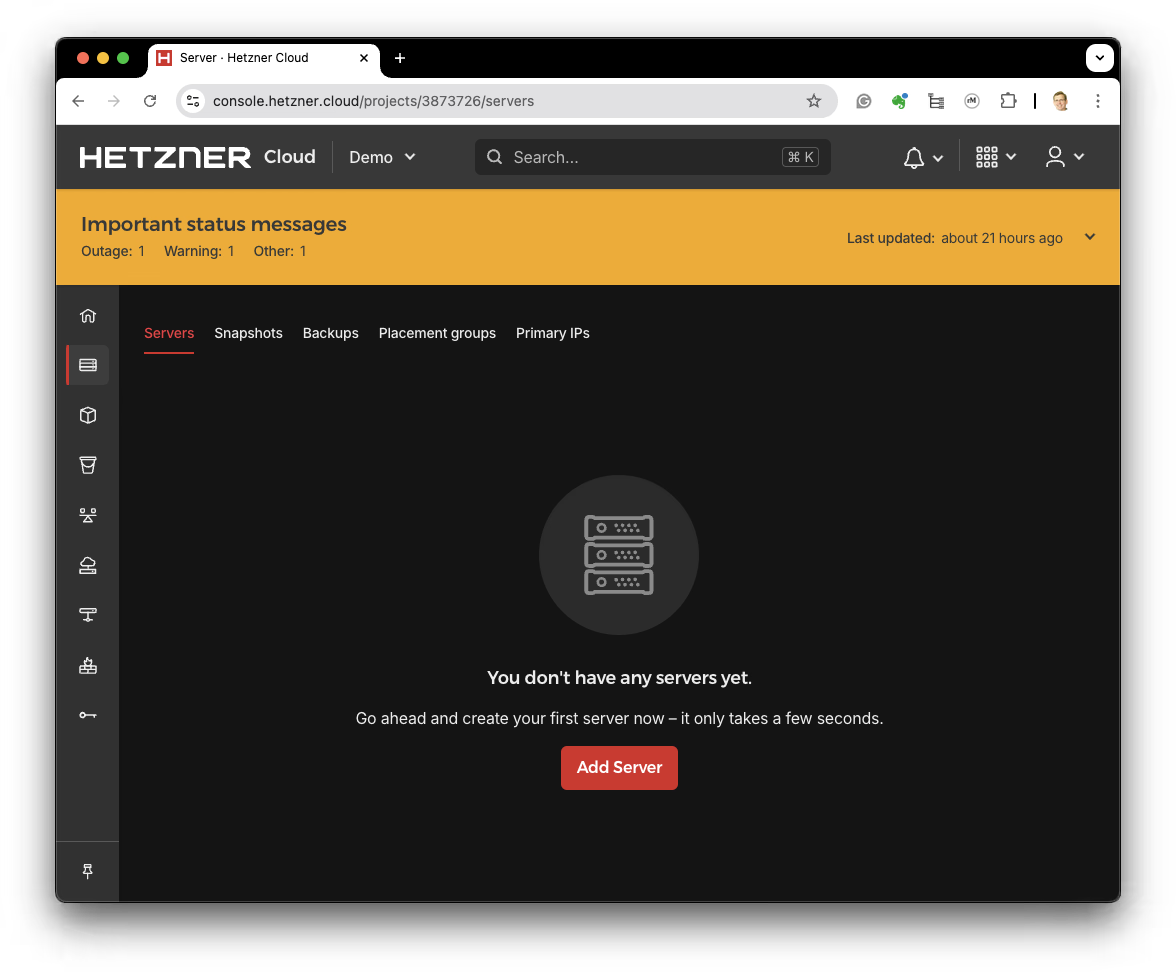
Move to the servers tab to add a server to the network.
Click "Add Server" to create a new server.
Select an Image
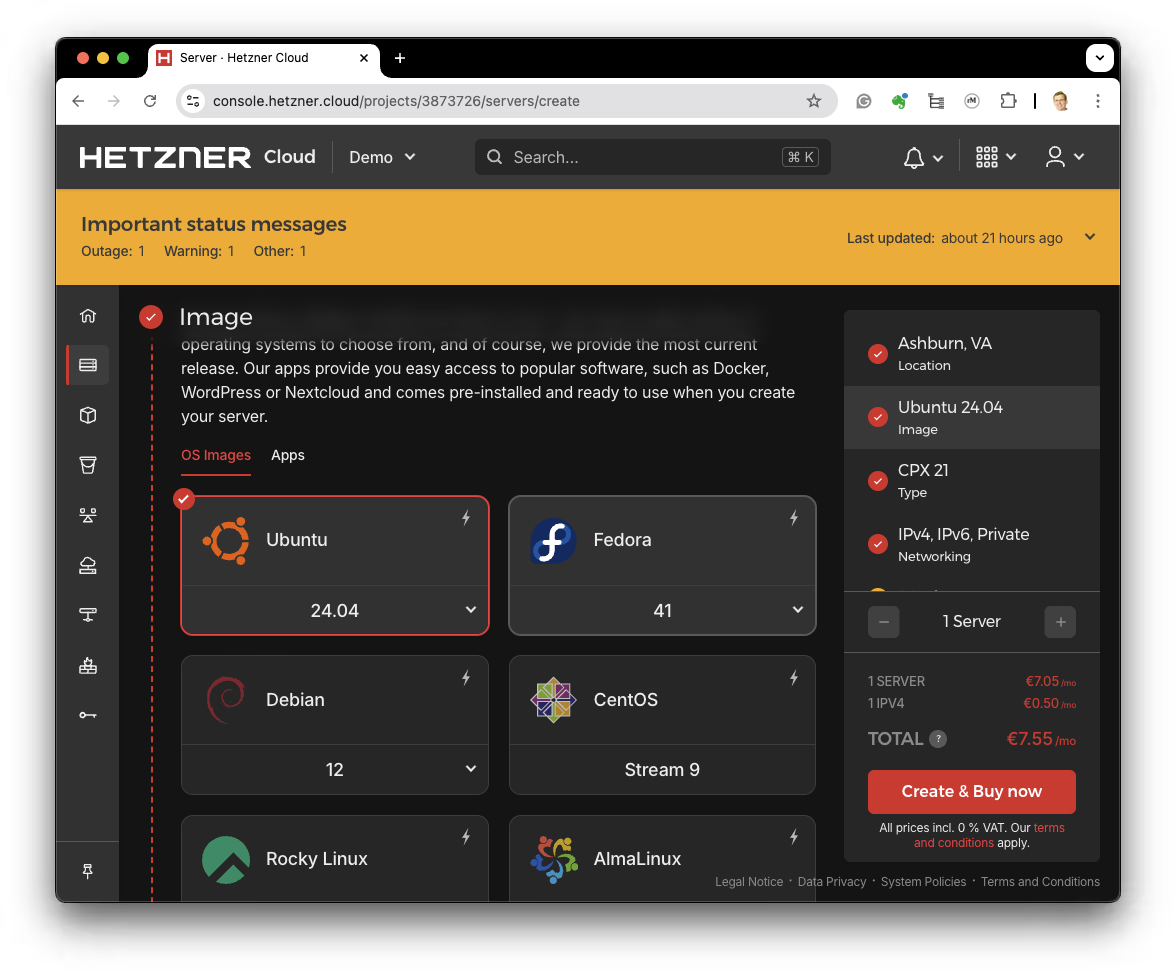
Hetzner does not provide a FreeBSD image, so we will select an existing image and install FreeBSD on it using one of the FreeBSD ISO images hosted by Hetzner.
Which image you select is not important because we will be installing FreeBSD from an ISO image.
Select Server Type
Select if you want to use a shared or dedicated CPU.
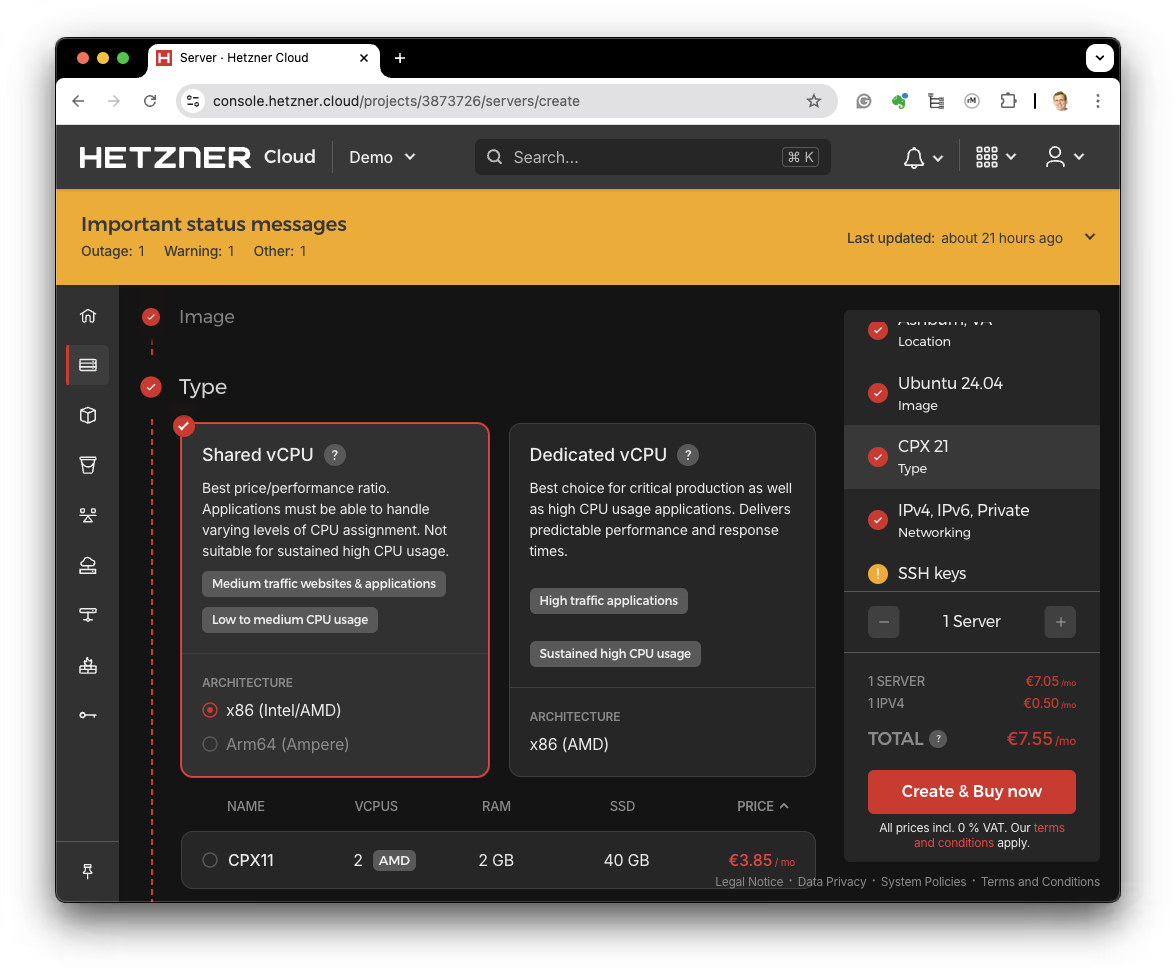
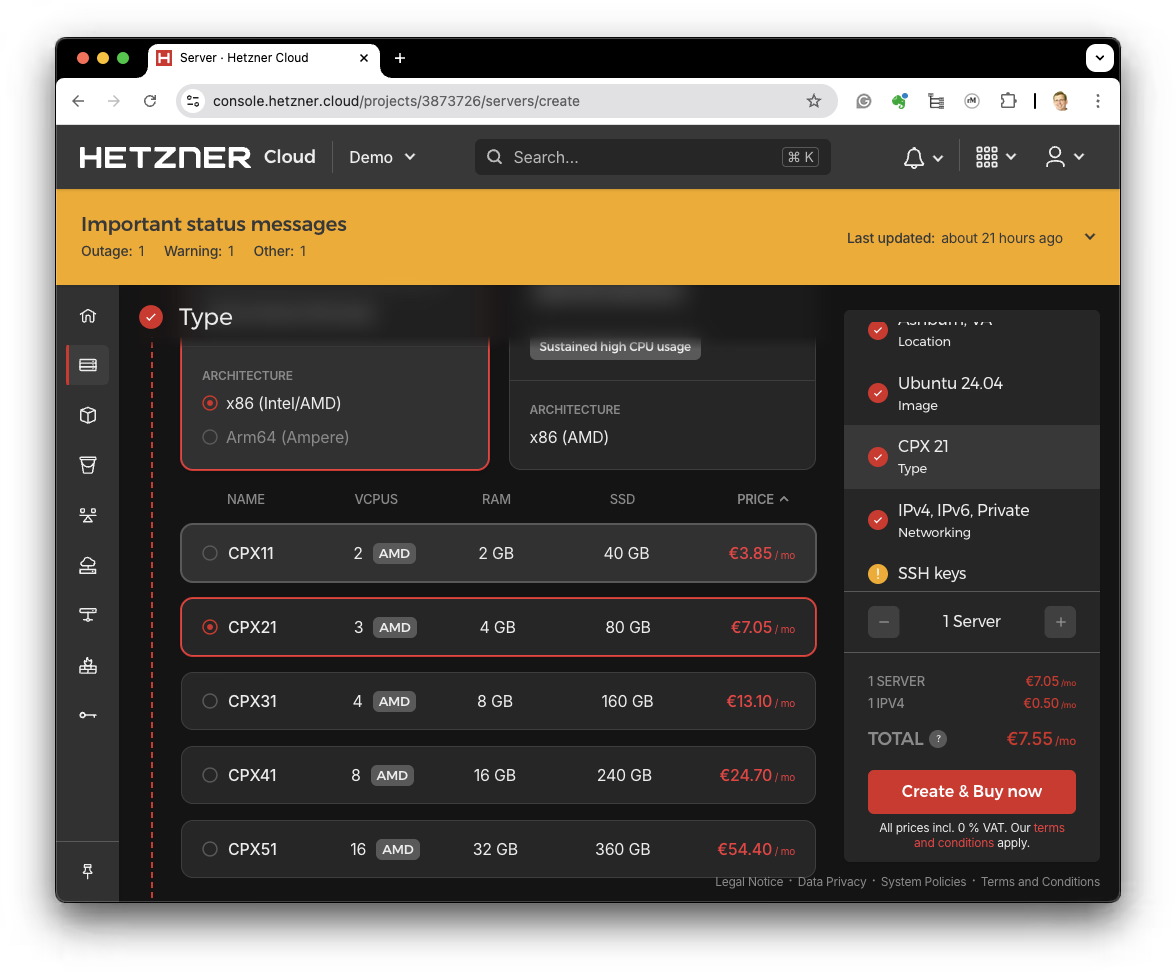
Select the number of CPUs and memory.
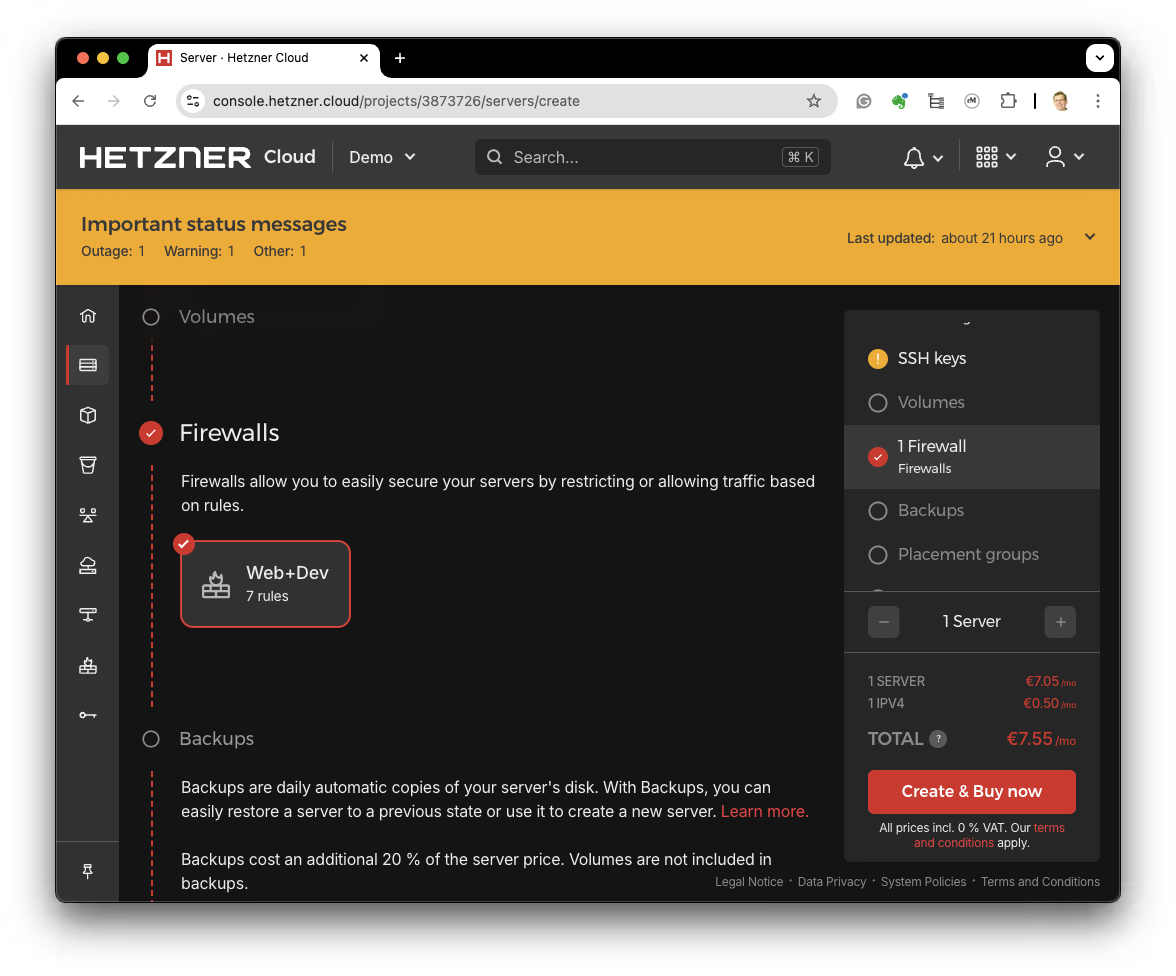
Select the Firewall
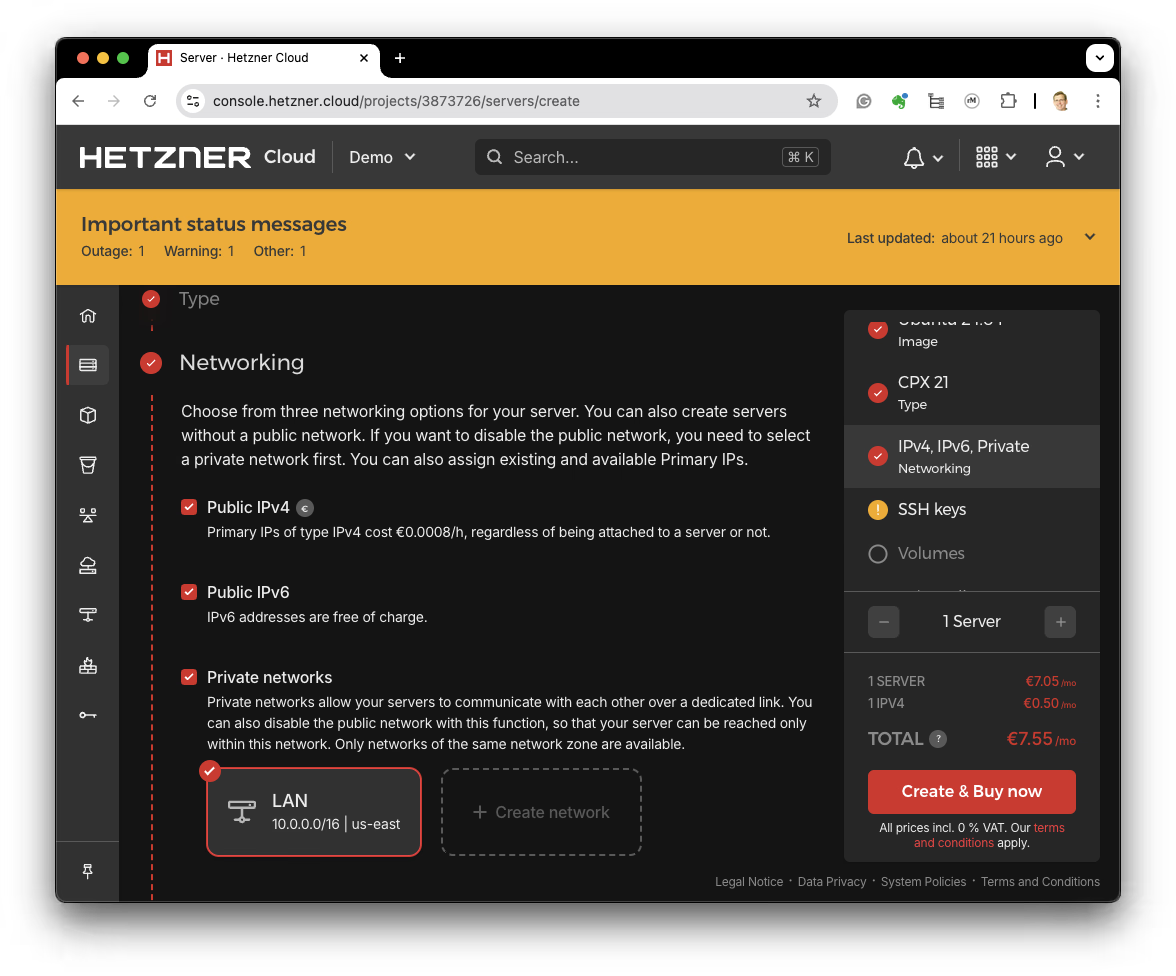
Select the Network
Name the Server
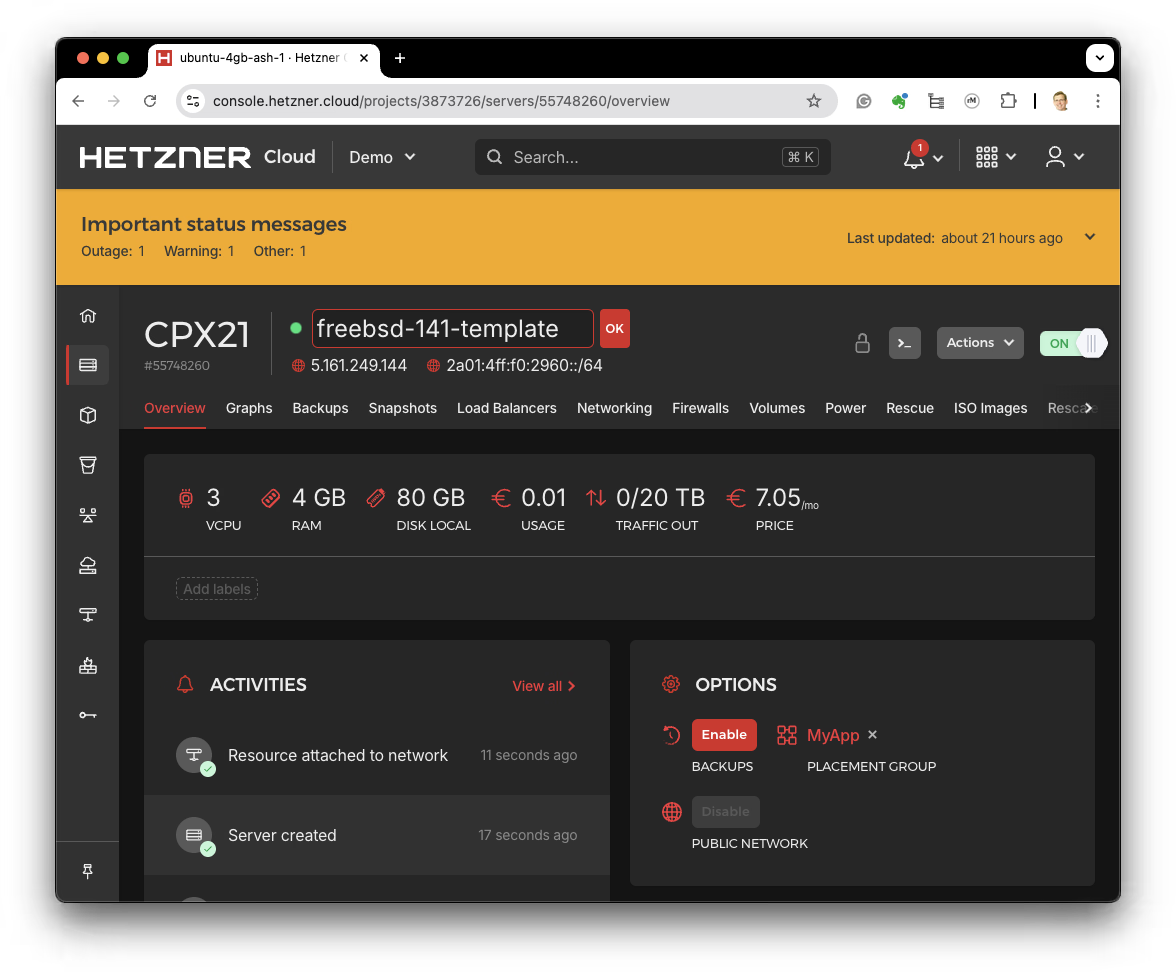
Server Dashboard Page
Go to the server dashboard page and click "ISO Images" to add the FreeBSD ISO image.
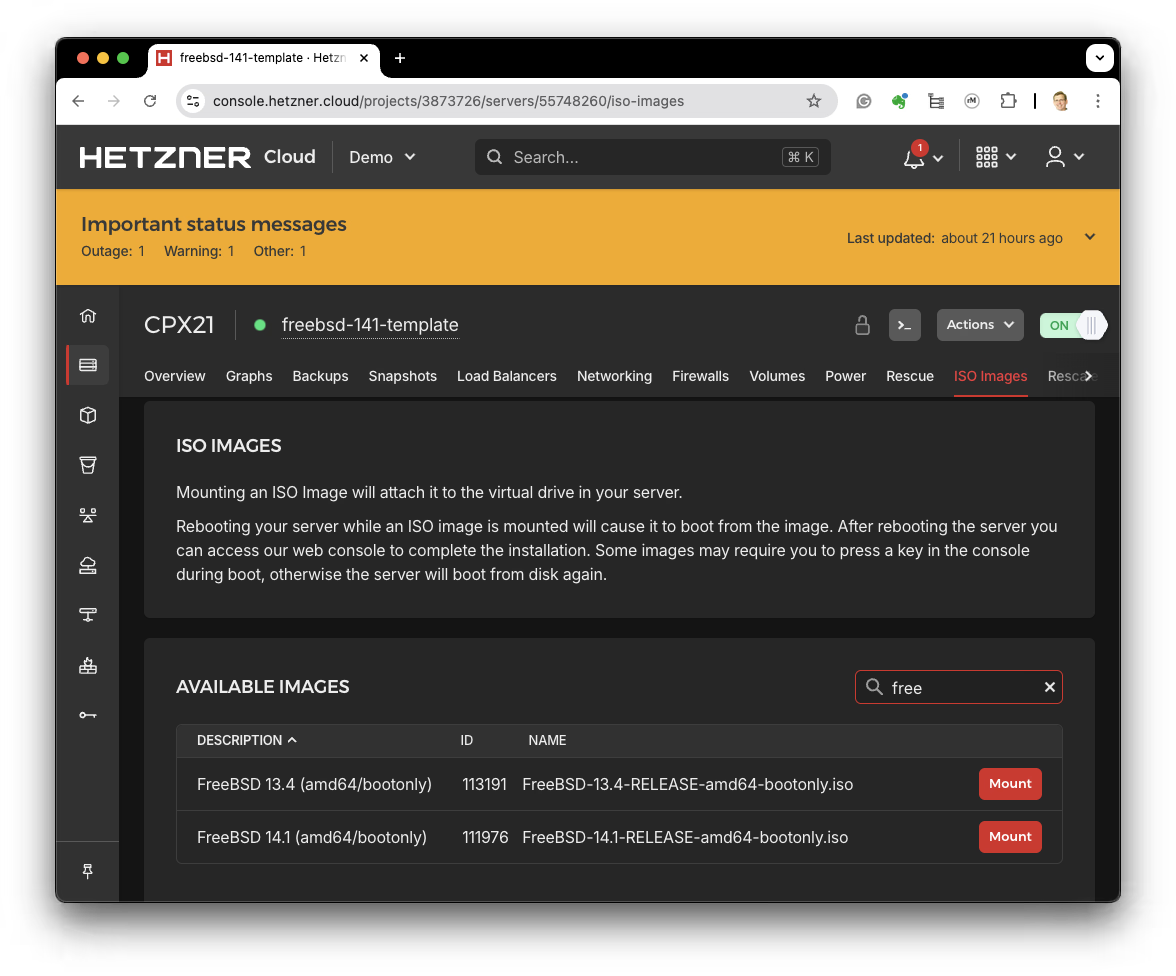
Mount FreeBSD ISO
Type freebsd in the search box to find the FreeBSD ISO images and mount the most recent image.
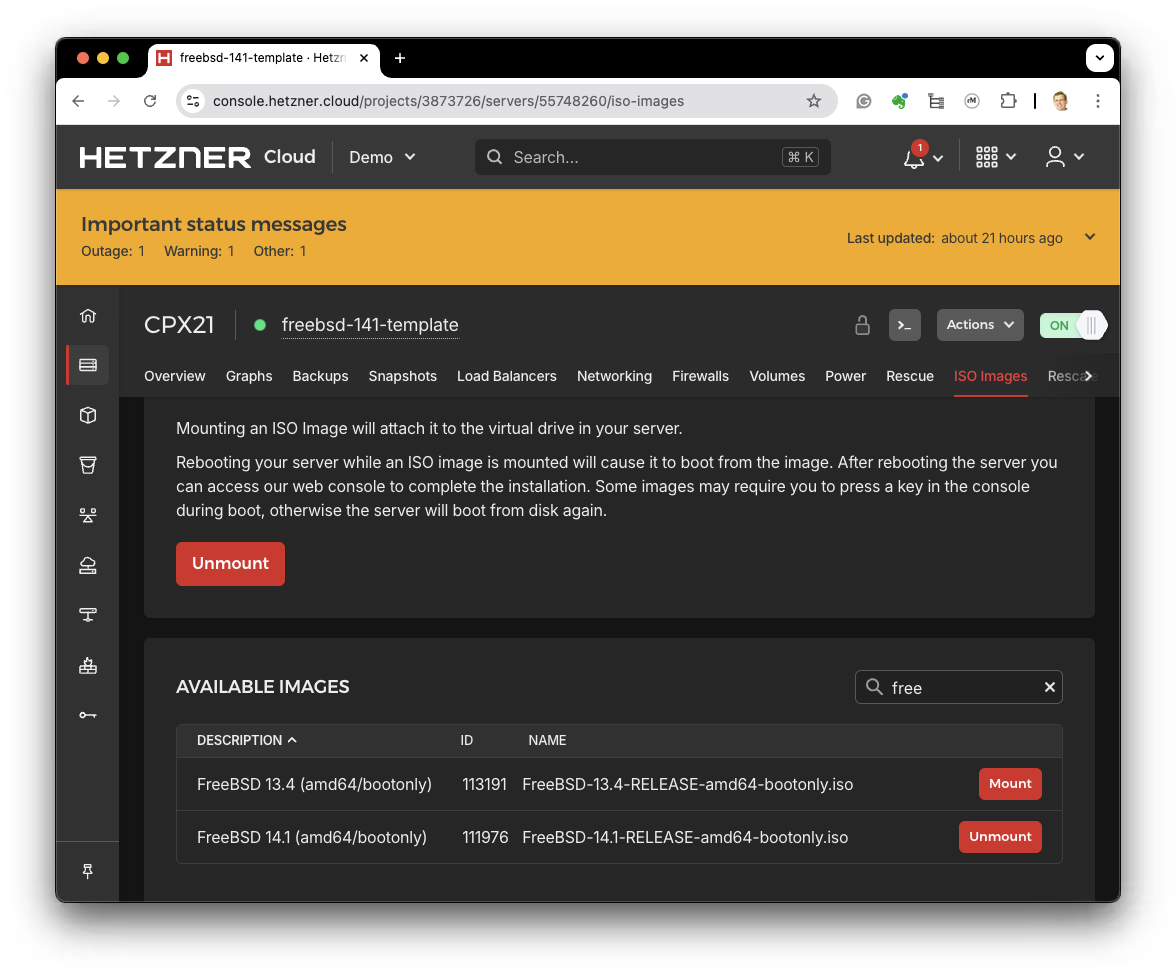
Launch Console
Click the console icon to open a console.
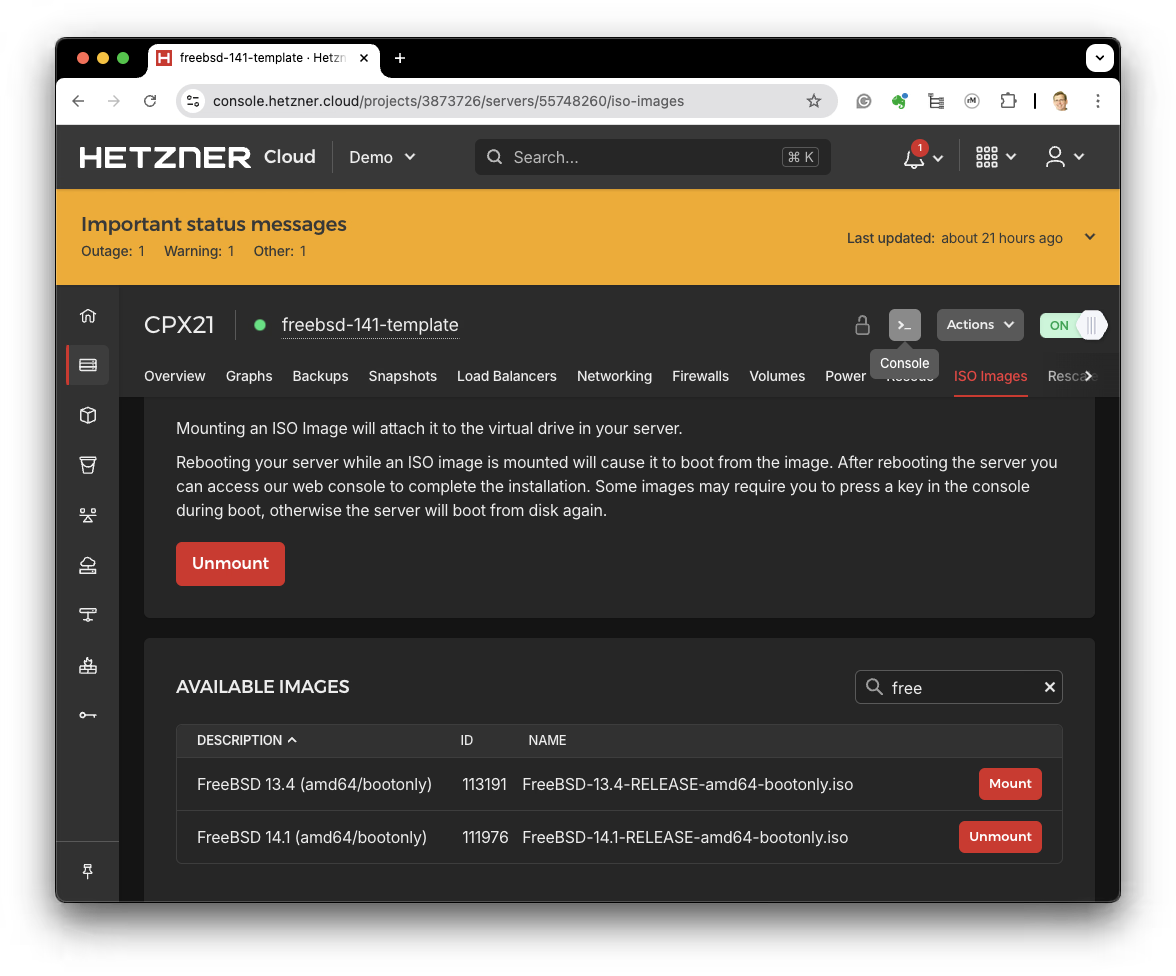
Open a Console
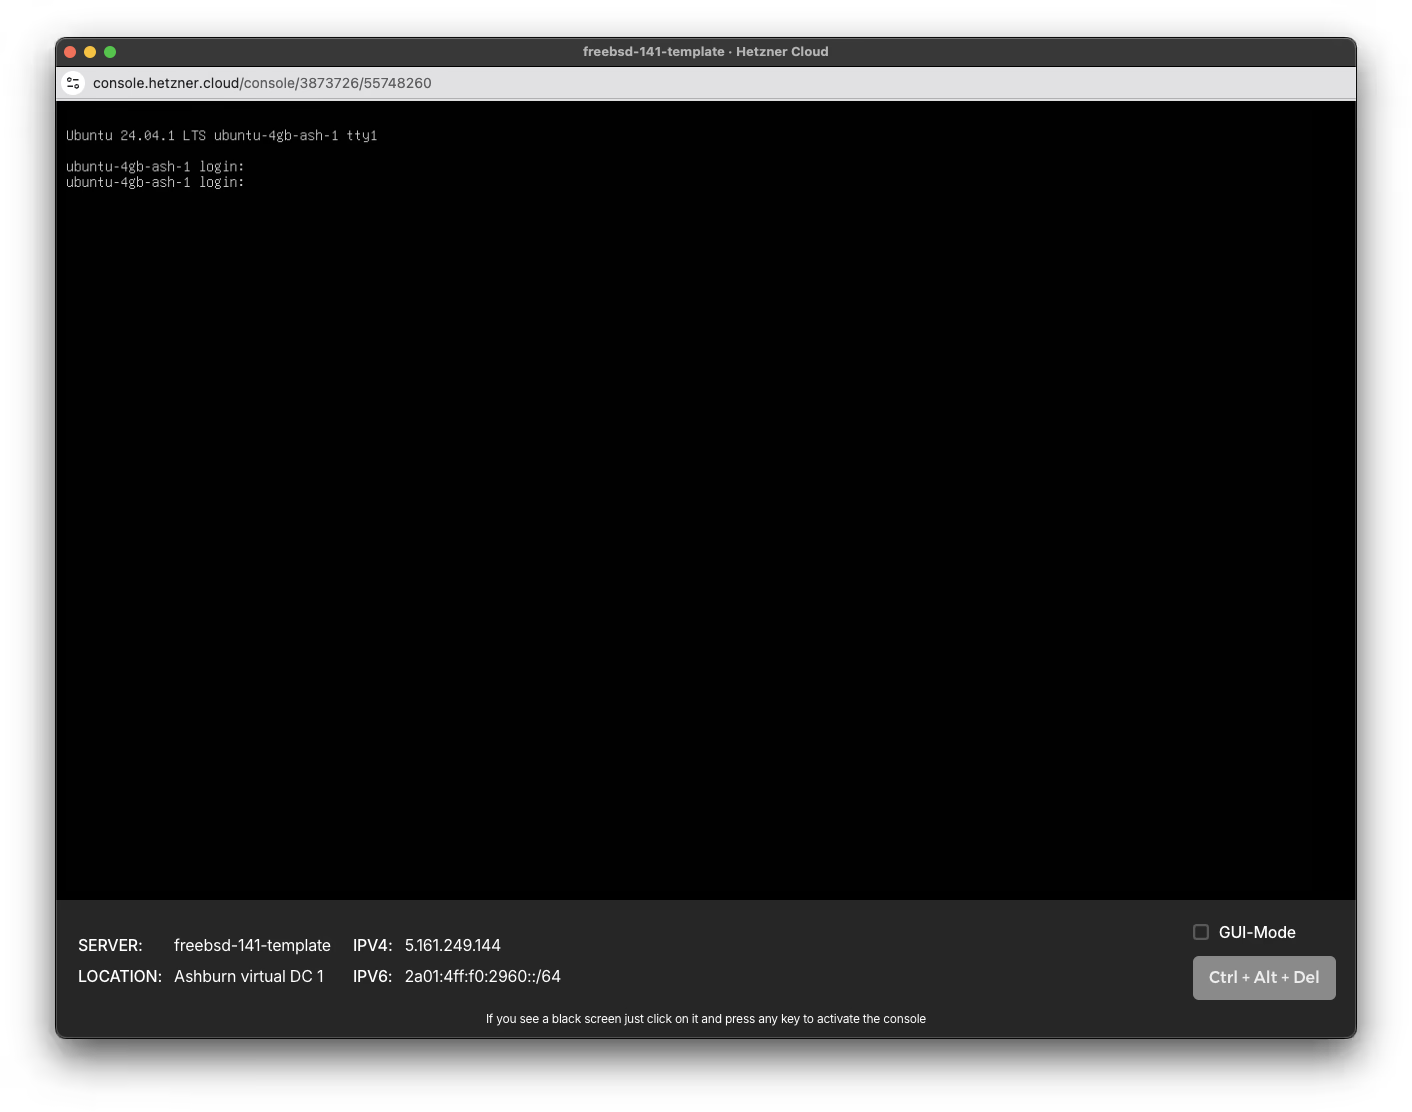
Once in the console, click "Ctl + Alt + Del" to reboot the server. Note that you will need to click into the console and enter keystrokes for the console to recognize and mount the ISO. (Don't ask me why.)
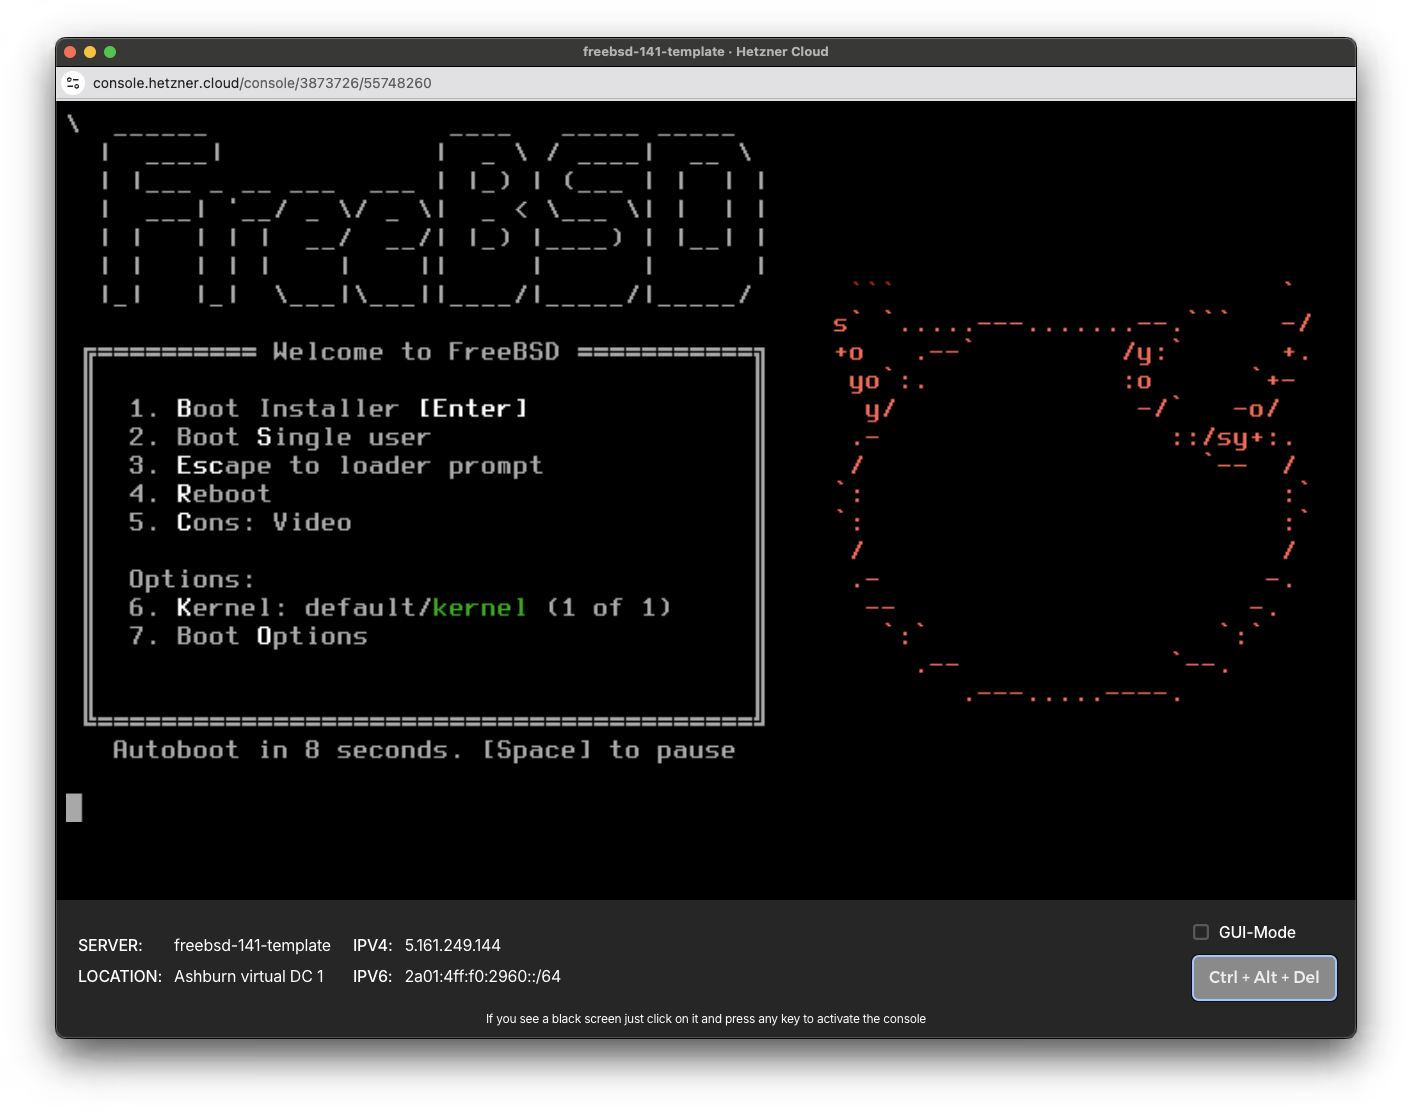
FreeBSD Boot Installer
When the ISO is recognized and booted, you will see the FreeBSD boot installer. Press enter to boot the installer.
Follow the steps for FreeBSD install.
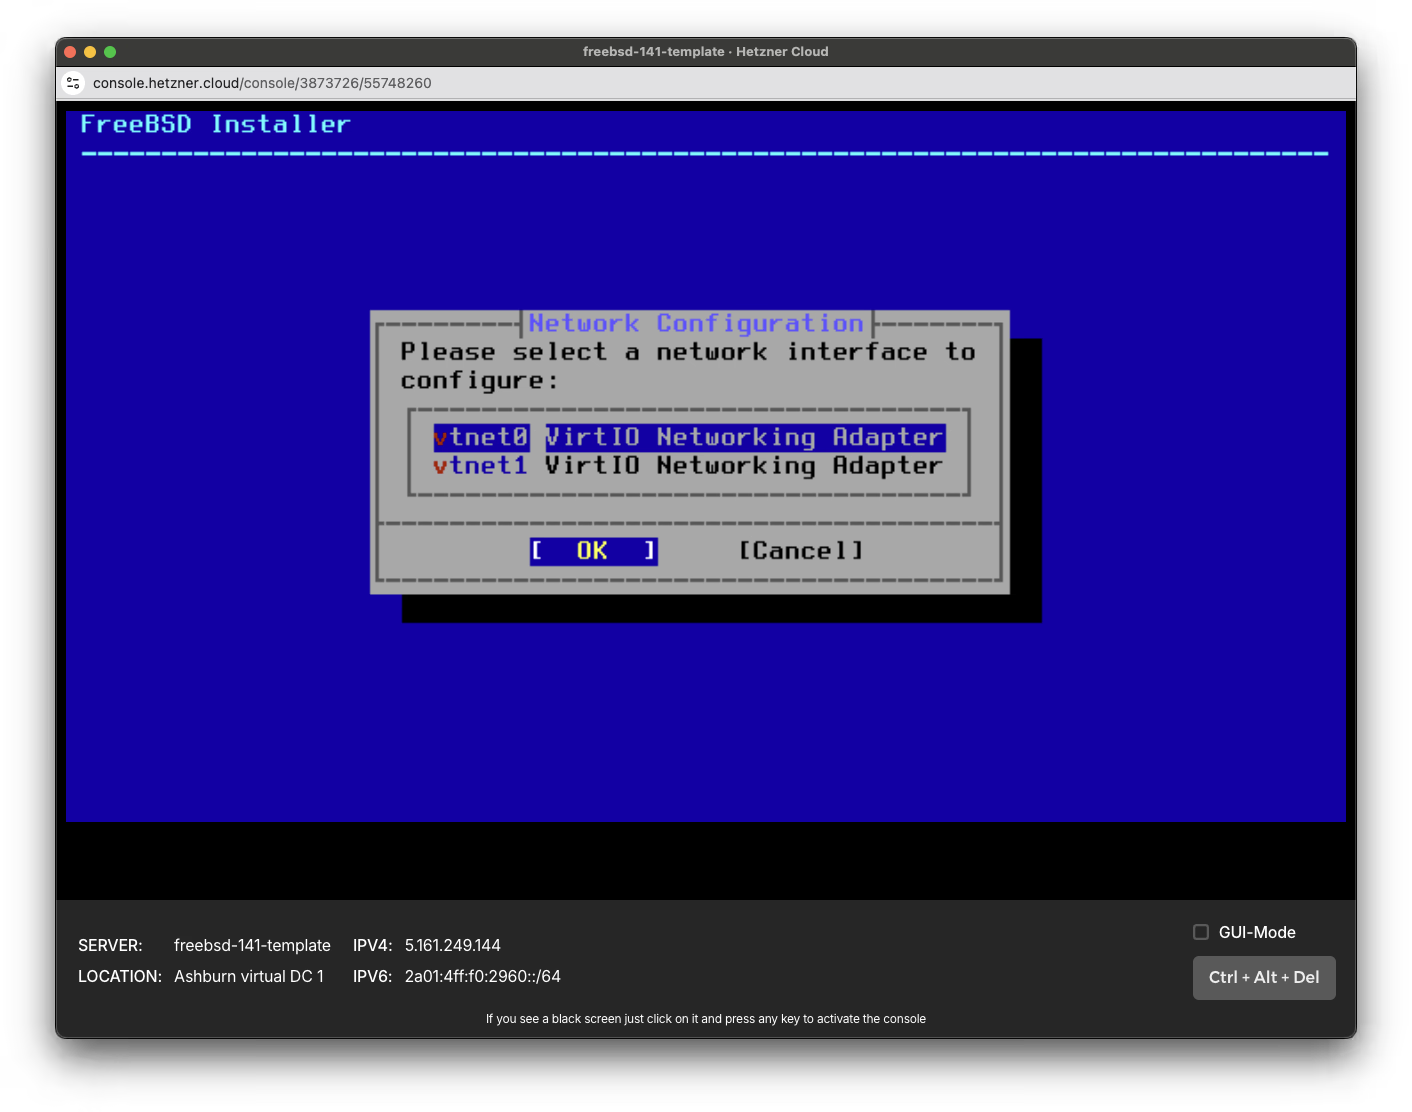
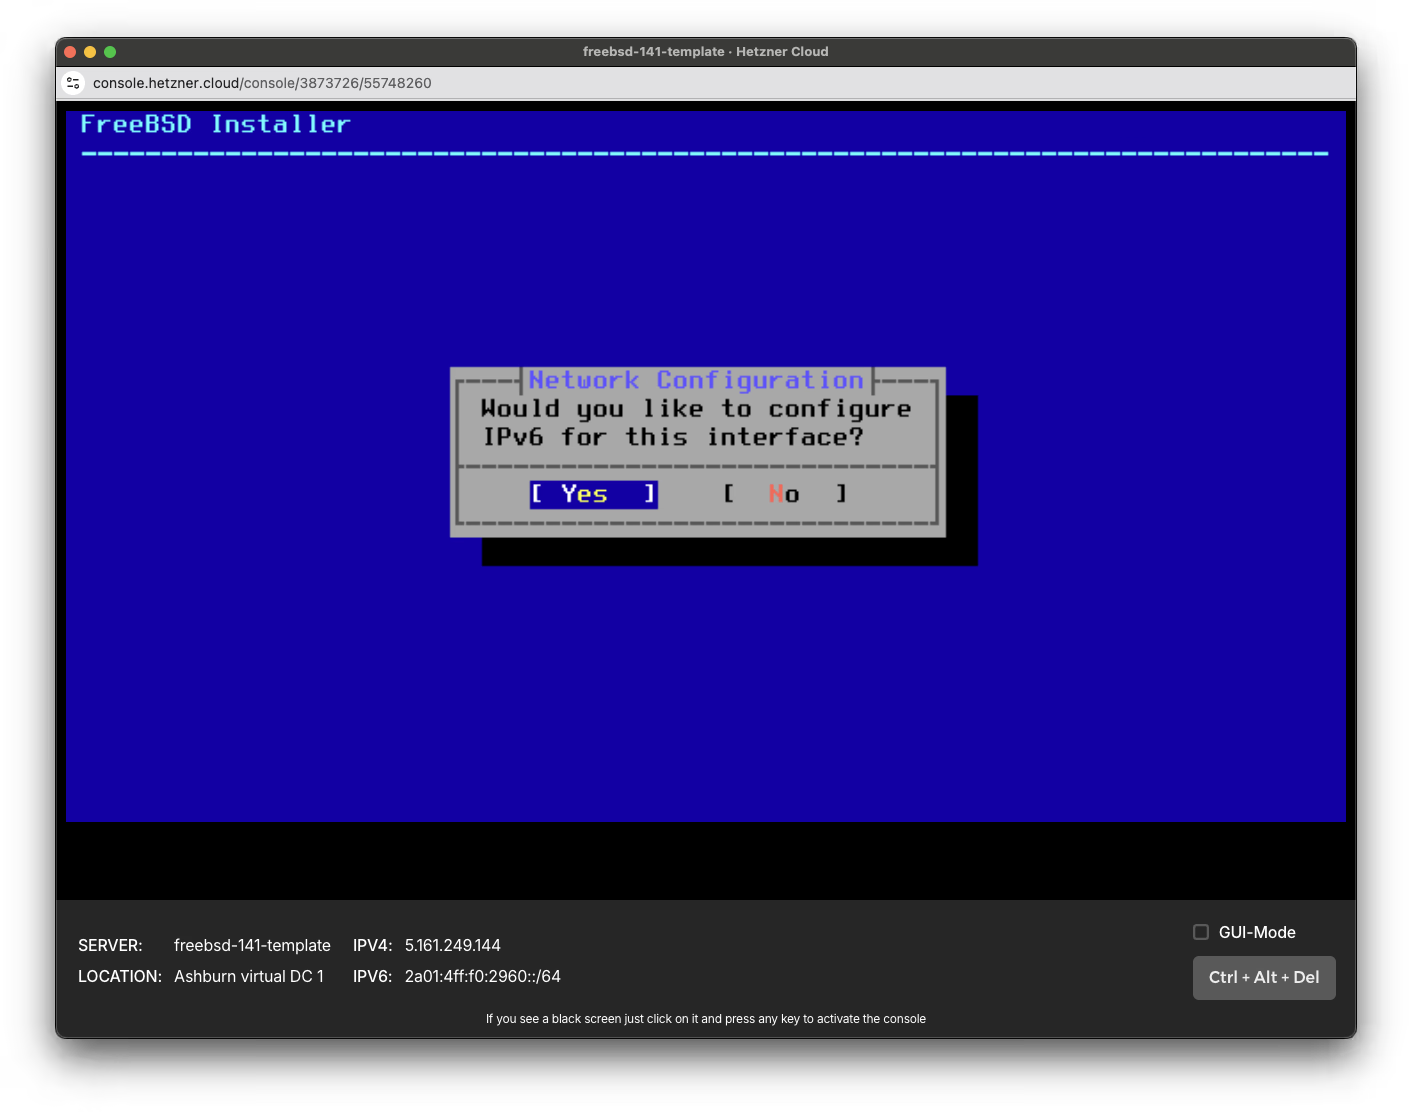
The notable difference is that you will need to select the vtnet0 network interface and configure the IPv6 address.
We will configure vtnet1 for the LAN interface in a later step.
The network and IPv6 configuration shown below are additional steps not found in the FreeBSD install guide.
vtnet0 Configuration
Choose vtnet0 for the public network interface. vtne1 will be used for the private LAN interface.
IPv6 Configuration
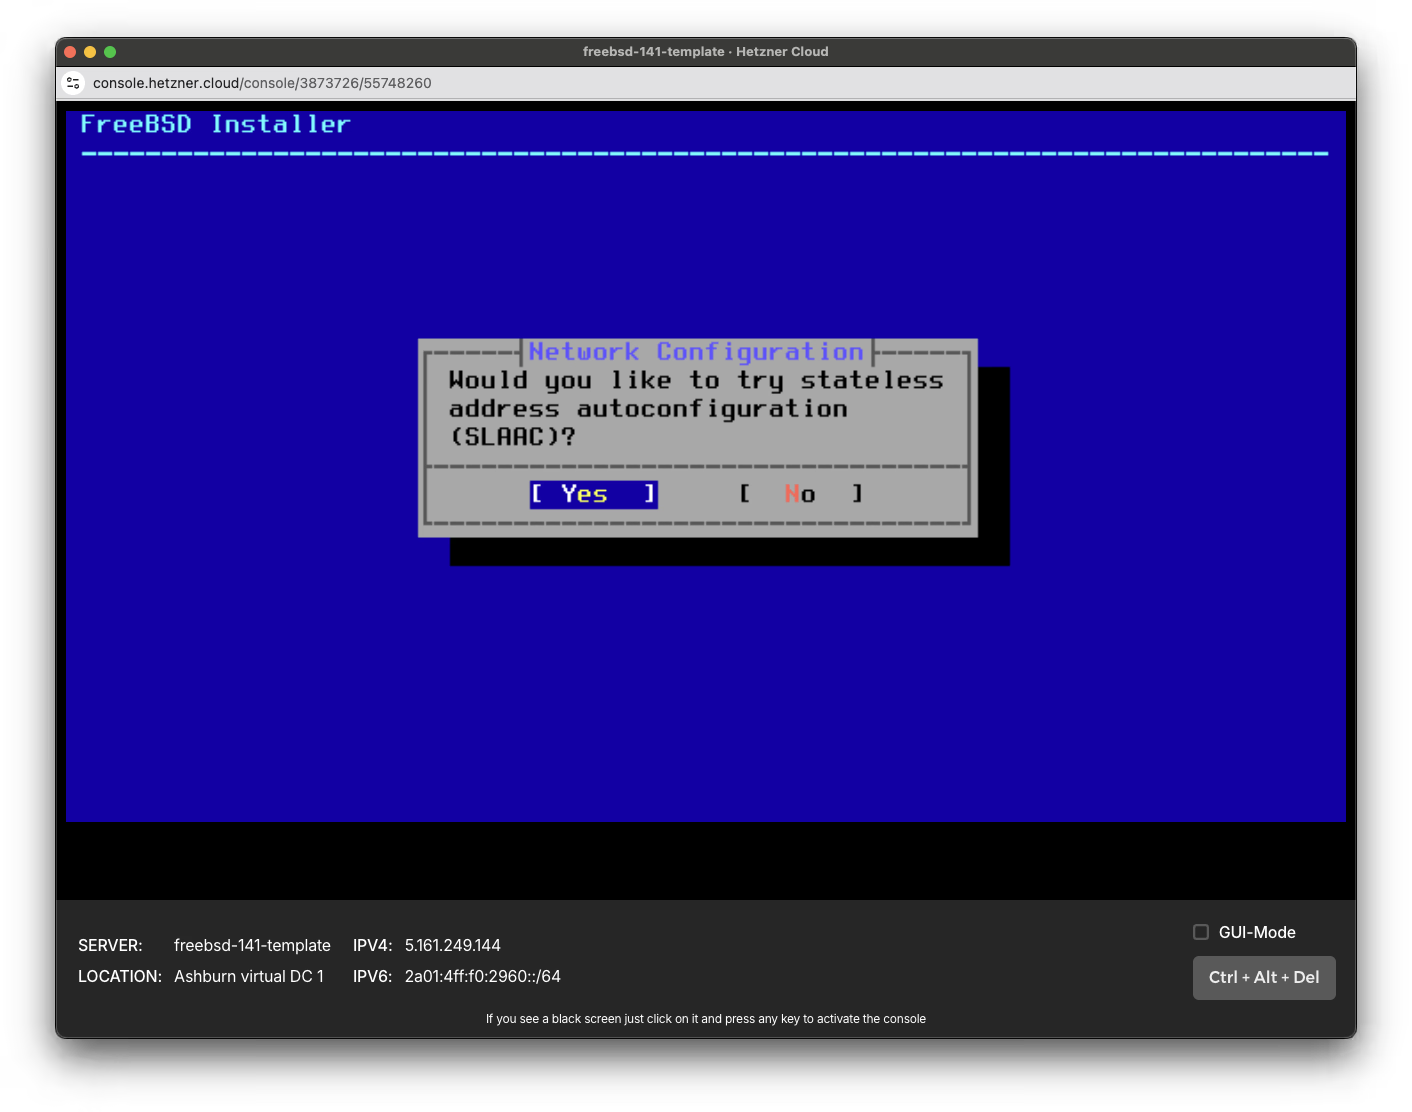
Configure the IPv6 address for the public network interface.
SLAAC Autoconfiguration for IPv6
Continue with the FreeBSD install guide.
Unmount ISO
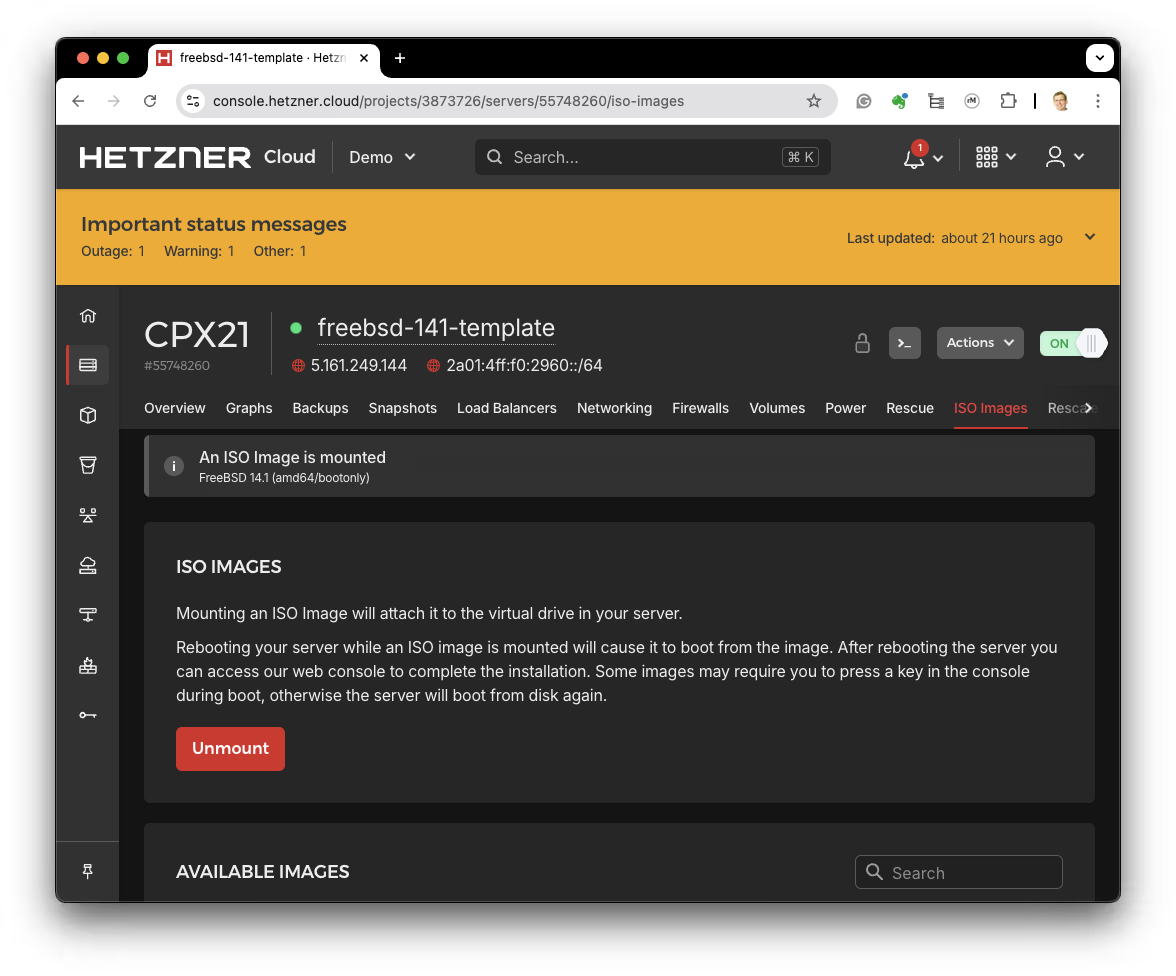
After the installation is complete, you will need to reboot the server and then unmount the ISO image before it starts up.
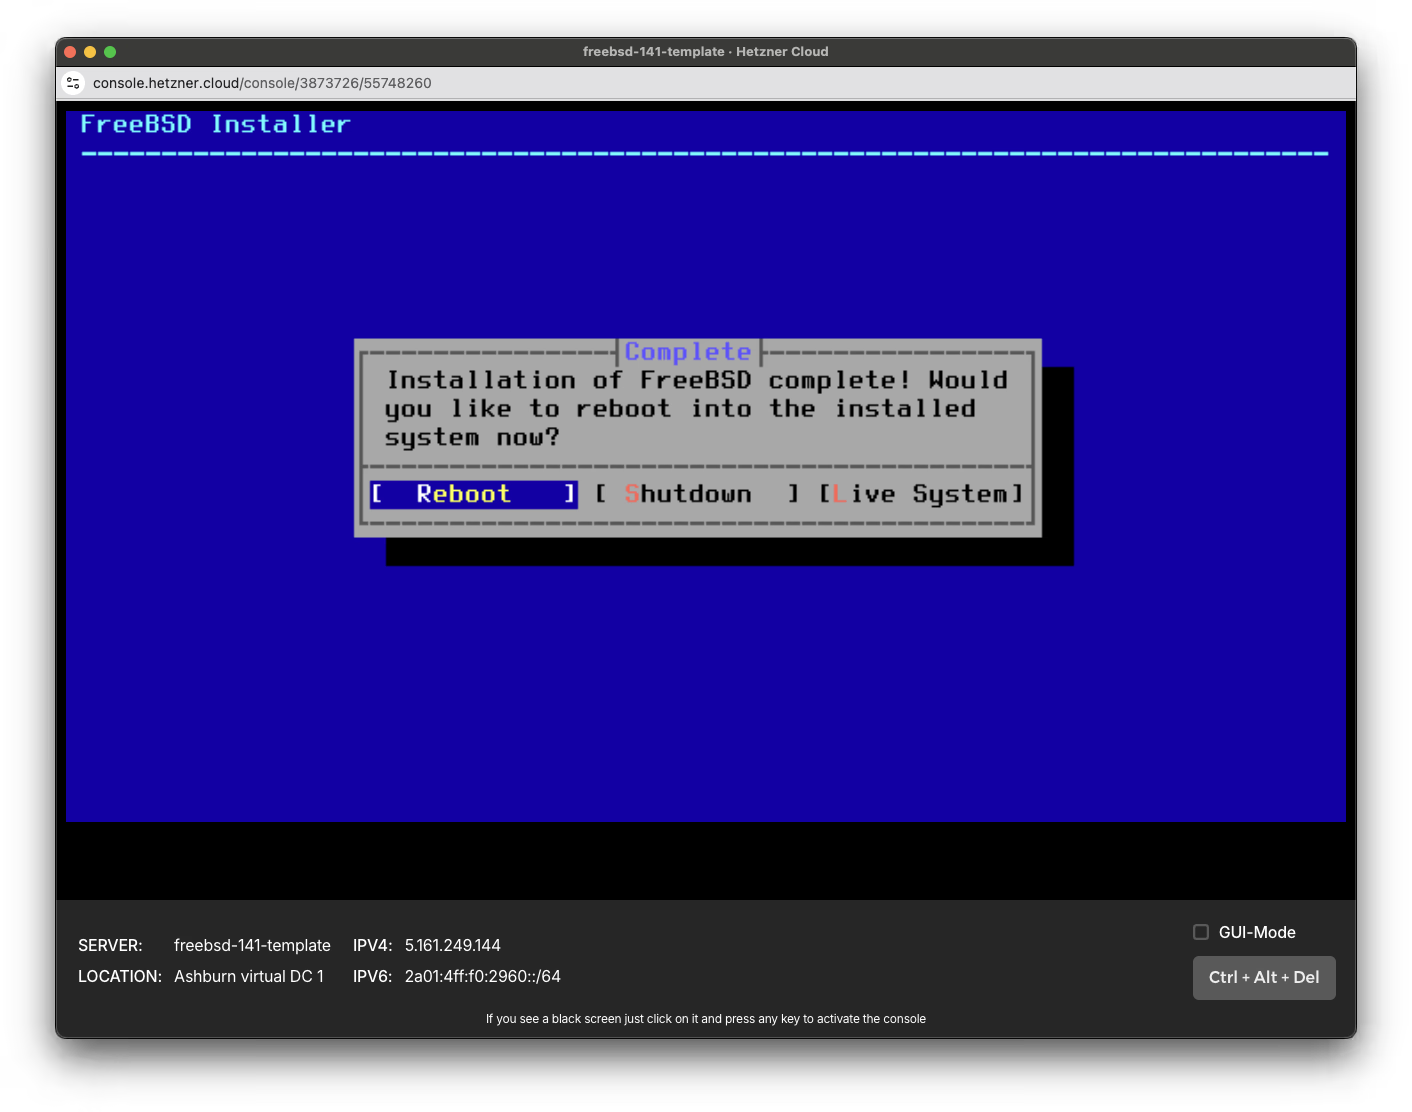
Reboot
Reboot the server and unmount the ISO. Be quick! :-)
Template Creation
You now have a FreeBSD server that is almost ready to be used as a template for future servers. Follow the steps in FreeBSD Template Setup to complete the template setup.